


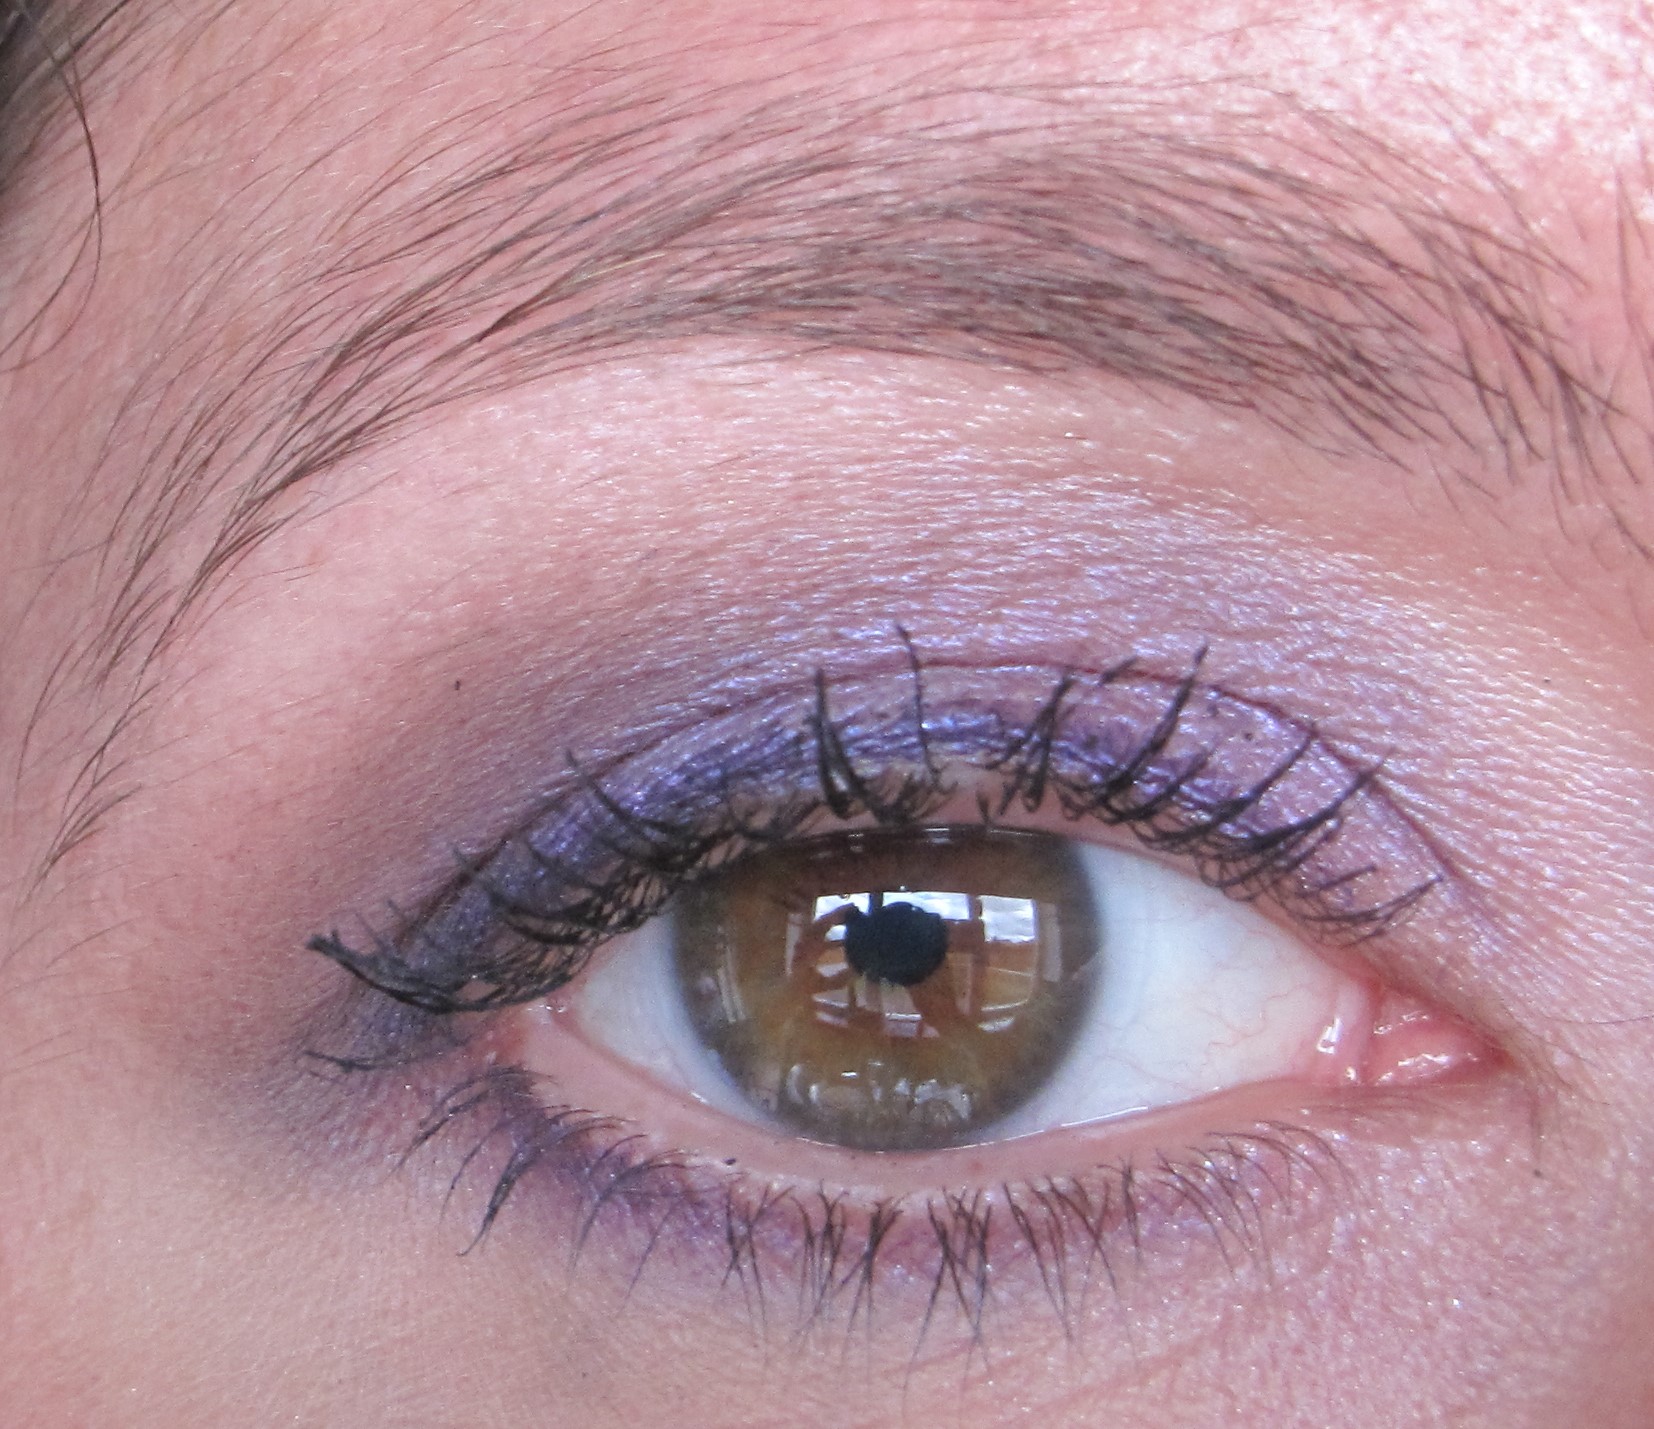
The look is a variation on the ‘Quick Smokey Eye’ look, swapping the brown tones for purples. There are two extra steps in this look – deepening the crease (to add some extra depth to the eye) and an inner corner highlight (to brighen the eyes). However, you can easily skip these extra steps if you want to keep things the same as in the ‘Quick Smokey Eye’ look.
Tip: Using a clear, skin-toned or black eyeshadow base means you can use it with any eyeshadow colour and don’t have to invest in extra products. Keeps things nice and simple!
Here’s how to re-create this look:
Click here to read my article ‘Parts of the Eye’ for help on where to place eyeshadow colours.
Products
Base: Urban Decay Primer Potion in Original (clear)
Upper+Lower Lashlines: Urban Decay 24/7 eyeliner in Empire (smokey deep purple)
Blend Upper and Lower Lashline: MAC Indian Ink eyeshadow (dark matte cool-toned purple)
Lid: Urban Decay Flash eyeshadow (medium shimmery bright purple)
Crease: MAC Haux eyeshadow (medium matte neutral rose-brown)
Deepen Crease (optional): MAC Knight Divine eyeshadow (dark satin charcoal grey)
Highlight: MAC Creamy Bisque eyeshadow (light satin cream)
Inner Corners (optional): MAC Ego eyesshadow (light shimmery pale pink)
Steps
Note: You can skip Steps 7 and 9 if you want to keep things really simple. The highlighter eyeshadow in Step 8 will also help to soften the eyeshadow lid lines.
1. Use your fingers to apply Primer Potion over the lid as a base. Sweep a flat eyeshadow brush (e.g. Real Techniques Base Shadow Brush) over the lid to blend out any harsh edges.
2. Use Empire eyeliner to line your upper and lower lashlines. The lines do not have to be perfect as this look is meant to be soft and smudgy. We will also be applying eyeshadows in the other steps, which will help blend and soften the lines.
3. Take the same flat eyeshadow brush (e.g. Real Techniques Base Shadow Brush) and smudge Indian Ink over the eyeliner you applied (along upper and lower lashlines) in Step 2. Using an eyeshadow over the eyeliner helps to ‘set’ the lines you have drawn, tidy up any uneven edges and smudges them out to create a smokey effect.
4. Pat Flash onto the lid, using the same flat shader brush (e.g. Real Techniques Base Shadow Brush). You can overlap this with the liner from Steps 1-3. This will smudge things out even more.
5. Take the same flat shader brush and sweep Flash over the lower lashline, along where you applied the eye liner. This will create a soft, smokey effect.
6. Apply Haux in the crease of the eye with a crease/blender brush using a windshield wiper motion (e.g. Real Techniques Base Shadow Brush). I like to apply eyeshadow in the crease to add some extra shape to the eye and soften the edges from the lid colour.
7. (Optional) Take Knight Divine on to a crease/blender brush (e.g. Real Techniques Base Shadow Brush) and deepen the crease. This step adds extra depth to the eye.
8. Take your flat shader brush (e.g. Real Techniques Base Shadow Brush) and sweep Creamy Bisque on to the browbone to highlight.
9. (Optional) Take your flat shader brush (e.g. Real Techniques Base Shadow Brush) and pat Ego into the inner corners. This step helps to brighten the eye.
10. Apply plenty of mascara to the top and bottom lashes. This step helps to frame the eye and finish off the smokey look.
Here is one more picture of the finished look:

Love love love this!!!!! So pretty!!!!
Thanks Vikki. You can also re-create the look using a different colour palette. Blues, greens and greys would be really pretty too.