


This post in the ‘Eyeshadow Styles’ series shows you how to create a highlighted effect on the eyes by applying a darker colour to the inner and outer lid and a lighter, shimmery shade to the middle of the eyelid. This eyeshadow style is particularly flattering if you have almond shaped eyes or flatter eyelids, as it makes the eyes look rounder in shape.
To create this type of look, you need to choose:
- One medium or dark shade to contour the crease (to add dimension to the eye)
- One medium shade to use in the inner lid and the outer lid (to sculpt and shape the corners of the eye)
- One lighter shade to use in the middle of the lid (preferably shimmery or satin finish to help highlight the middle lid)
- One highlight shade close to your skin tone (to blend out the crease colour and highlight the browbone)
If you wish to create a more subtle highlighted effect on the eyes, choose eyeshadows which come from the same colour family. For example, you might choose shades which are all green, blue, purple and brown.
If you want to create slightly more contrast – but still keep things relatively subtle – choose eyeshadows which come from similar colour families. For example, you might pair together yellows and oranges (orange in inner/outer lid and yellow on the middle lid) or pinks and cranberries (cranberry in the inner/outer lid and pink on the middle lid).
If you want to really make your eyes stand out, then you can choose contrasting colours for the inner/outer lid and the middle lid. You could try teal in the inner/outer lid and hot pink on the middle lid. If that is too contrasting, then you could even try teal in the inner/outer lid and green on the middle lid.
Tips for blending and finishing a highlighted eyeshadow look
I always apply the crease colour first when I am creating the ‘highlighted’ look as I find that it helps the rest of the shades blend more easily. If I apply the crease colour after the lid colours, it can be more difficult to blend the shades together nicely.
If you find it difficult to blend the middle lid colour with the inner/outer lid colour, overlap the middle lid shade with the edges of the inner/outer lid shade. You can also dab a little of the inner/outer lid shade over the edges of the middle lid shade to help them blend together. Taking colours slightly into one another where they meet helps with blending, particularly if you choose to use contrasting colours.
Applying eyeshadow along the lower lashline to mirror the application of the colours on the upper eyelid helps to bring the whole look together.
Creating the highlighted look
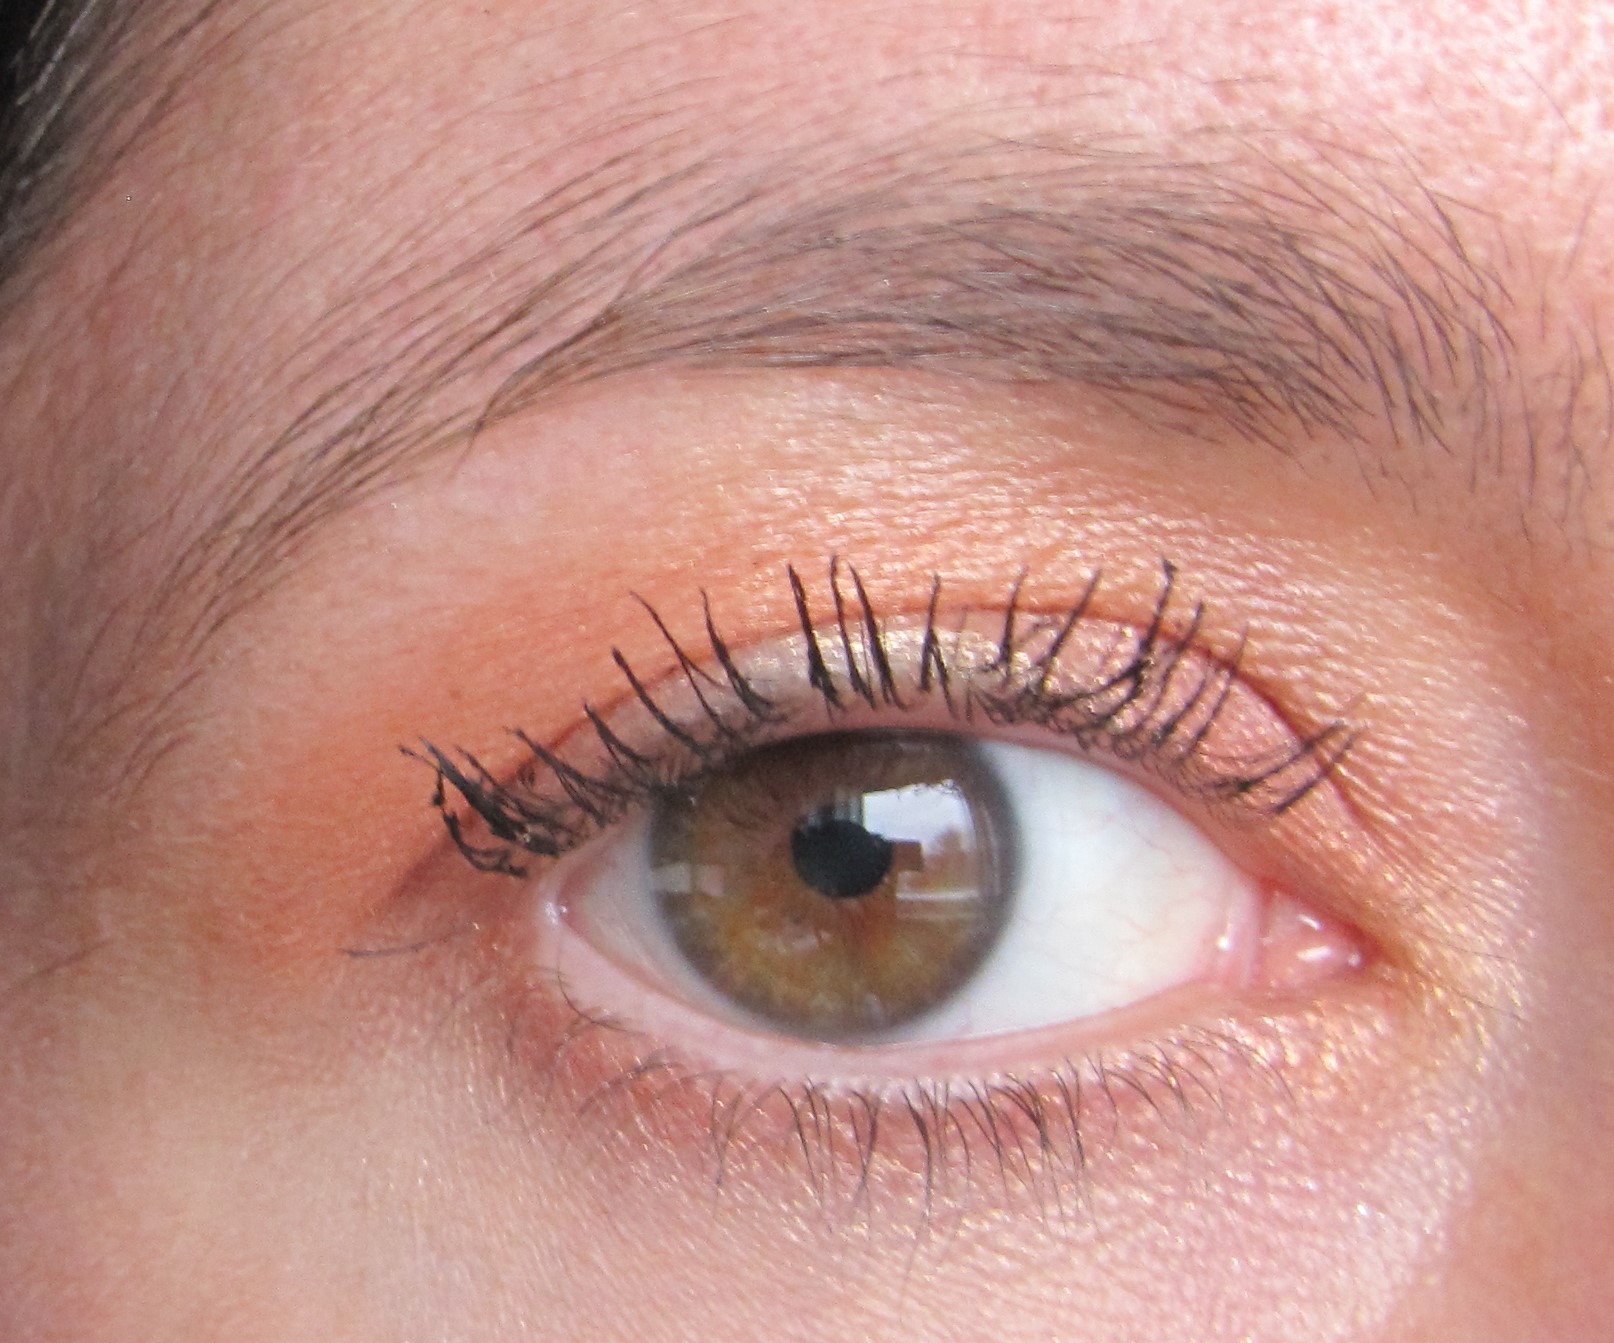
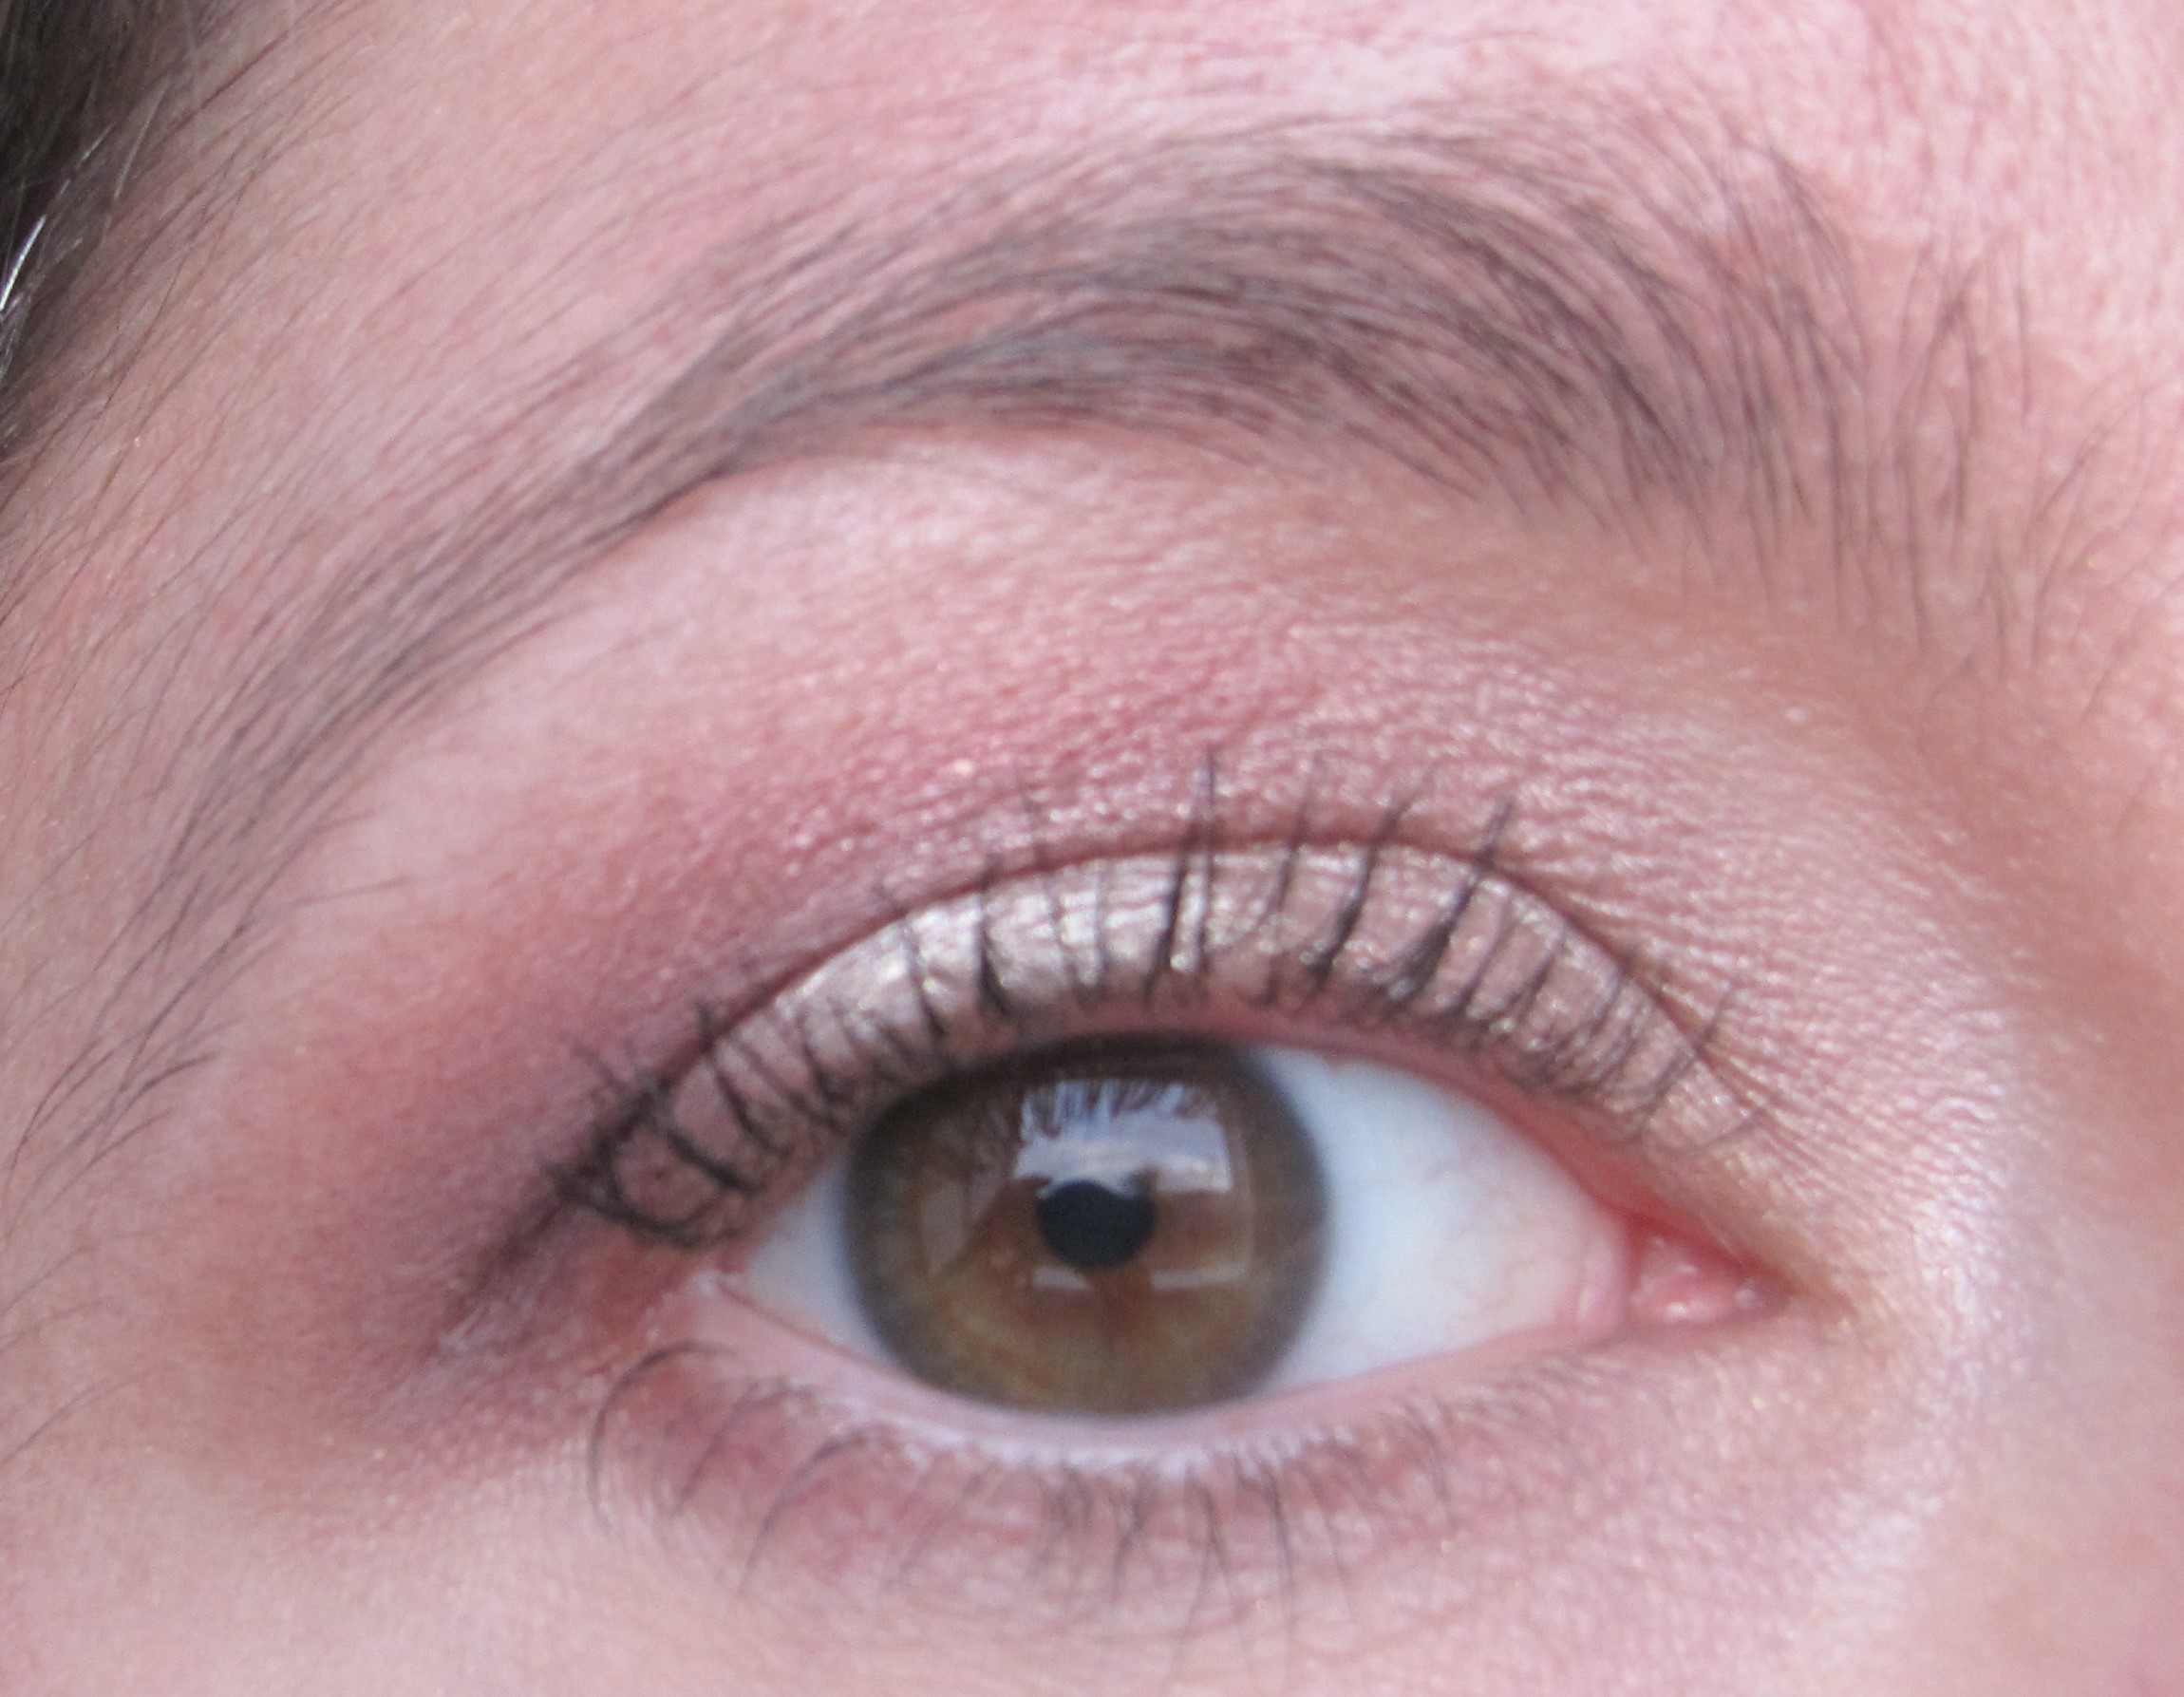
I have used the ‘Sunlit Orange and Peach‘ look (which is already on the site) as an illustration for how to create this type of eyeshadow style. Here’s how to create the highlighted look:
Click here to read my article ‘Parts of the Eye’ for help on where to place eyeshadow colours.
Products
Chosen Eyeshadow Base
Your chosen medium or dark crease colour
Your chosen medium inner lid and outer lid
Your chosen lighter shimmery/satin to highlight the middle of the lid
Highlighter eyeshadow close to your skin tone
Eyeshadow for Inner lower lashline and outer lower lashline: same as your chosen inner/outer lid colour
Eyeshadow for middle lower lashline: same as your chosen middle lid colour
Black mascara
Steps
1. Apply an eyeshadow base all over the lid. For this look, I used MAC Rubenesque Paint Pot, which is a light shimmery gold-peach. You can either use your fingers or a flat synthetic brush (e.g. MAC 242).
2. Apply your chosen medium/dark crease colour to the crease of the eye with a crease/blender brush using a windshield wiper motion (e.g. MAC 217). Applying eyeshadow to the crease adds extra definition and shape to the eye. I used MAC Coral eyeshadow, which is a medium bright matte coral.
3. Pat your chosen medium shade onto the inner and outer sections of the lid, using a flat shader brush (e.g. MAC 239). Keep the middle of the lid free of colour. I used MAC Mythology, which is a medium sparkly copper with pink hints.
4. Take a flat shader brush (e.g. MAC 239) and pat your chosen lighter shinmmery/satin shade on to the middle of the lid. I used MAC Straw Harvest, a light satin orangey-peach, as it was in the same colour family as the other shades but lighter, helping to create a tonal highlighted effect.
5. Using a crease/blender brush (e.g. MAC 217) or a pointed crease brush (e.g. MAC 226), sweep your chosen highlighter shade on to the browbone to highlight. I used MAC Ricepaper, a light shimmery cream-gold.
6. Take an angled eyeliner brush (e.g. MAC 266) and apply the same colour you used on the inner/outer lid sections to the inner and lower lashline (I used MAC Mythology here). Take the same brush and apply the same colour you used on the middle of the upper lid (I used MAC Straw Harvest) to the middle of the lower lashline.
7. Apply mascara to the top and bottom lashes.
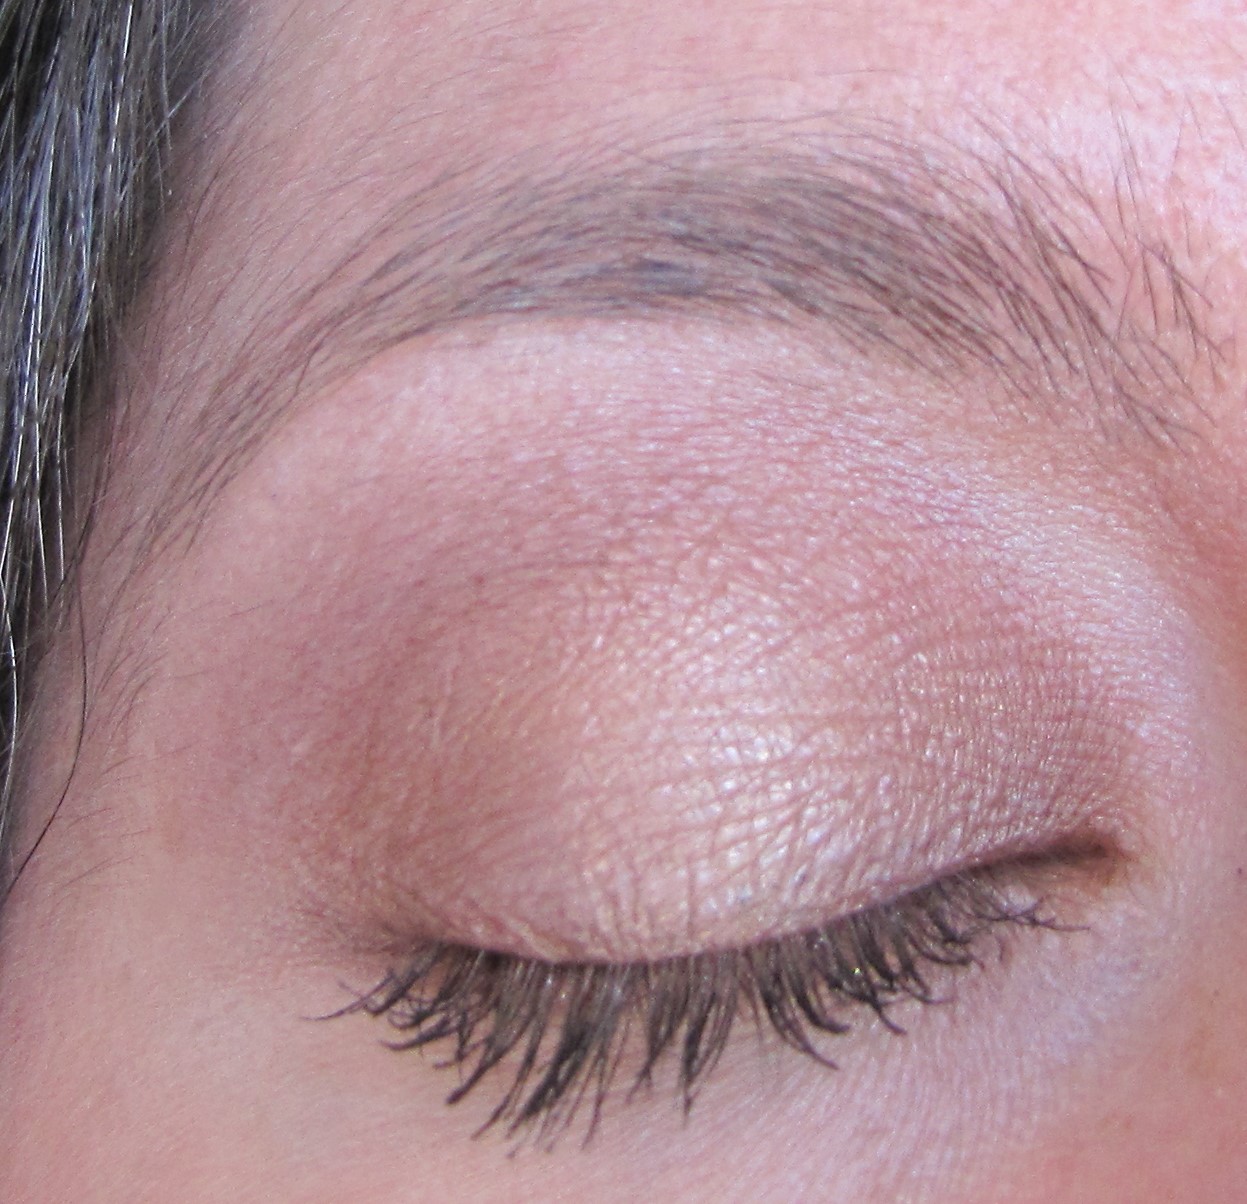
Here are two more pictures, one of the ‘Sunlit Orange and Peach’ look, and the other of the ‘Bronzed Glow’ look (sneak peak). The ‘Bronzed Glow’ look uses a matte rose-brown in crease, satin medium brown in inner/outer lid and shimmery light peachy-brown to highlight the middle lid.

love these tips for all about eyes!
Glad you found the tips helpful, Pearl! Is there anything else you would like some tips on in terms of eye make-up?