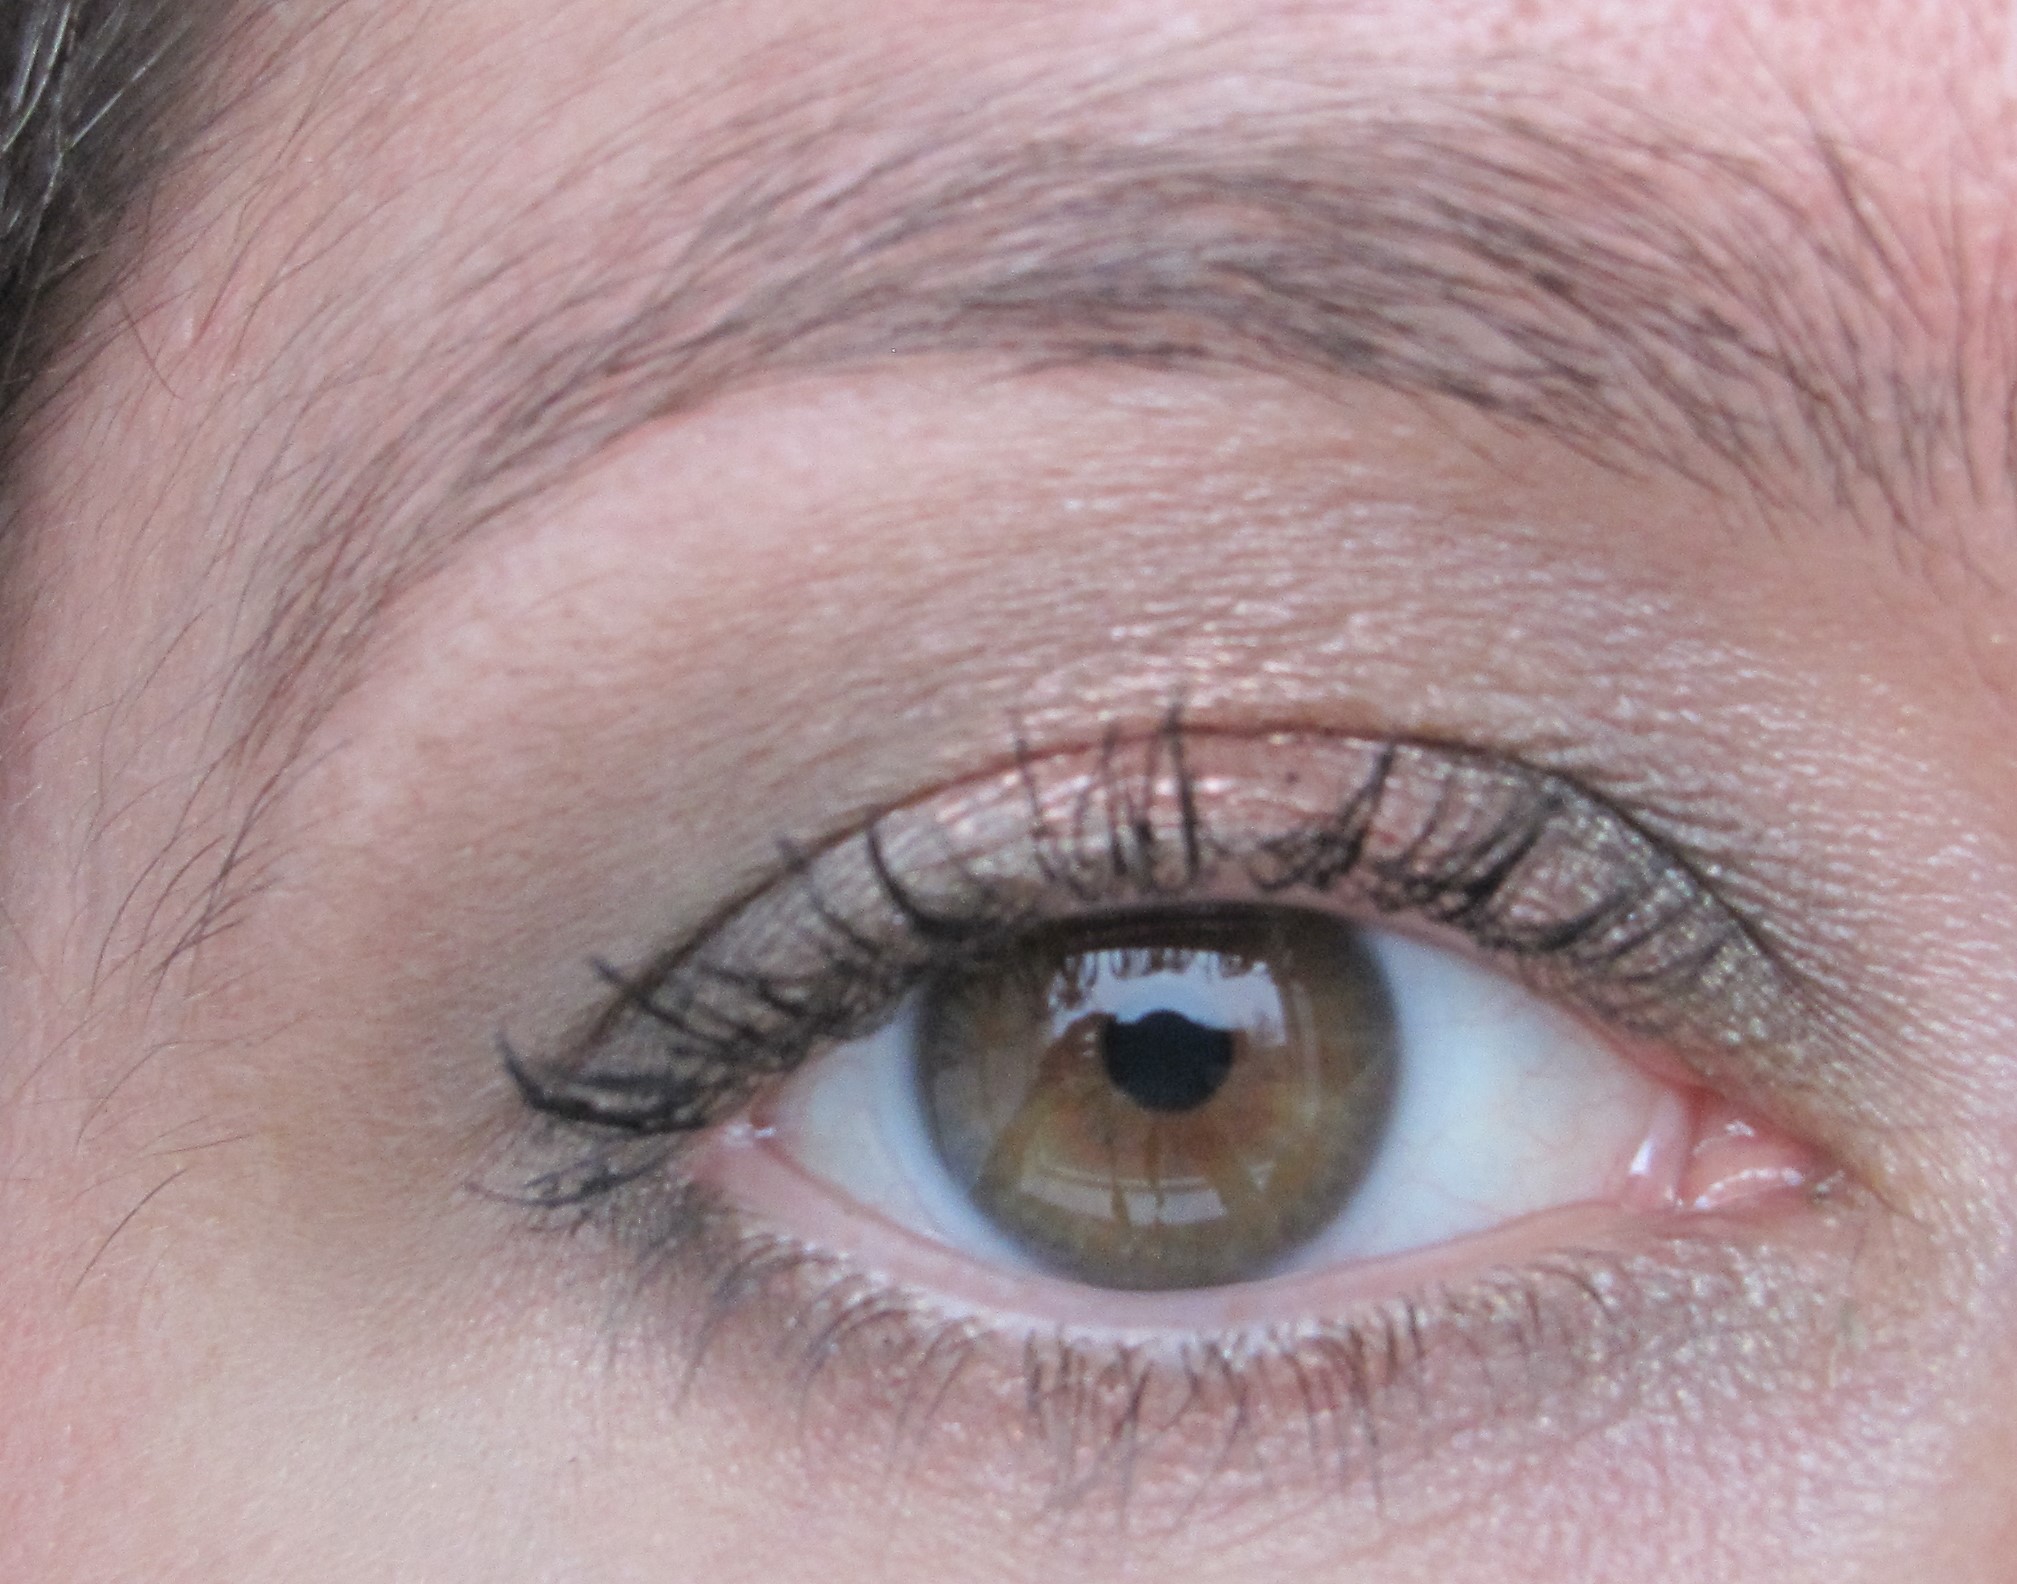
For this look, I used olive green and metallic pink-peach eyeshadows to create a highlighted effect on the eye. This type of look uses a darker shade in the inner/outer lids and a light shade in the middle of the lid, helping to made eyes look rounded and bigger.
I used the Urban Decay Vice 2 Palette to create this look but you can easily swap in other brands with similar shades.
Note: Click on the following link (‘Highlighted Look‘) if you would like to learn more tips and tricks for this style of eyeshadow application.
Here’s how to re-create this look:
Products
Base: Urban Decay Primer Potion in Original (clear)
Crease: Urban Decay Rewind eyeshadow (medium matte cool brown)
Inner and Outer Lid: Urban Decay Stash eyeshadow (deep shimmery olive green)
Middle Lid: Urban Decay Toxic eyeshadow (medium metallic pink-peach) + Urban Decay All-Nighter Setting Spray
Highlight: Urban Decay Habit eyeshadow (pale matte beige)
Inner+Outer Lower Lashline: Urban Decay Buzz eyeshadow (as above)
Middle Lower Lashline: Urban Decay Burnout eyeshadow (as above)
Black mascara
Steps
1. Apply Primer Potion all over the lid. You can either use your fingers or a flat synthetic brush (e.g. MAC 242).
2. Sweep Rewind into the crease using a windshield wiper motion (e.g. MAC 217). This step helps add some shape to the eye.
3. Take a flat shader brush (e.g. MAC 239) and pat Stash on to the outer lid and the inner lid. Keep the middle section of the lid free of colour, as we will be applying a lighter shade there in the next stage.as a base.
4. Take a flat shader brush (e.g. MAC 239) and load it with some Toxic eyeshadow. Spritz the brush with All-Nighter Setting Spray and apply Toxic on to the middle of the eyelid. Repeat this stage (eyeshadow, spritz with spray, pat on middle of lid) for the other eye. Applying the eyeshadow with a spritz of setting spray (or water, if you prefer this option) makes the eyeshadow look more intense and shimmery on the eye. Be careful not to get water on to the eyeshadow itself, as this may cause the product to harden. Don’t worry if Toxic looks like it is standing out slightly, as we are aiming to create a highlighted effect in the middle of the eyelid.
5. If you find that that there is too much contrast between the shades in the inner/outer lid and the middle lid, take a little of each shade at a time so that they overlap. Try patting a little more of Toxic (dry this time) just where it meets Stash. You can also apply a little more of Stash just where it meets the edges of Toxic. Adding a little extra colour here and there can help the two shades transition more smoothly into one another.
6. Using a crease/blender brush (e.g. MAC 217) or a pointed crease brush (e.g. MAC 226), sweep Habit on to the browbone to highlight and blend out the edges of the crease colour.
7. Take an angled eyeliner brush (e.g. MAC 266) and apply Stash to the inner lower lashline and the outer lower lashline. Keep the middle of the lower lashline free of colour as we will be applying a lighter shade to this area in the next stage.
8. Take the same angled liner brush (e.g. MAC 266) and apply Toxic to the middle of the lower lashline. You can run a clean finger along the line if you wish to smooth out and blend the edges of Stash and Burnout together more.
9. Apply black mascara to the top and bottom lashes.
Here’s one more picture of the finished look: