

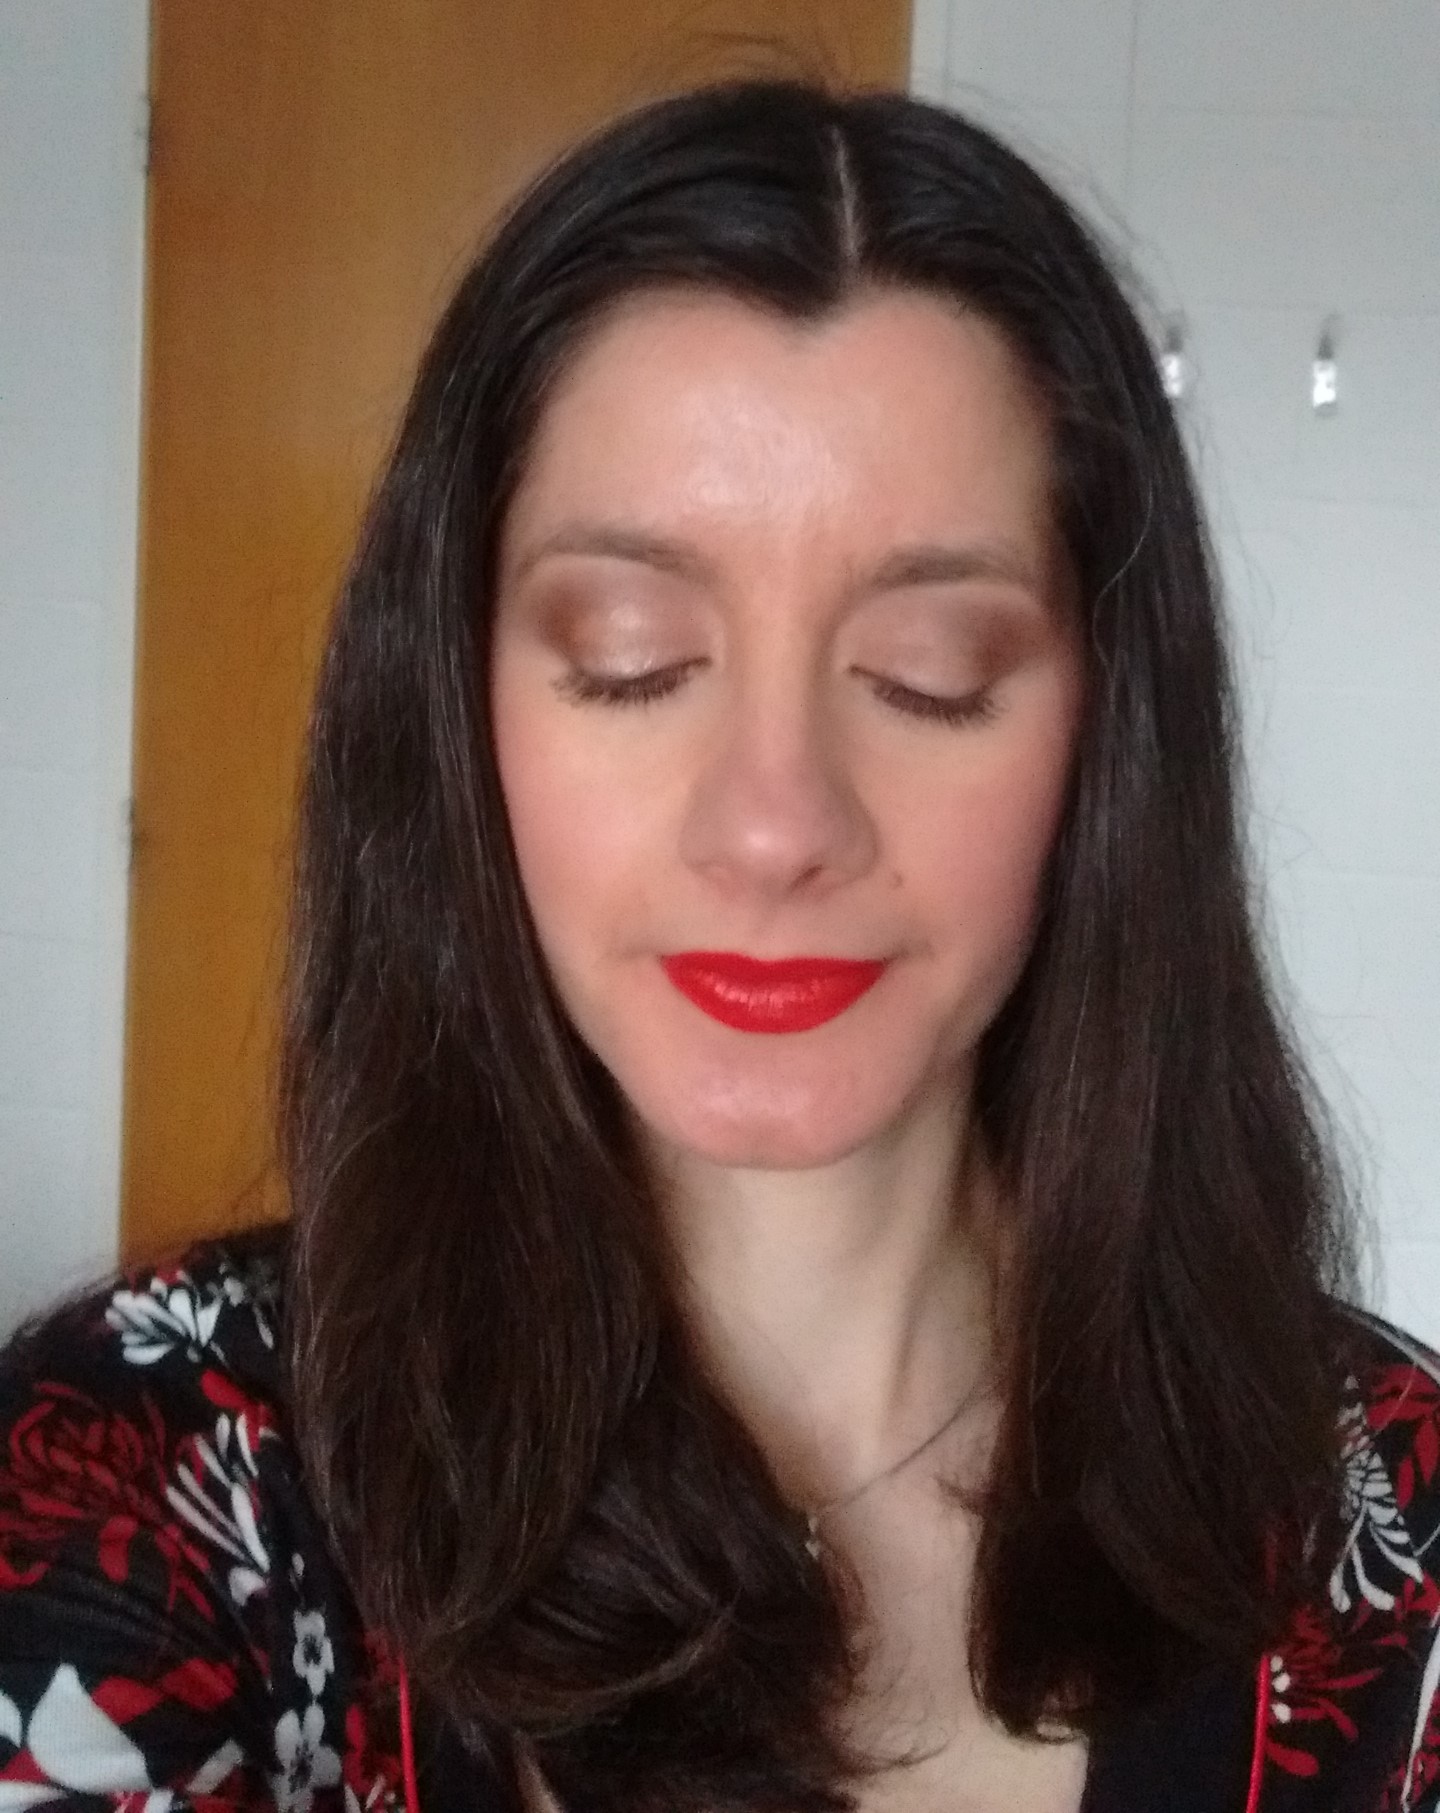
For this look, I created a neutral, yet defined effect on the eyes to really make the red lips stand out. Using neutral brown tones on the eyes means that you can easily wear any shade of red on the lips that you fancy.
Tip: Hot pinks, bright corals and deep aubergines would all work if you want to wear a bold shade on the lips. Alternatively, nudes and rose-pinks would work just as well if you want to keep the overall look very natural.
Looking for more tips, techniques and look ideas for when wearing red lipstick? If so, you might like other articles and products featured as part of the ‘All About Red Lips’ series.
Here’s how to re-create this look:
Products
Base: Urban Decay Primer Potion in Original
Crease: MAC Folie eyeshadow (matte medium reddish brown)
Lid: MAC All That Glitters eyeshadow (shimmery light peachy-brown)
Deepen Crease: MAC Embark eyeshadow (deep matte dark brown)
Highlight: MAC Shroom eyeshadow (light satin beige)
Lower Lashline: MAC Folie (outer half) + MAC All That Glitters (inner-middle sections) (as above)
Black mascara (upper and lower lashes)
Cheeks: Hourglass blusher in Luminous Flush (pink-coral with gold sheen)
Cheek Highlighter: The Balm Mary-Lou Manizer (light champagne-gold) (click to read more about this product)
Lip Liner: Urban Decay 24/7 Lip Liner in Ozone (clear)
Lips: Max Factor Lipstick in Ruby Tuesday (classic satin red)
Steps
1. Apply Primer Potion all over the lid as a base. You can either use your fingers or a flat synthetic brush (e.g. MAC 242).
2. Sweep Folie into the crease using a windshield wiper motion (e.g. MAC 217).
3. Apply All That Glitters on to the eyelid using a gentle patting motion (e.g. MAC 239).
4. Deepen the crease using Embark on a crease/blender brush (e.g. MAC 217). Take Embark into the outer v as well to help shape the eye. Deepening the crease provides extra smokiness and adds depth to the eye.
5. Using a crease/blender brush (e.g. MAC 217) or a pointed crease brush (e.g. MAC 226), sweep Shroom on to the browbone to highlight and blend out the edges of the crease colour.
6. Take an angled liner brush (e.g. MAC 266) and sweep Folie along the outer part of the lower lashline. Take the same brush and sweep All That Glitters from the inner-mid lower lashline. You can lightly sweep the brush (or a clean finger) along the lower lashline to help the shades blend together more.
7. Apply black mascara to the top and bottom lashes.
8. Take an angled blusher brush (e.g. MAC 168) and apply Luminous Flush blusher to the cheeks.
9. Take a small contour or highlight brush (e.g. MAC 109) and dust Mary-Lou Manizer on to the top of the cheekbones. This step helps to highlight the cheekbones and make them look more pronounced. You can also apply a little of Mary-Lou Manizer lightly at the top of the cupid’s bow (on your lips), lightly across the forehead and down the centre of the nose to further brighten the face.
10. Line the outside of the lips with Ozone lip liner. Using a lip liner gives the lips extra definition and prevents lipsticks from ‘bleeding’ outside the lip line. You can fill in the lip area as well, if you like, as this can help the lipstick adhere better.
11. Apply a slick of Ruby Tuesday lipstick on the lips. Blot with a tissue and then apply another layer of Ruby Tuesday. Blotting and re-applying lip colour helps it to last longer on the lips.
Here are some bigger versions of the pictures above, in case you want to take a closer look at this ‘Face of the Day’:
