

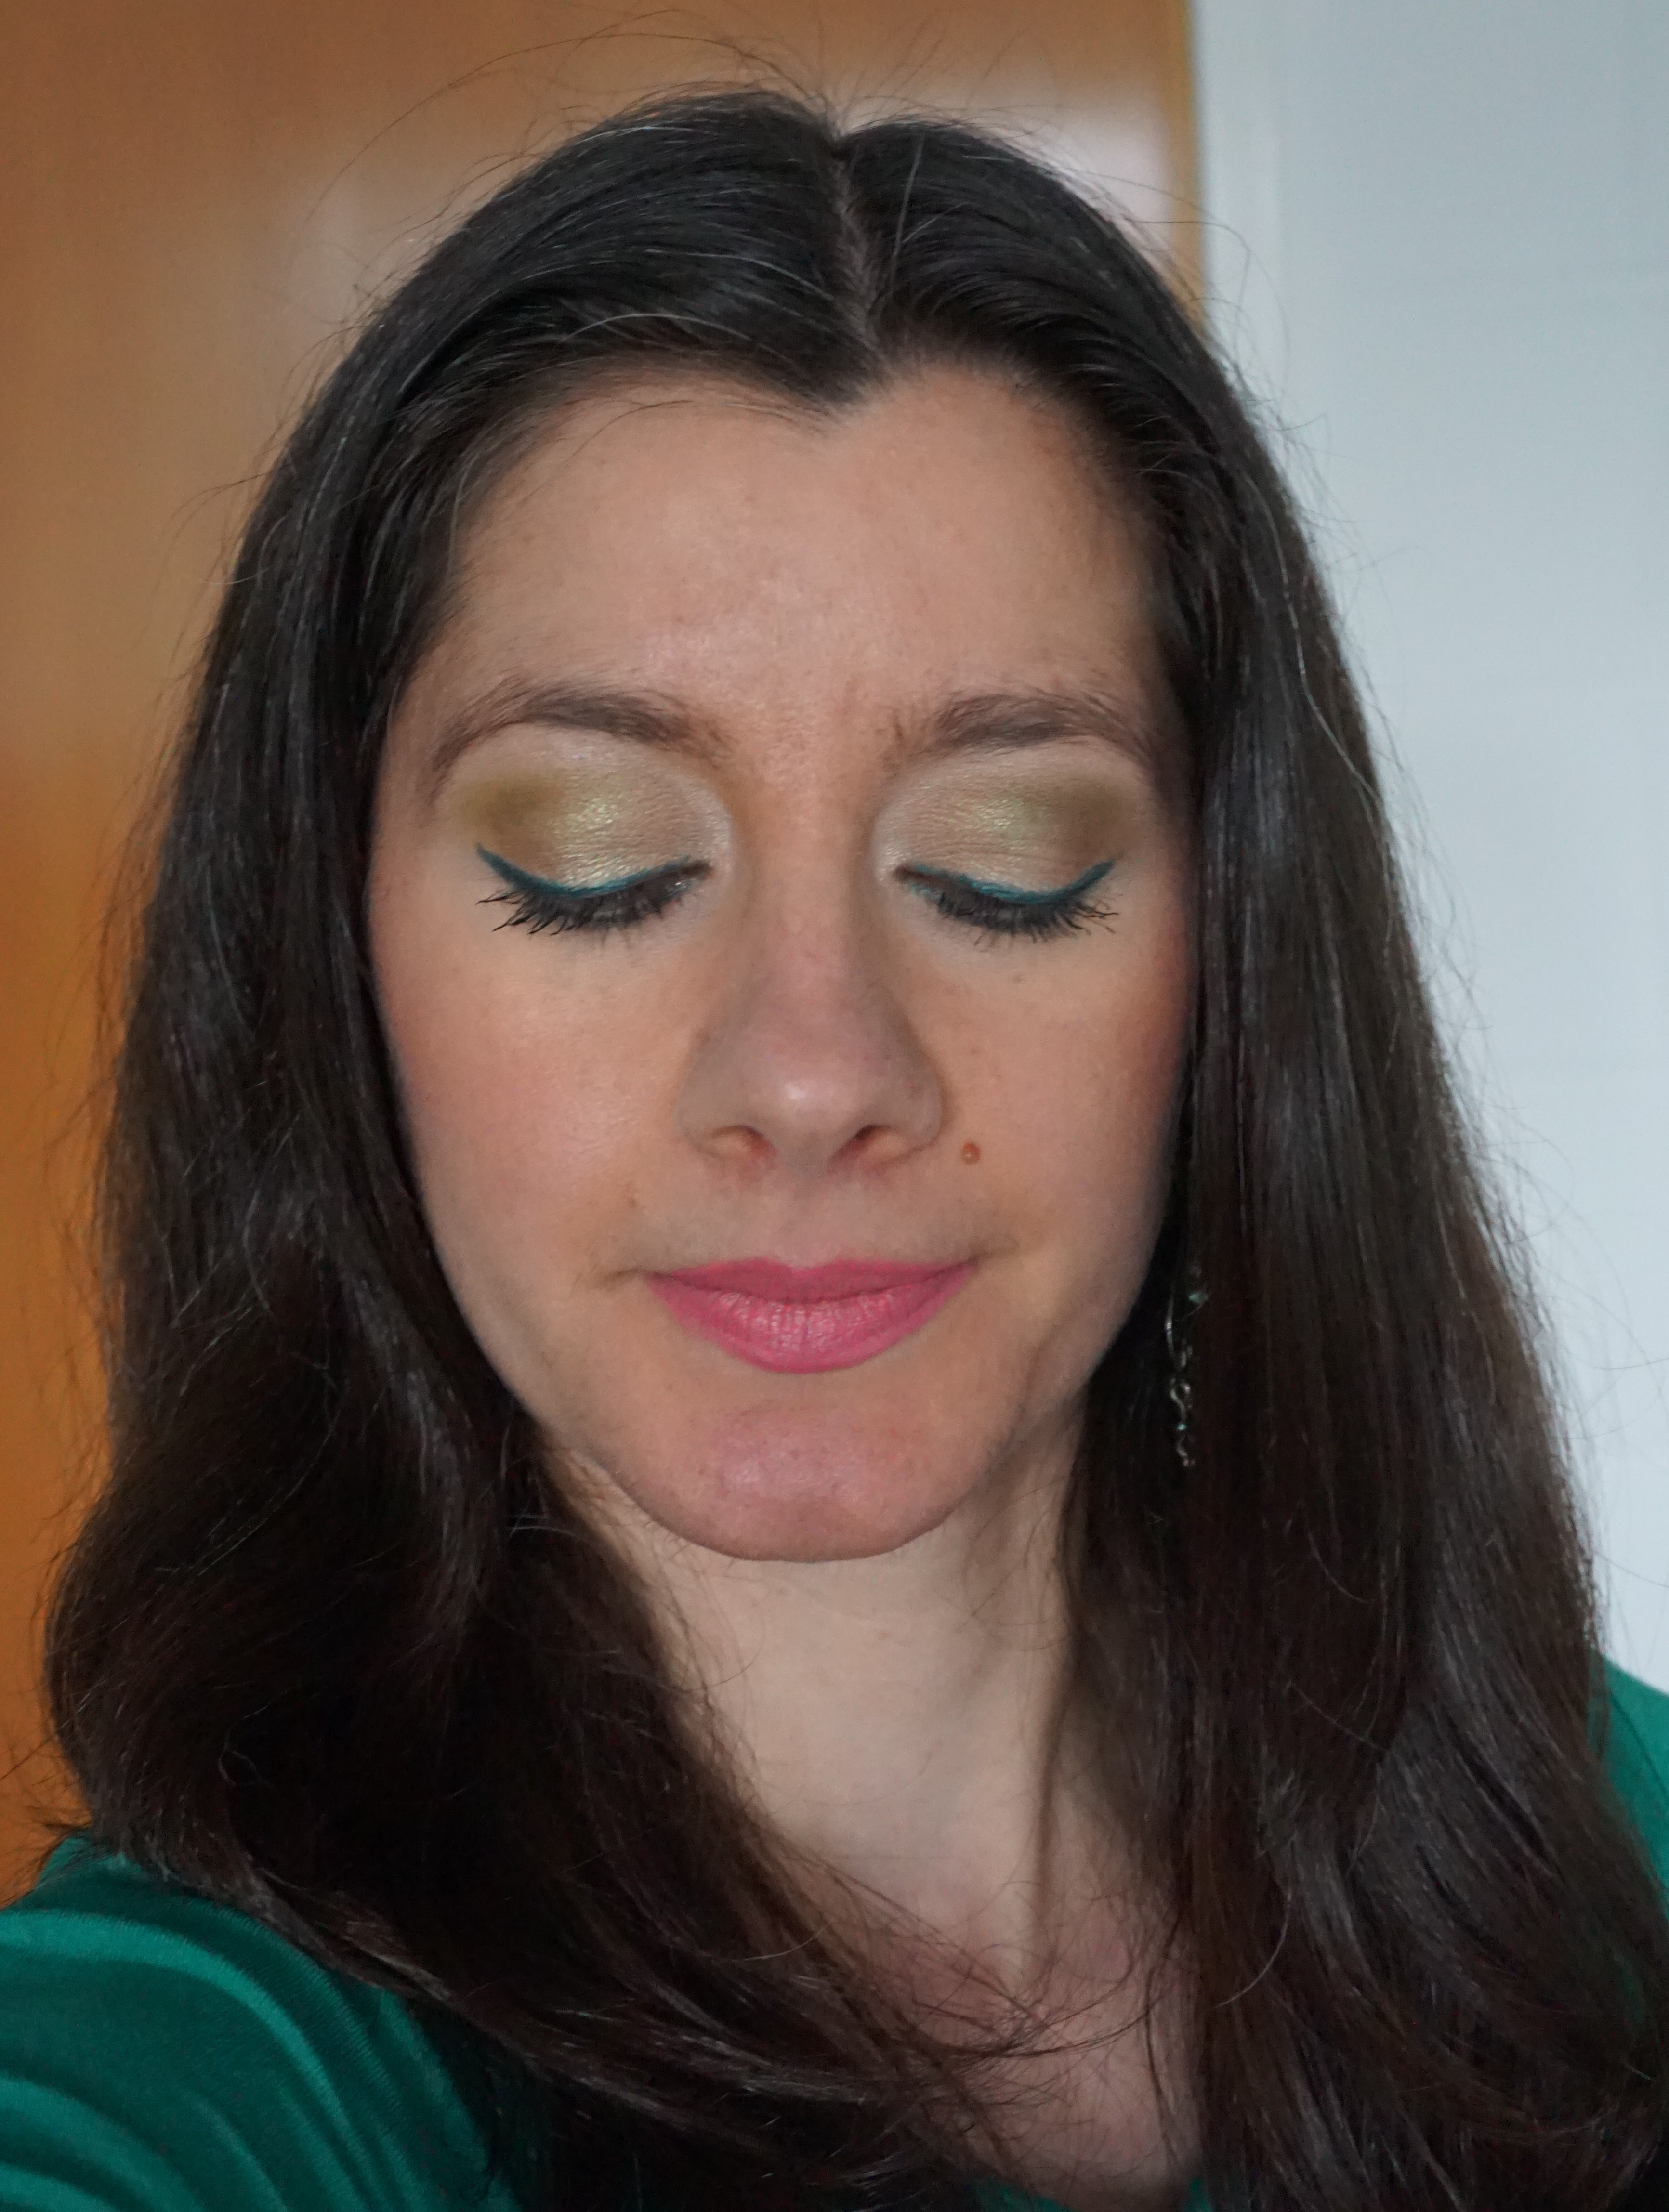


Green is one of my favourite colours and so I wanted to create a look based around this shade. I combined together the NYX Slide-on Eye Pencil in Tropical Green with gold and lime green eyeshadows. I completed the look with golden peach blusher on the cheeks and a satiny peachy-coral on the lips.
Here’s how to re-create this look:
Products
Base: MAC Painterly Paint Pot (neutral light beige)
Upper/Lower Lashlines: NYX Slide on Eye Pencil in Tropical Green (deep emerald green) (click on the link to read more on this product)
Crease: MAC Lime eyeshadow (light matte lime)
Deepen Crease: MAC Cork eyeshadow (medium matte neutral brown)
Lid: Urban Decay Sideline eyeshadow (light pearly yellow-gold with green hints)
Highlight: MAC Shroom eyeshadow (light satin beige)
Black mascara (upper and lower lashes)
Cheeks: Too Faced Love Flush blusher in ‘I Will Always Love You’ (golden peach)
Cheek Highlight: MAC Mineralise Skinfinish in Fairly Precious (shimmery peach with gold)
Lips: MAC lipstick in Betty Bright (satin peach with coral hints)
Steps
1. Apply Primer Potion all over the lid as a base. You can either use your fingers or a flat synthetic brush (e.g. MAC 242).
2. Use Tropical Green eyeliner to line your upper and lower lashlines.
3. Apply Lime in the crease of the eye with a crease/blender brush using a windshield wiper motion (e.g. MAC 217).
4. Take Cork eyeshadow onto a crease/blender brush (e.g. MAC 217) and deepen the crease. Adding a neutral brown eyeshadow helps ‘ground’ the look and stops it from looking too green.
5. Take a flat shader brush (e.g. MAC 239) and pat Sideline on to the lid. Try to avoid applying Sideline over the liner so that it stays green. I applied my lid colour after my liner as I didn’t want the liner colour to change (using green liner on top of a yellowy eyeshadow can sometimes turn it turquoise). However, you can always apply the lid colour first, followed by the liner, if you prefer to do your make-up in that way.
6. Using a crease/blender brush (e.g. MAC 217) or a pointed crease brush (e.g. MAC 226), sweep Shroom on to the browbone to highlight. Take this down into the inner corner as well to brighten the eye.
7. Apply black mascara to the top and bottom lashes.
8. Take an angled blusher brush (e.g. MAC 168) and apply I Will Always Love You blusher to the cheeks.
9. Take a small contour or highlight brush (e.g. MAC 138) and dust Fairly Precious on to the top of the cheekbones. This step helps to highlight the cheekbones and make them look more pronounced. You can also apply a little of Fairly Precious lightly at the top of the cupid’s bow (on your lips), lightly across the forehead and down the centre of the nose to further brighten the face.
10. Line the outside of the lips with Ozone lip liner. Using a lip liner gives the lips extra definition and prevents lipsticks from ‘bleeding’ outside the lip line. You can fill in the lip area as well, if you like, as this can help the lipstick adhere better.
11. Apply a slick of Betty Bright lipstick on the lips. I love peachy-pink and coral lip colours with green eyeshadow looks.
Here are some larger versions of the photos above, in case you want to take a closer look:
