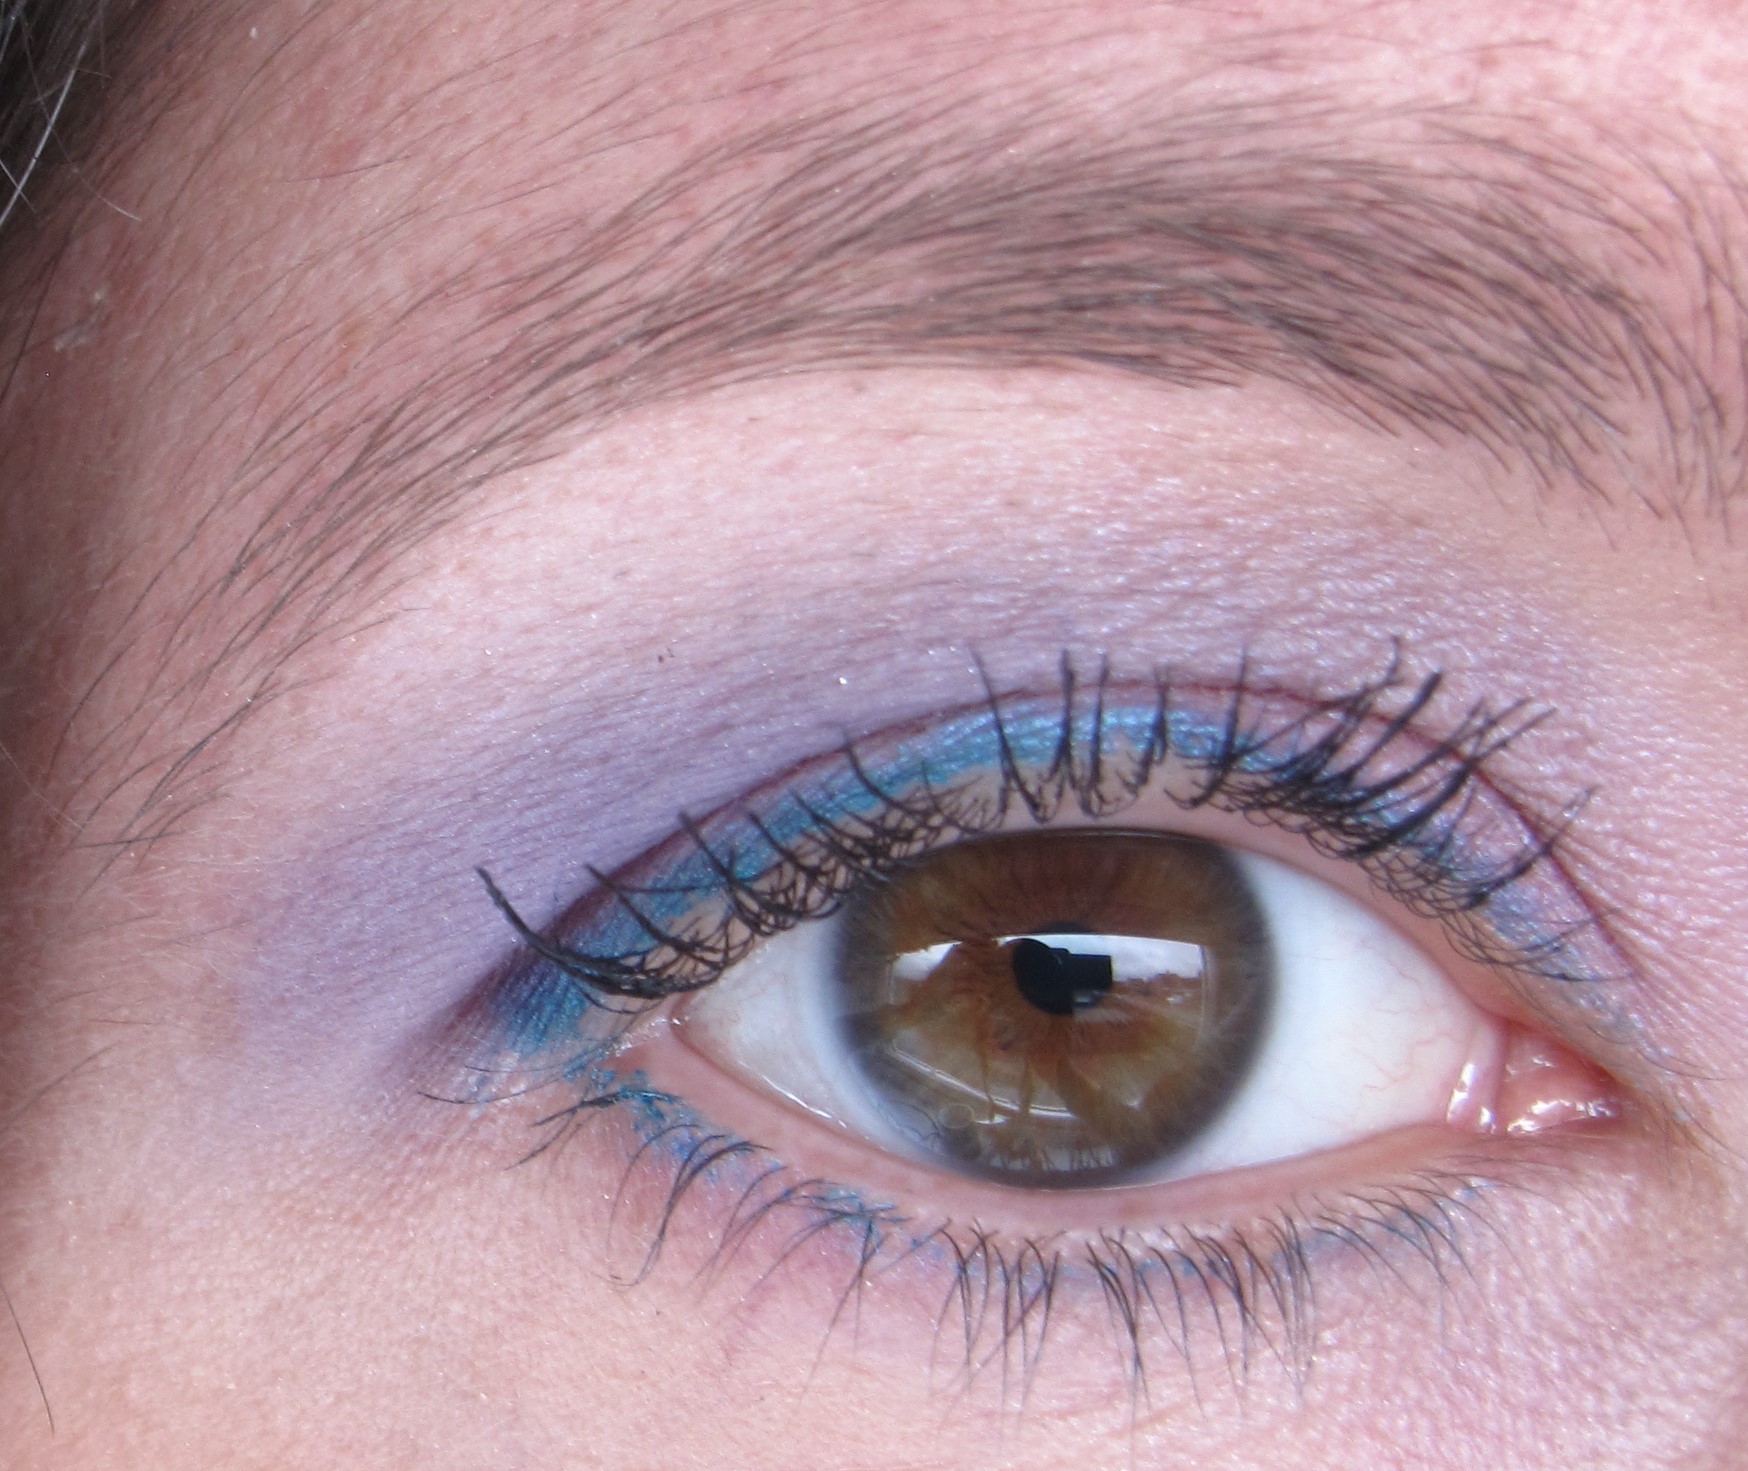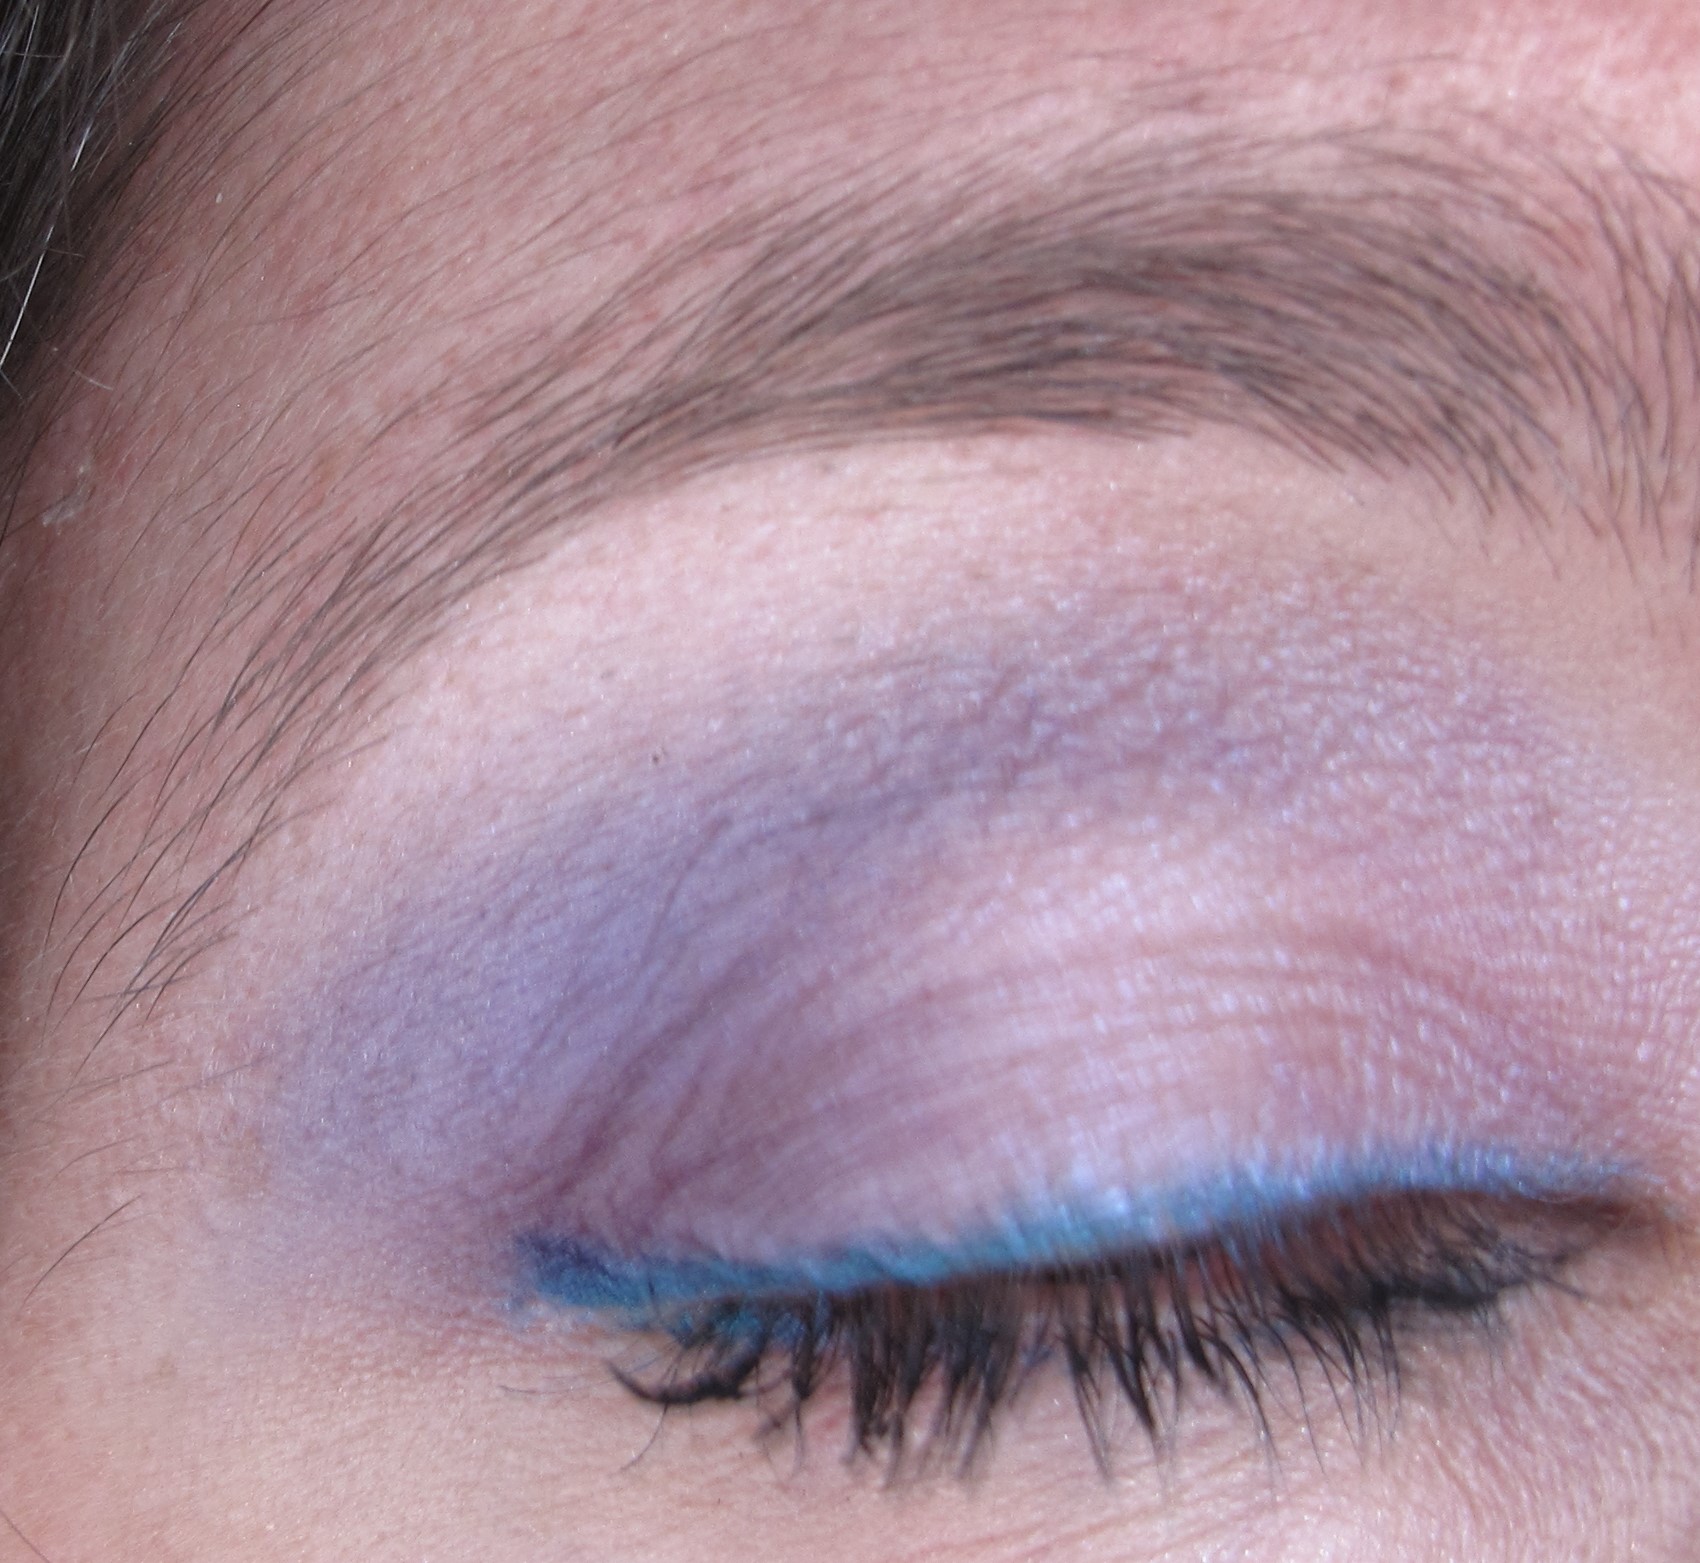
For this look, I combined a teal-green liner with pinks and purples to create a colourful, candy-like eye. Applying a pinky-purple eyeshadow over the eyeliner transformed the teal-green into a pretty shade of turquoise and helped tie the overall look together. Here’s how to re-create this look:
Products
Base: Urban Decay Primer Potion (original)
Upper and Lower Lashlines: UD Vacancy Eyeliner (bright teal-green)
Crease and Outer Lid: MakeUpGeek Unicorn eyeshadow (bright satin violet)
Lid: MAC Blooming Mad eyeshadow (light iridescent pinky-purple)
Outer Lid: MAC Fig 1 eyeshadow (dark matte eggplant purple)
Highlight: MAC Creamy Bisque eyeshadow (light satin cream)
Lower Lashline: MAC Blooming Mad eyeshadow (as above)
Black mascara (upper and lower lashes)
Steps
1. Apply Primer Potion all over the lid as a base. You can either use your fingers or a flat synthetic brush (e.g. MAC 242).
2. Use Vacancy eyeliner to line your upper and lower lashlines. The lines do not have to be perfect as the eyeshadow applied to the lid in stage 4 will help blend/soften the overall effect.
3. Sweep Unicorn into the crease using a windshield wiper motion (e.g. MAC 217). Take a little of Unicorn into the outer lid as well to help shape the eye.
4. Apply Blooming Mad on to the eyelid using a gentle patting motion (e.g. MAC 239). Applying the lid colour over the liner helps to soften the lines and also turns the liner from stage 2 into a pretty shade of turquoise.
5. Take a small brush (e.g. MAC 228; edge of MAC 239) and pat a little of Fig 1 onto the outer lid. This stage helps give the eye extra depth.
6. Using a crease/blender brush (e.g. MAC 217) or a pointed crease brush (e.g. MAC 226), sweep Creamy Bisque on to the browbone to highlight and further blend out the edges of the crease colour.
7. Take a pencil brush (e.g. MAC 219) and pat a little of Blooming eyeshadow along the lower lashline. Using the same colour as on the lid in this stage helps to tie the overall look together.
8. Apply black mascara to the top and bottom lashes.
Here’s one more picture of the finished look: