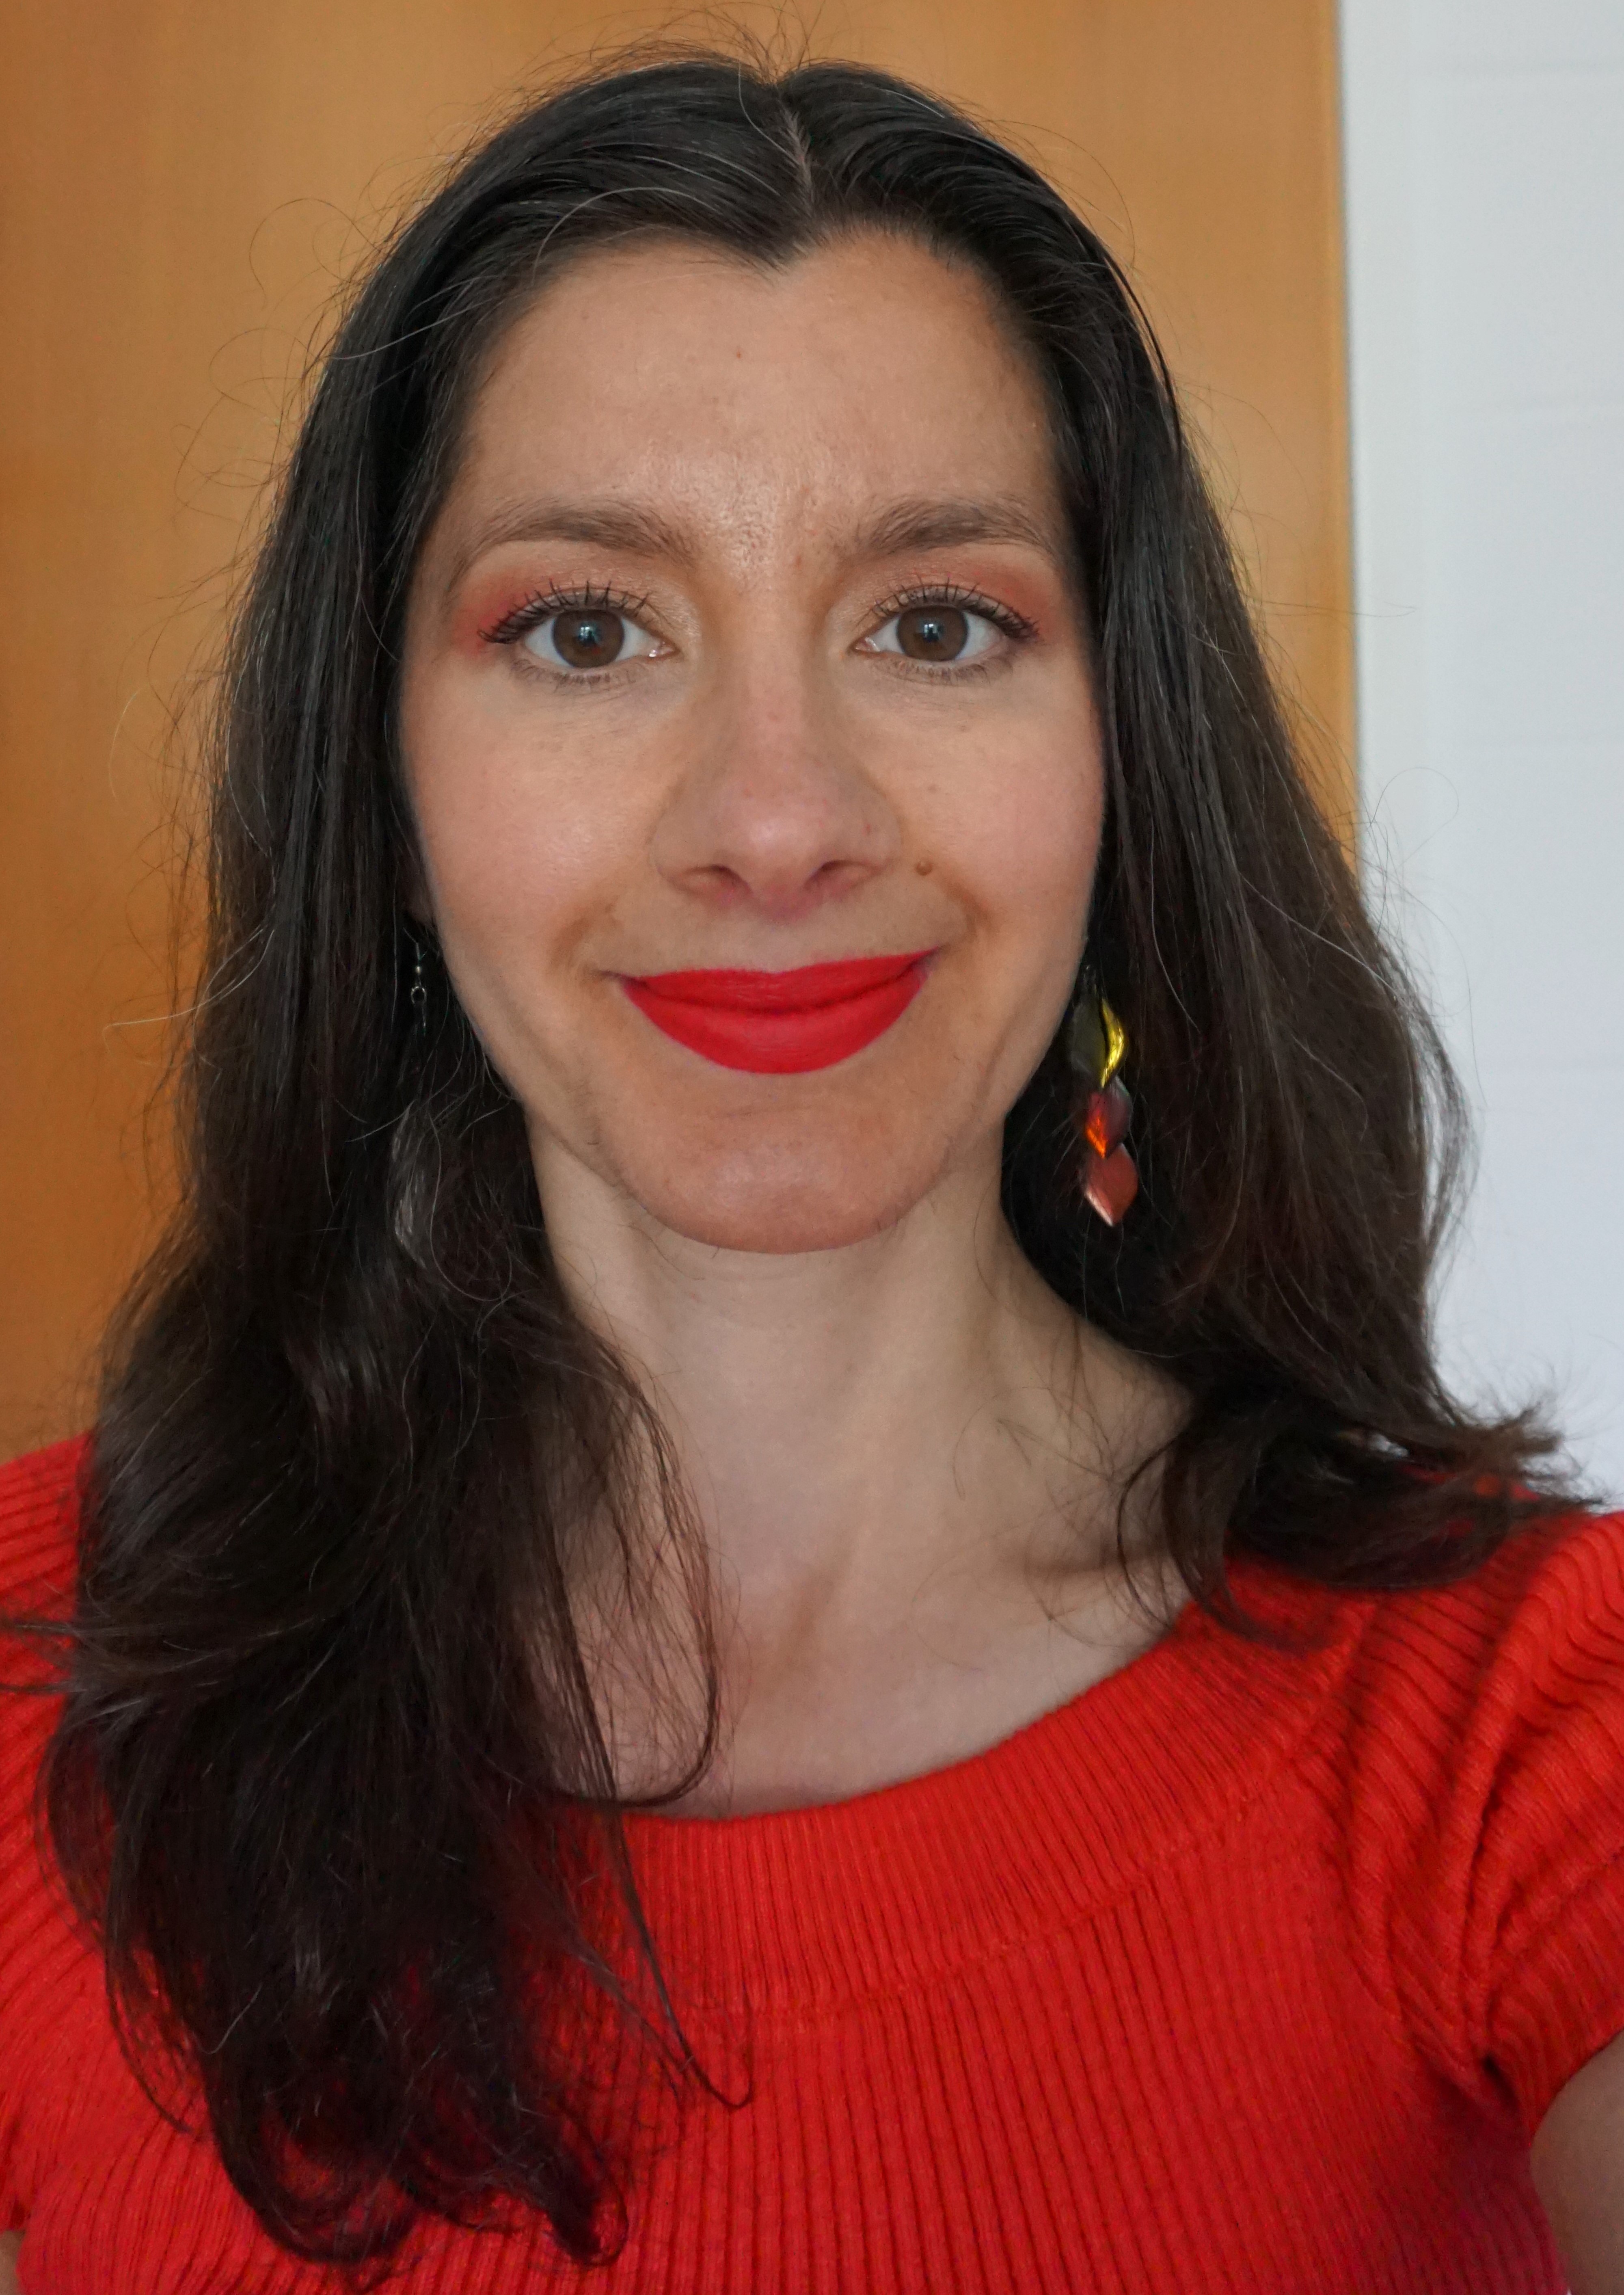

This look shows that red lipstick can be used with eyeshadow shades other than neutrals. I used peach and coral-red eyeshadows on the eyes to create a very fresh, slightly colourful effect on the eyes.
I completed the look using a peachy-pink blusher (MAC Pinch O’Peach) and a matte, pinky-red lipstick (Loreal Colour Riche Lipstick in Julianne’s Pure Red).
Looking for more tips, techniques and look ideas for when wearing red lipstick? If so, you might like other articles and products featured as part of the ‘All About Red Lips’ series.
Here’s how to re-create this look:
Click here to read my article ‘Parts of the Eye’ for help on where to place eyeshadow colours.
Products
Base: Urban Decay Primer Potion in Original
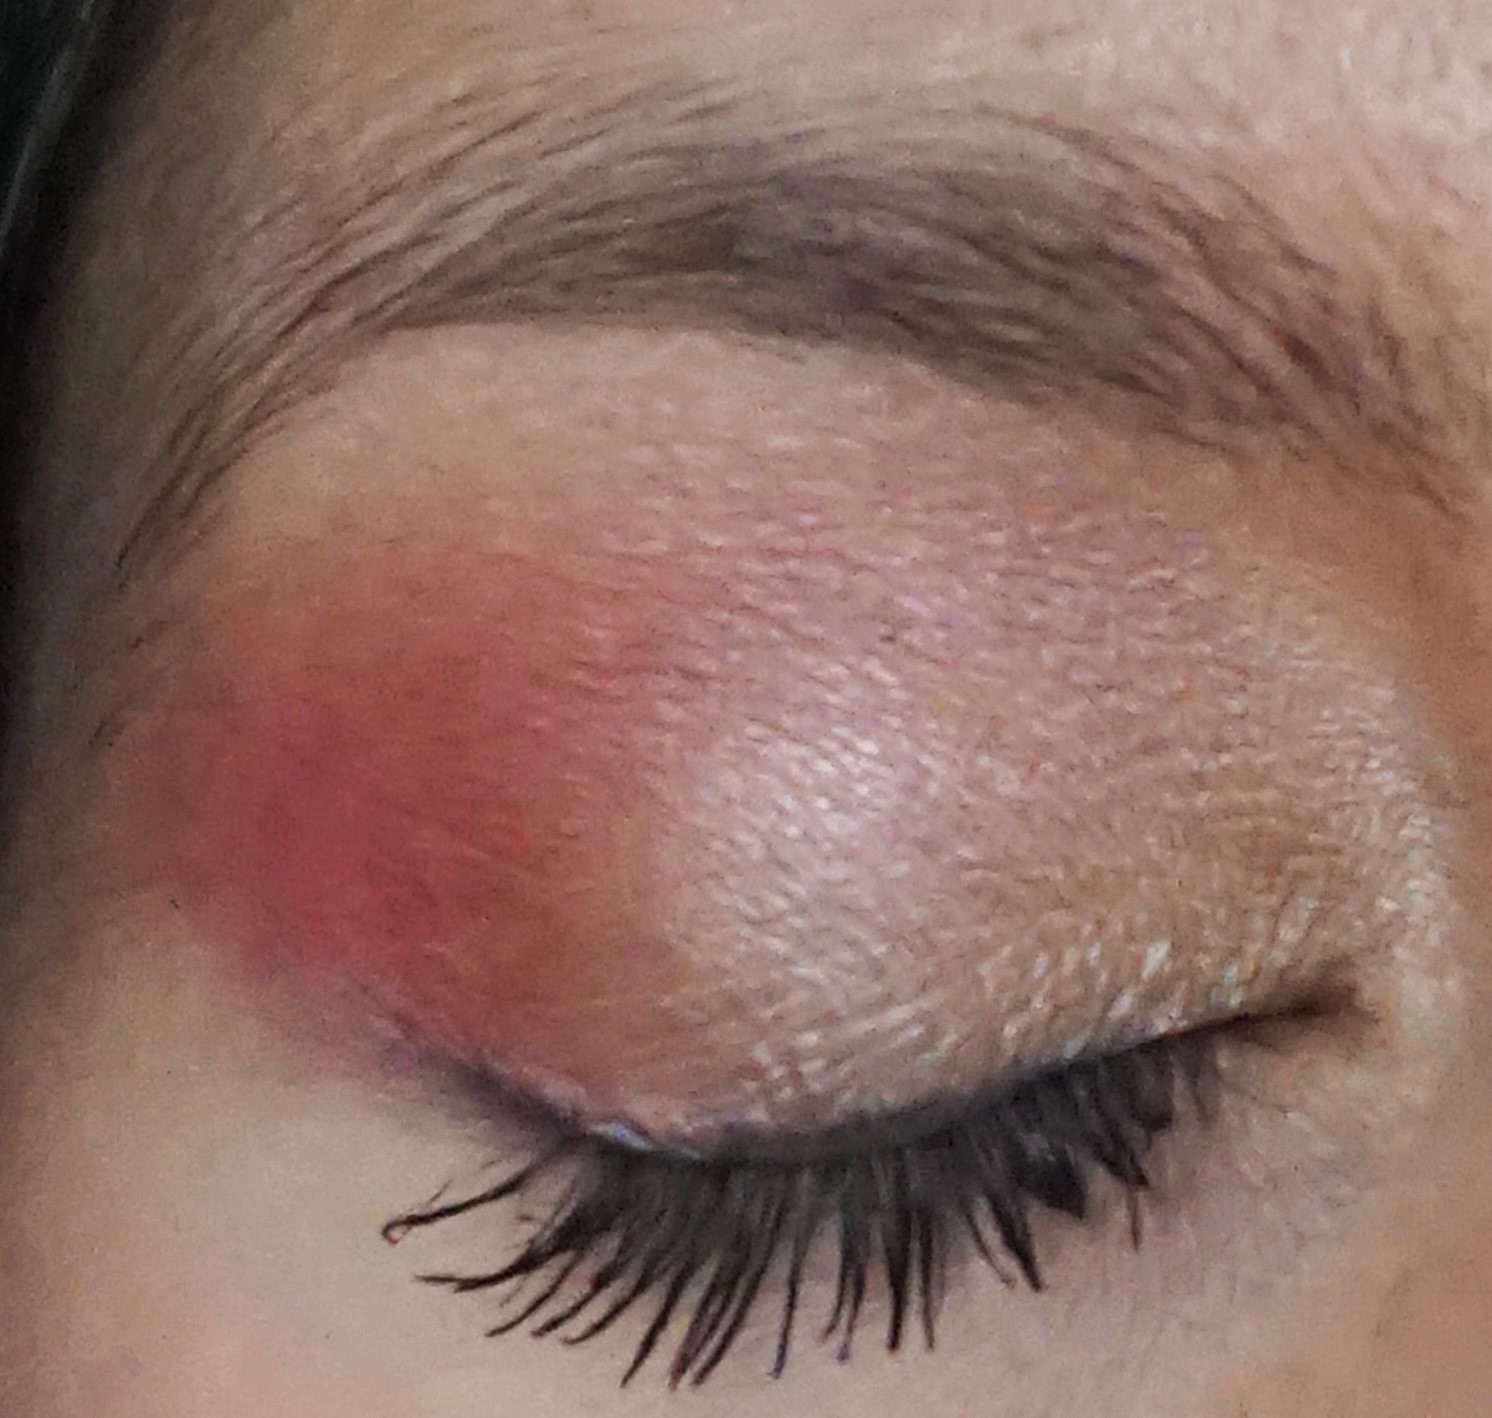
Crease: MAC Hot Hot Hot eyeshadow (medium matte bright coral red)
Lid: MAC Straw Harvest eyeshadow (light satin orangey-peach)
Highlight: MAC Ricepaper eyeshadow (light shimmery cream-gold)
Upper Lashline: MAC Black-Tied eyeshadow (deep satin black with sparkles)
Black mascara (upper and lower lashes)
Cheeks: MAC Pinch O’Peach Blusher (click to read more about this product)
Cheek Highlighter: The Balm Mary-Lou Manizer (light champagne-gold) (click to read more about this product)
Lipliner: Urban Decay 24/7 Glide-On Lip Pencil in Ozone (clear)
Lipstick: Loreal Colour Riche Lipstick in Julianne’s Pure Red (matte pinky-red)
Steps
1. Apply Primer Potion all over the lid as a base. You can either use your fingers or a flat synthetic brush (e.g. MAC 242).
2. Sweep Hot Hot Hot into the crease using a windshield wiper motion (e.g. MAC 217).
3. Take a flat shader brush (e.g. MAC 239) and gently pat Straw Harvest on to the eyelid.
4. Using a crease/blender brush (e.g. MAC 217) or a pointed crease brush (e.g. MAC 226), sweep Ricepaper on to the browbone to highlight and blend out the edges of the crease colour.
5. Take an angled liner brush (e.g. MAC 266) and lightly stamp Black-Tied along the upper lashline. Apply the liner just to the middle-outer part of the lashline. Keeping the inner part free of any liner can help to make the eyes look bigger and more rounded. I used an eyeshadow for this step as I wanted very soft definition. You can always use a pencil or gel liner if you want stronger definition along the lashline.
6. Apply plenty of black mascara to the top lashes and a little to the lower lashes as well.
7. Take a blusher brush (e.g. Real Techniques Multi-Task Brush) and apply Pinch O’Peach blusher to the cheeks.
8. Take a small contour or highlight brush (e.g. Real Techniques Setting Brush) and dust Mary-Lou Manizer on to the top of the cheekbones. This step helps to highlight the cheekbones and make them look more pronounced. You can also apply a little of Mary-Lou Manizer lightly at the top of the cupid’s bow (on your lips), lightly across the forehead and down the centre of the nose to further brighten the face.
9. Take Ozone lip liner and line around the edges of the lips. Apply one coat of Julianne’s Pure Red to the lips. Blot your lips with a tissue and then apply another layer of the lipstick. Blotting the lipstick and applying lighter coats helps the colour to last longer.
Here are some closed eye shots of the look: