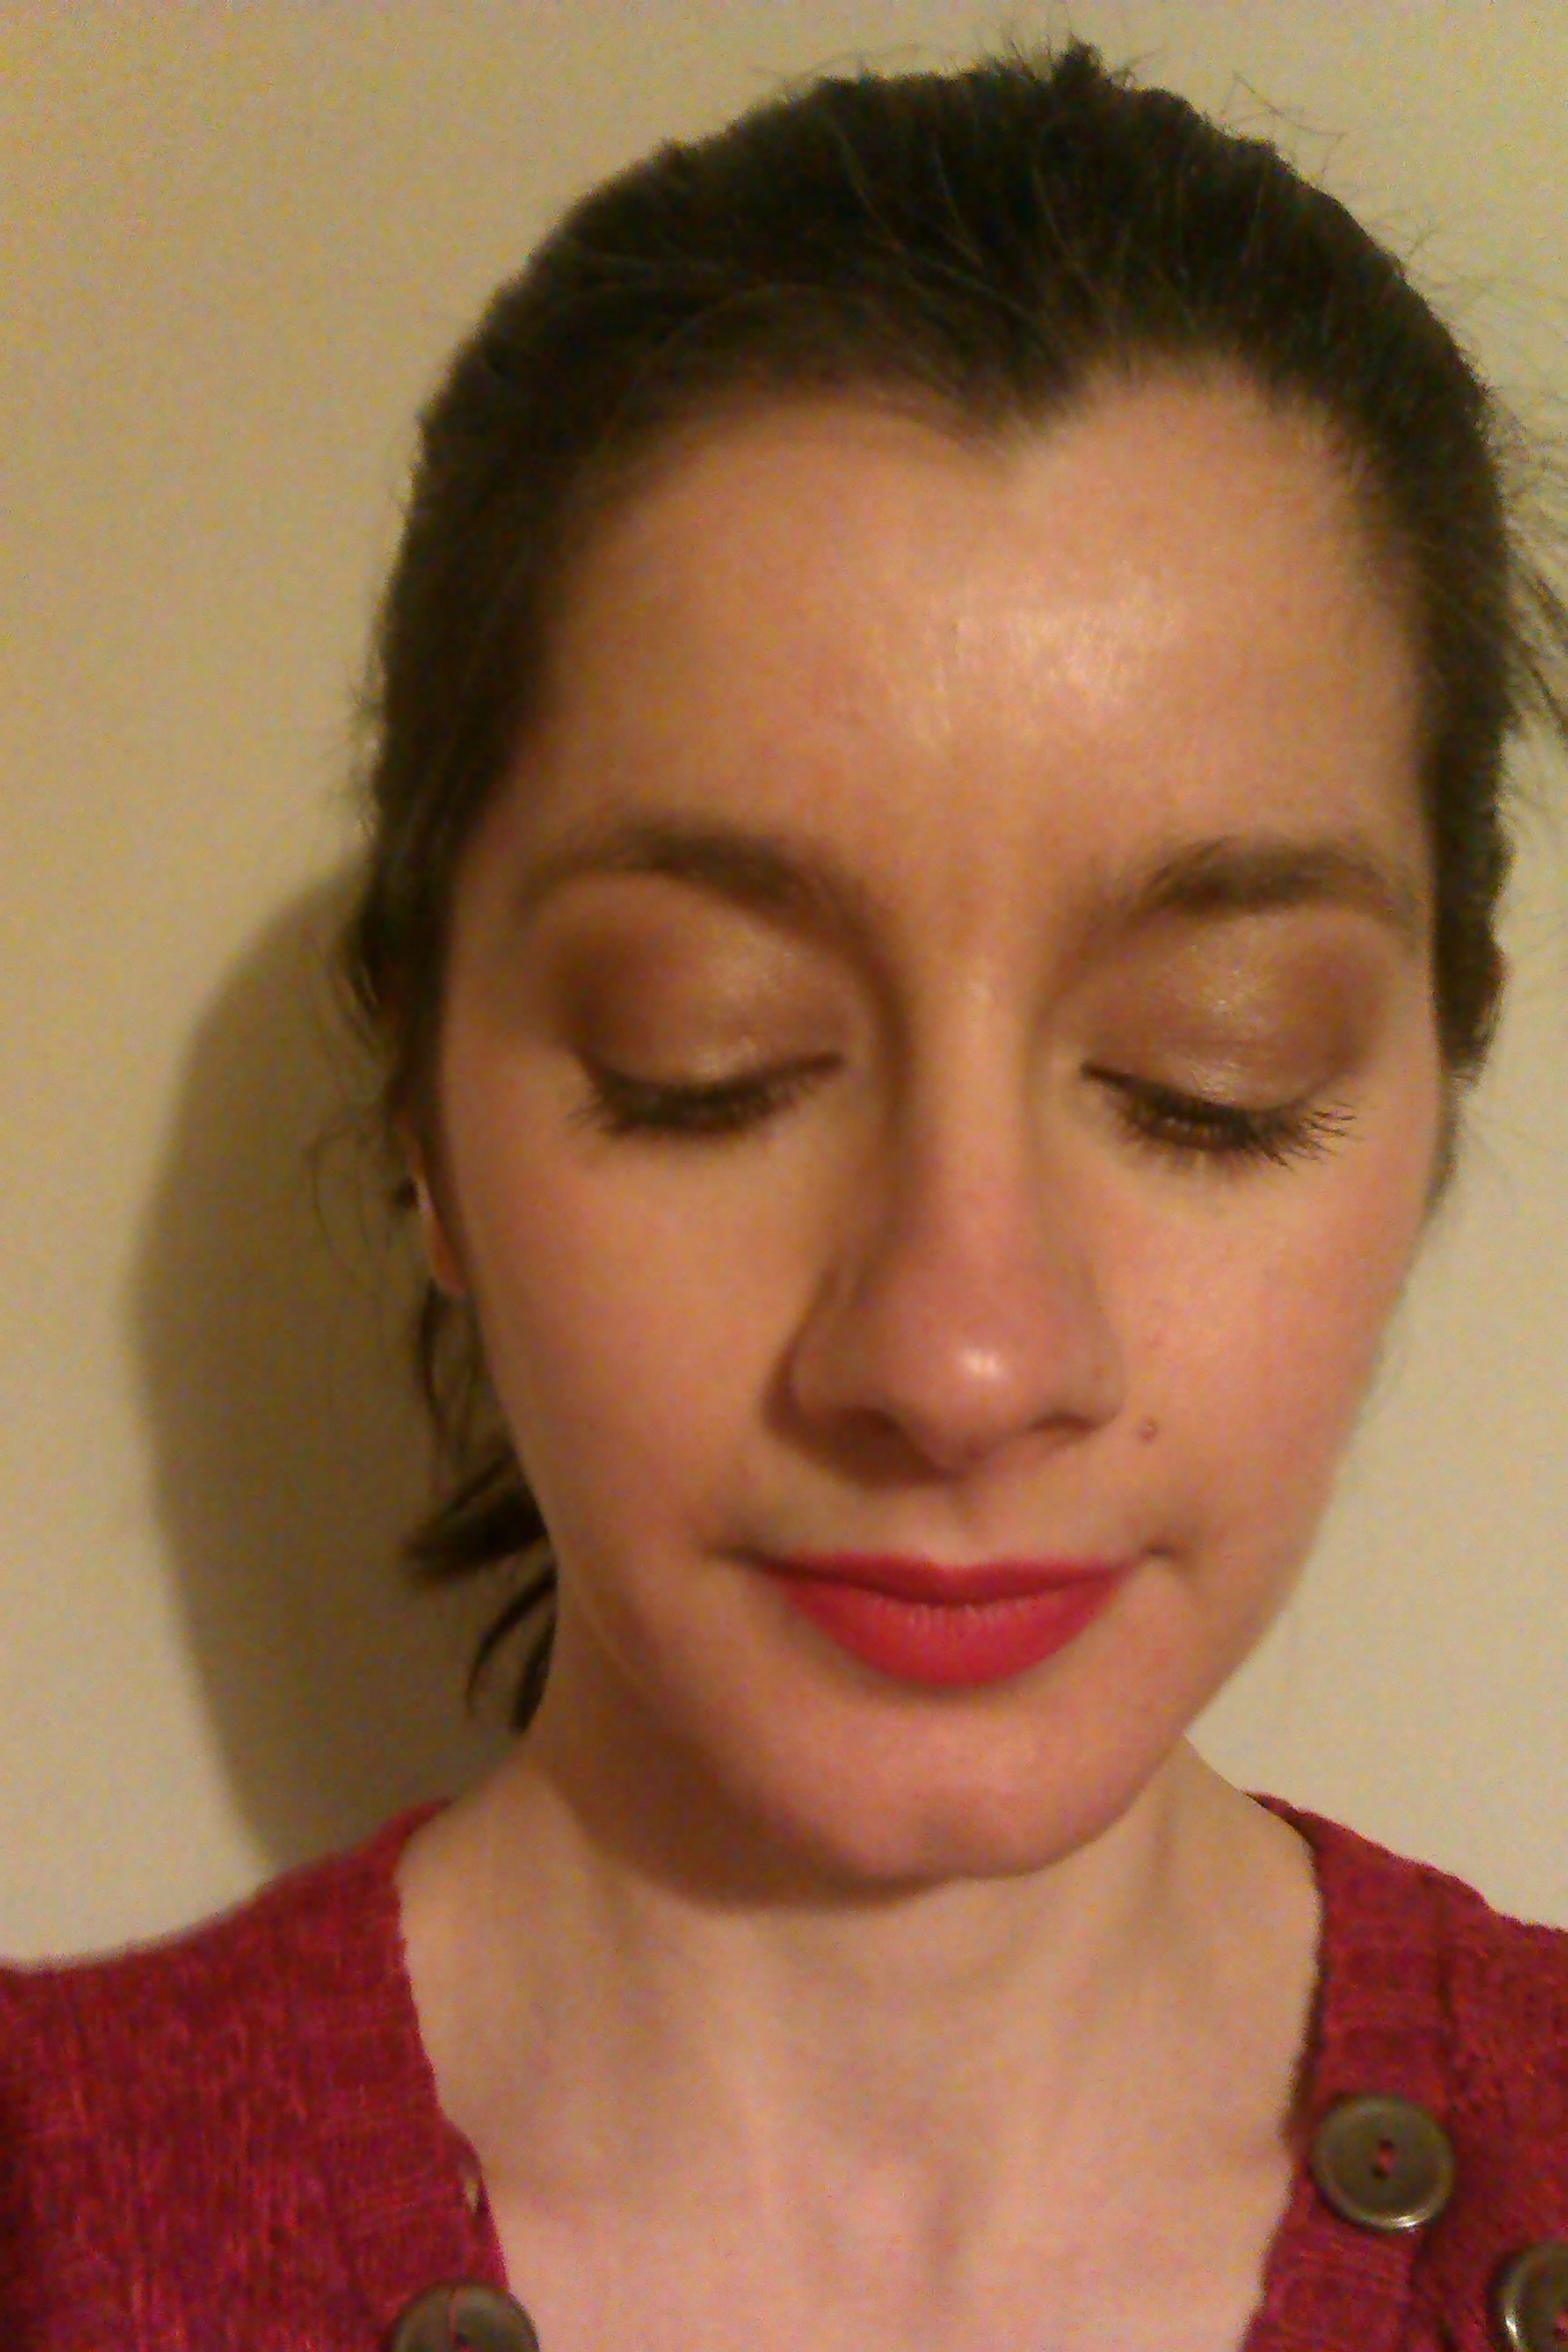
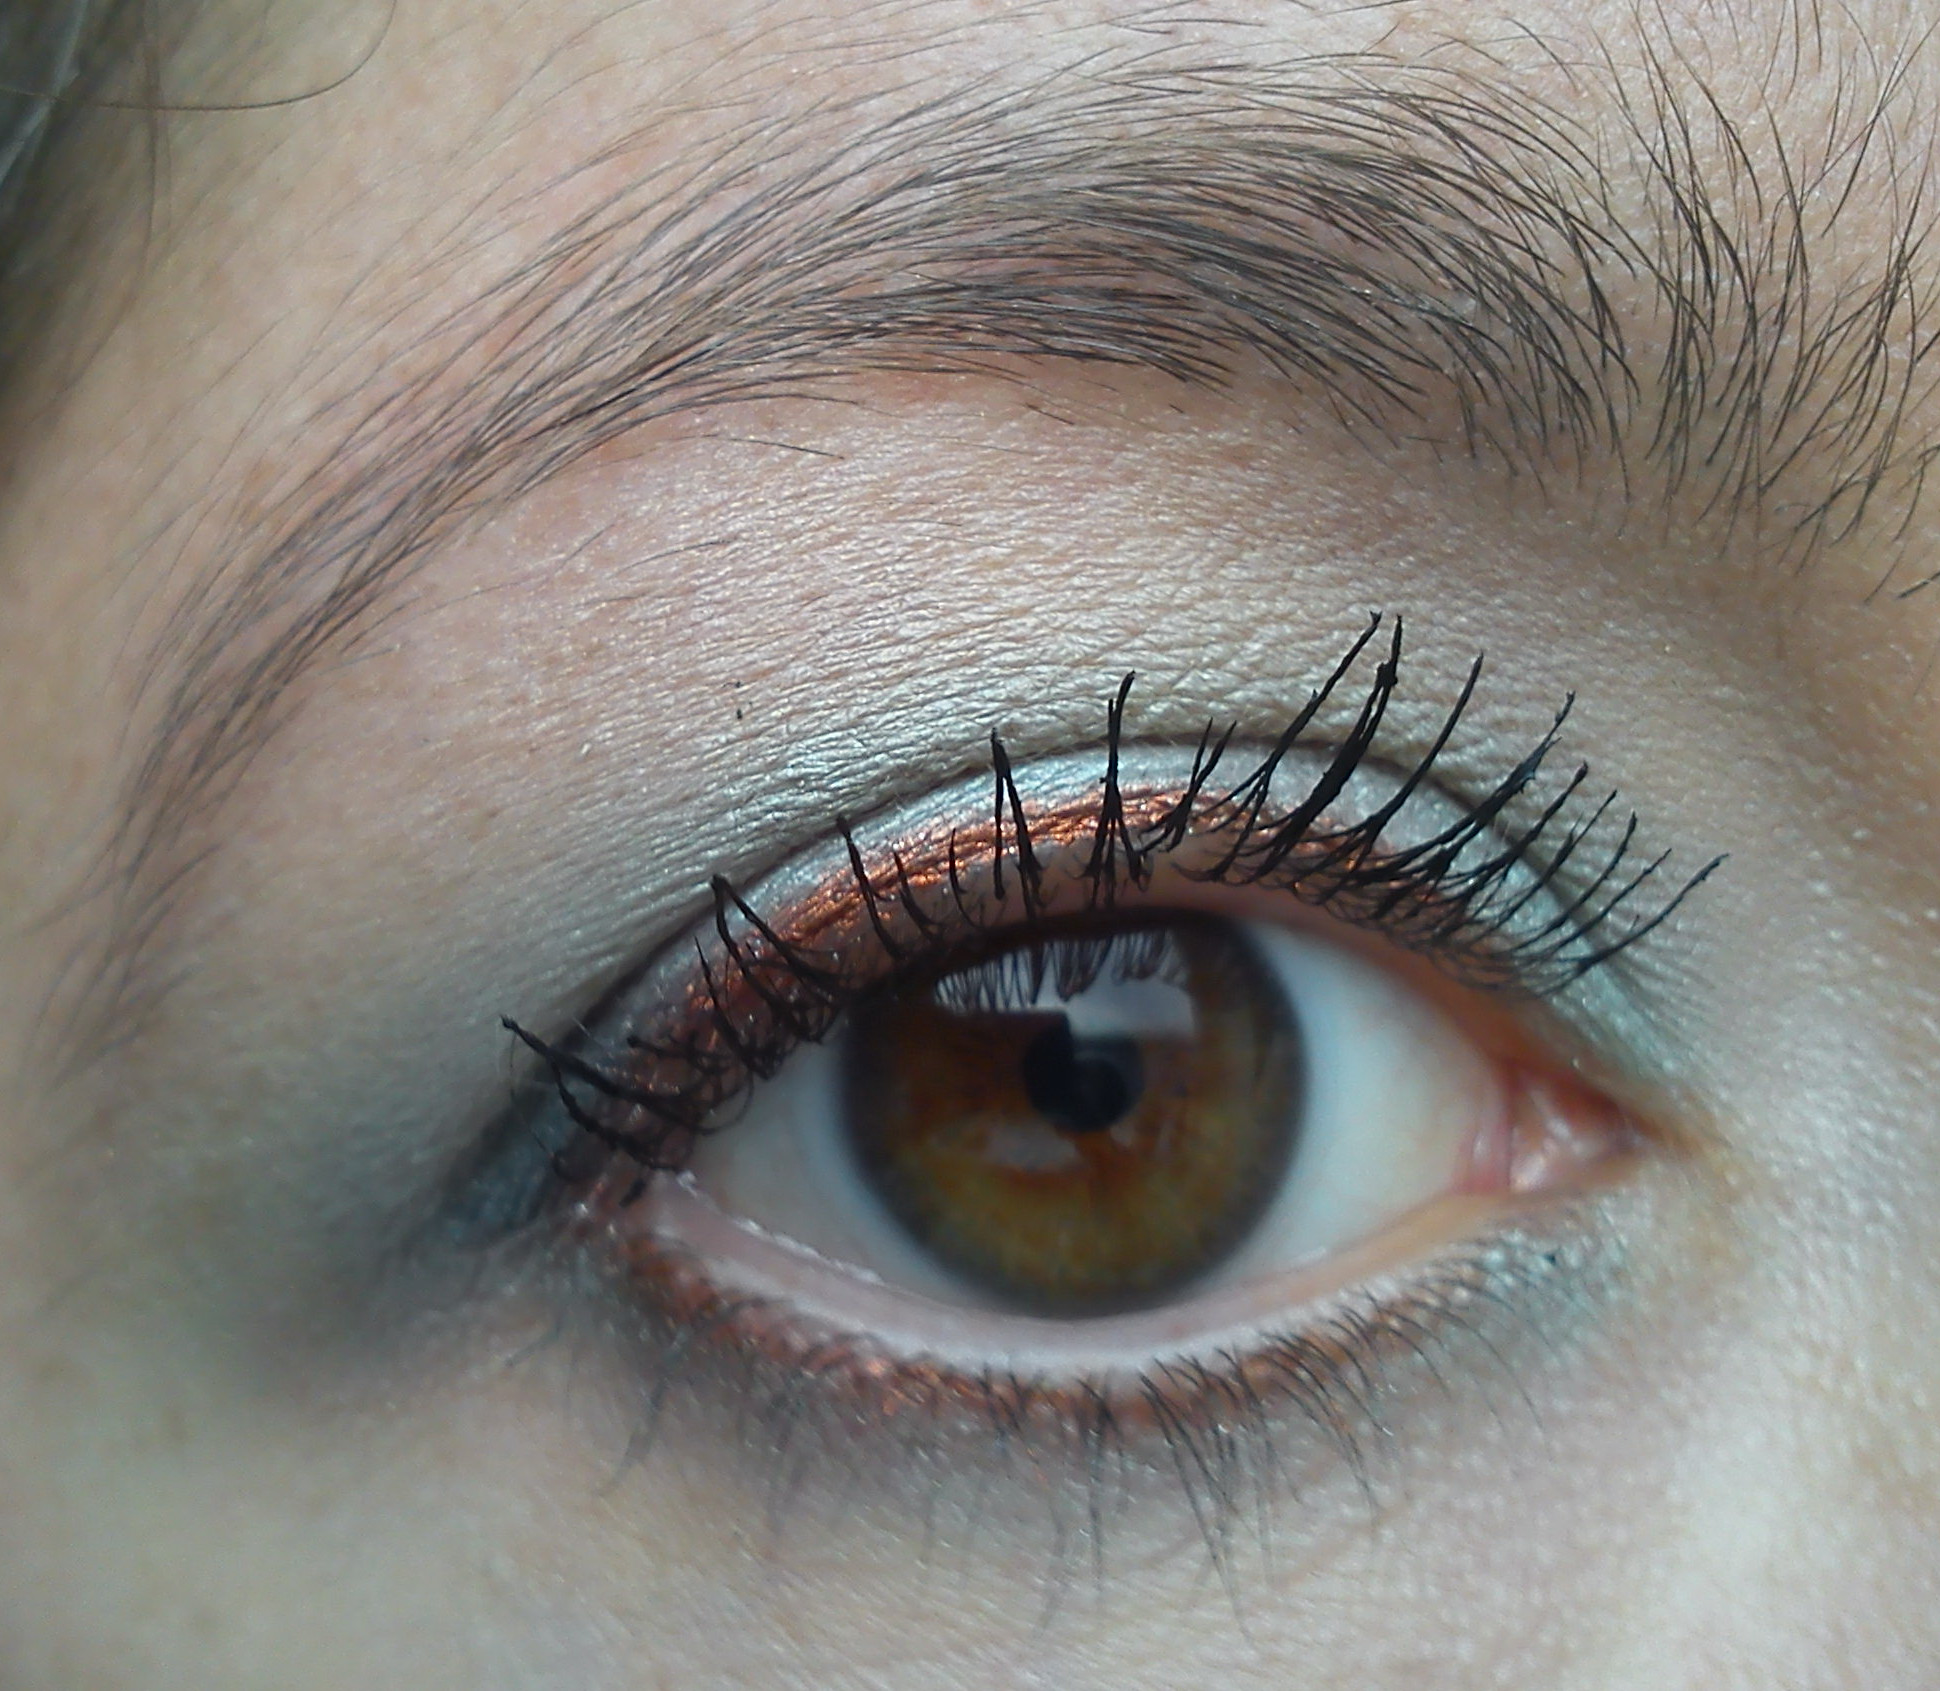
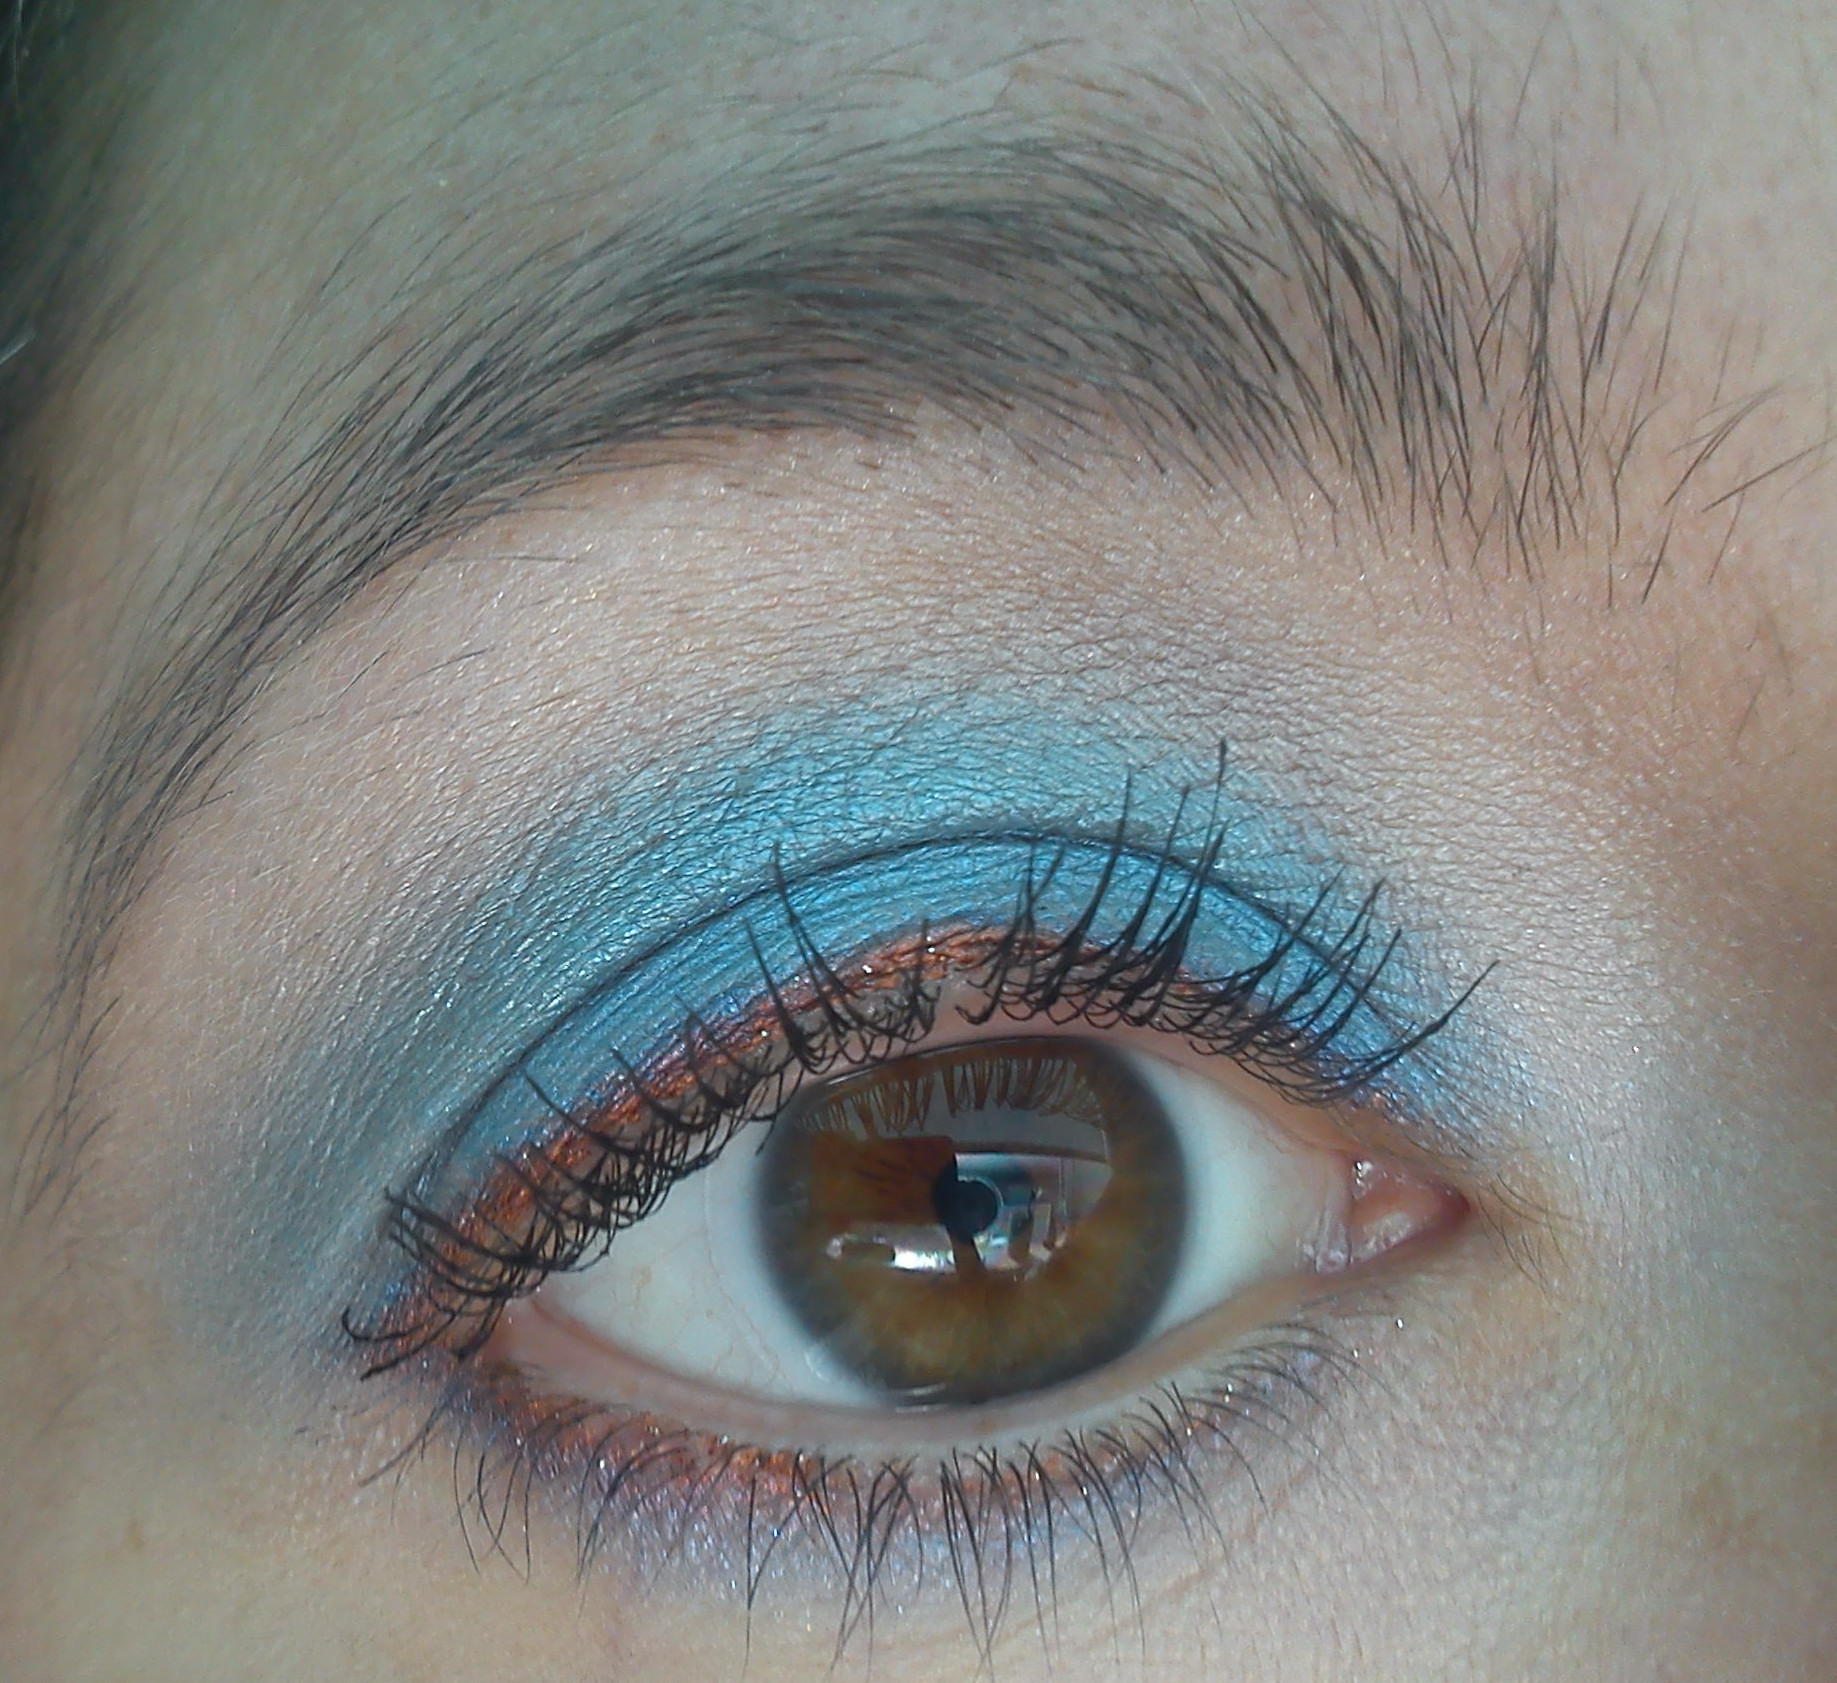
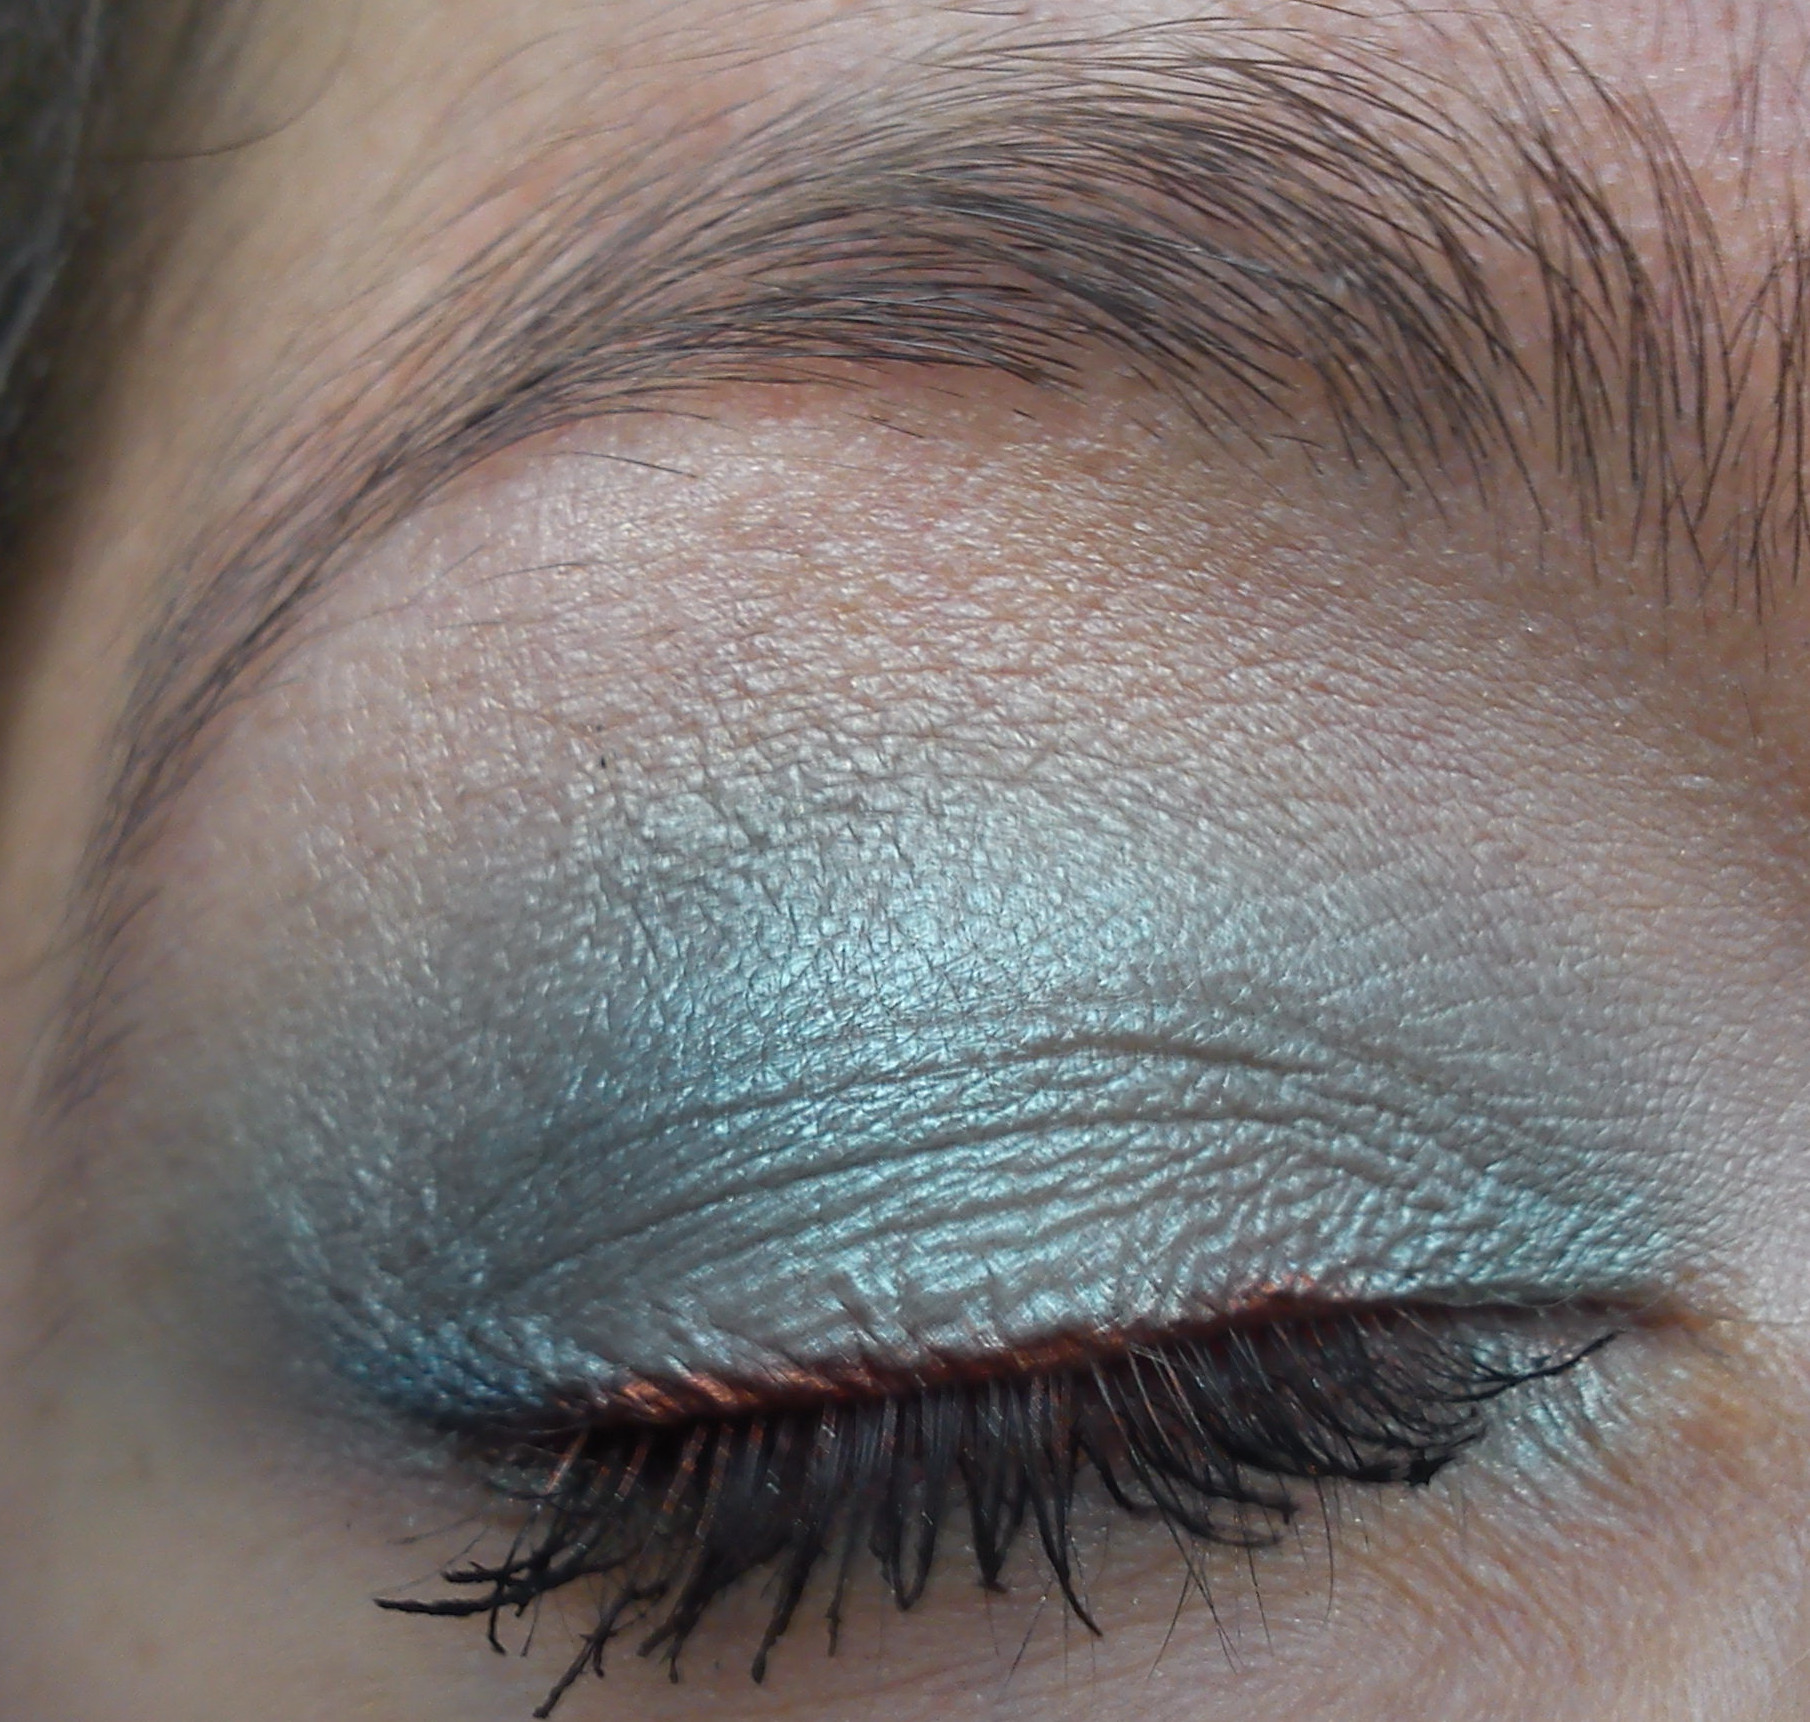
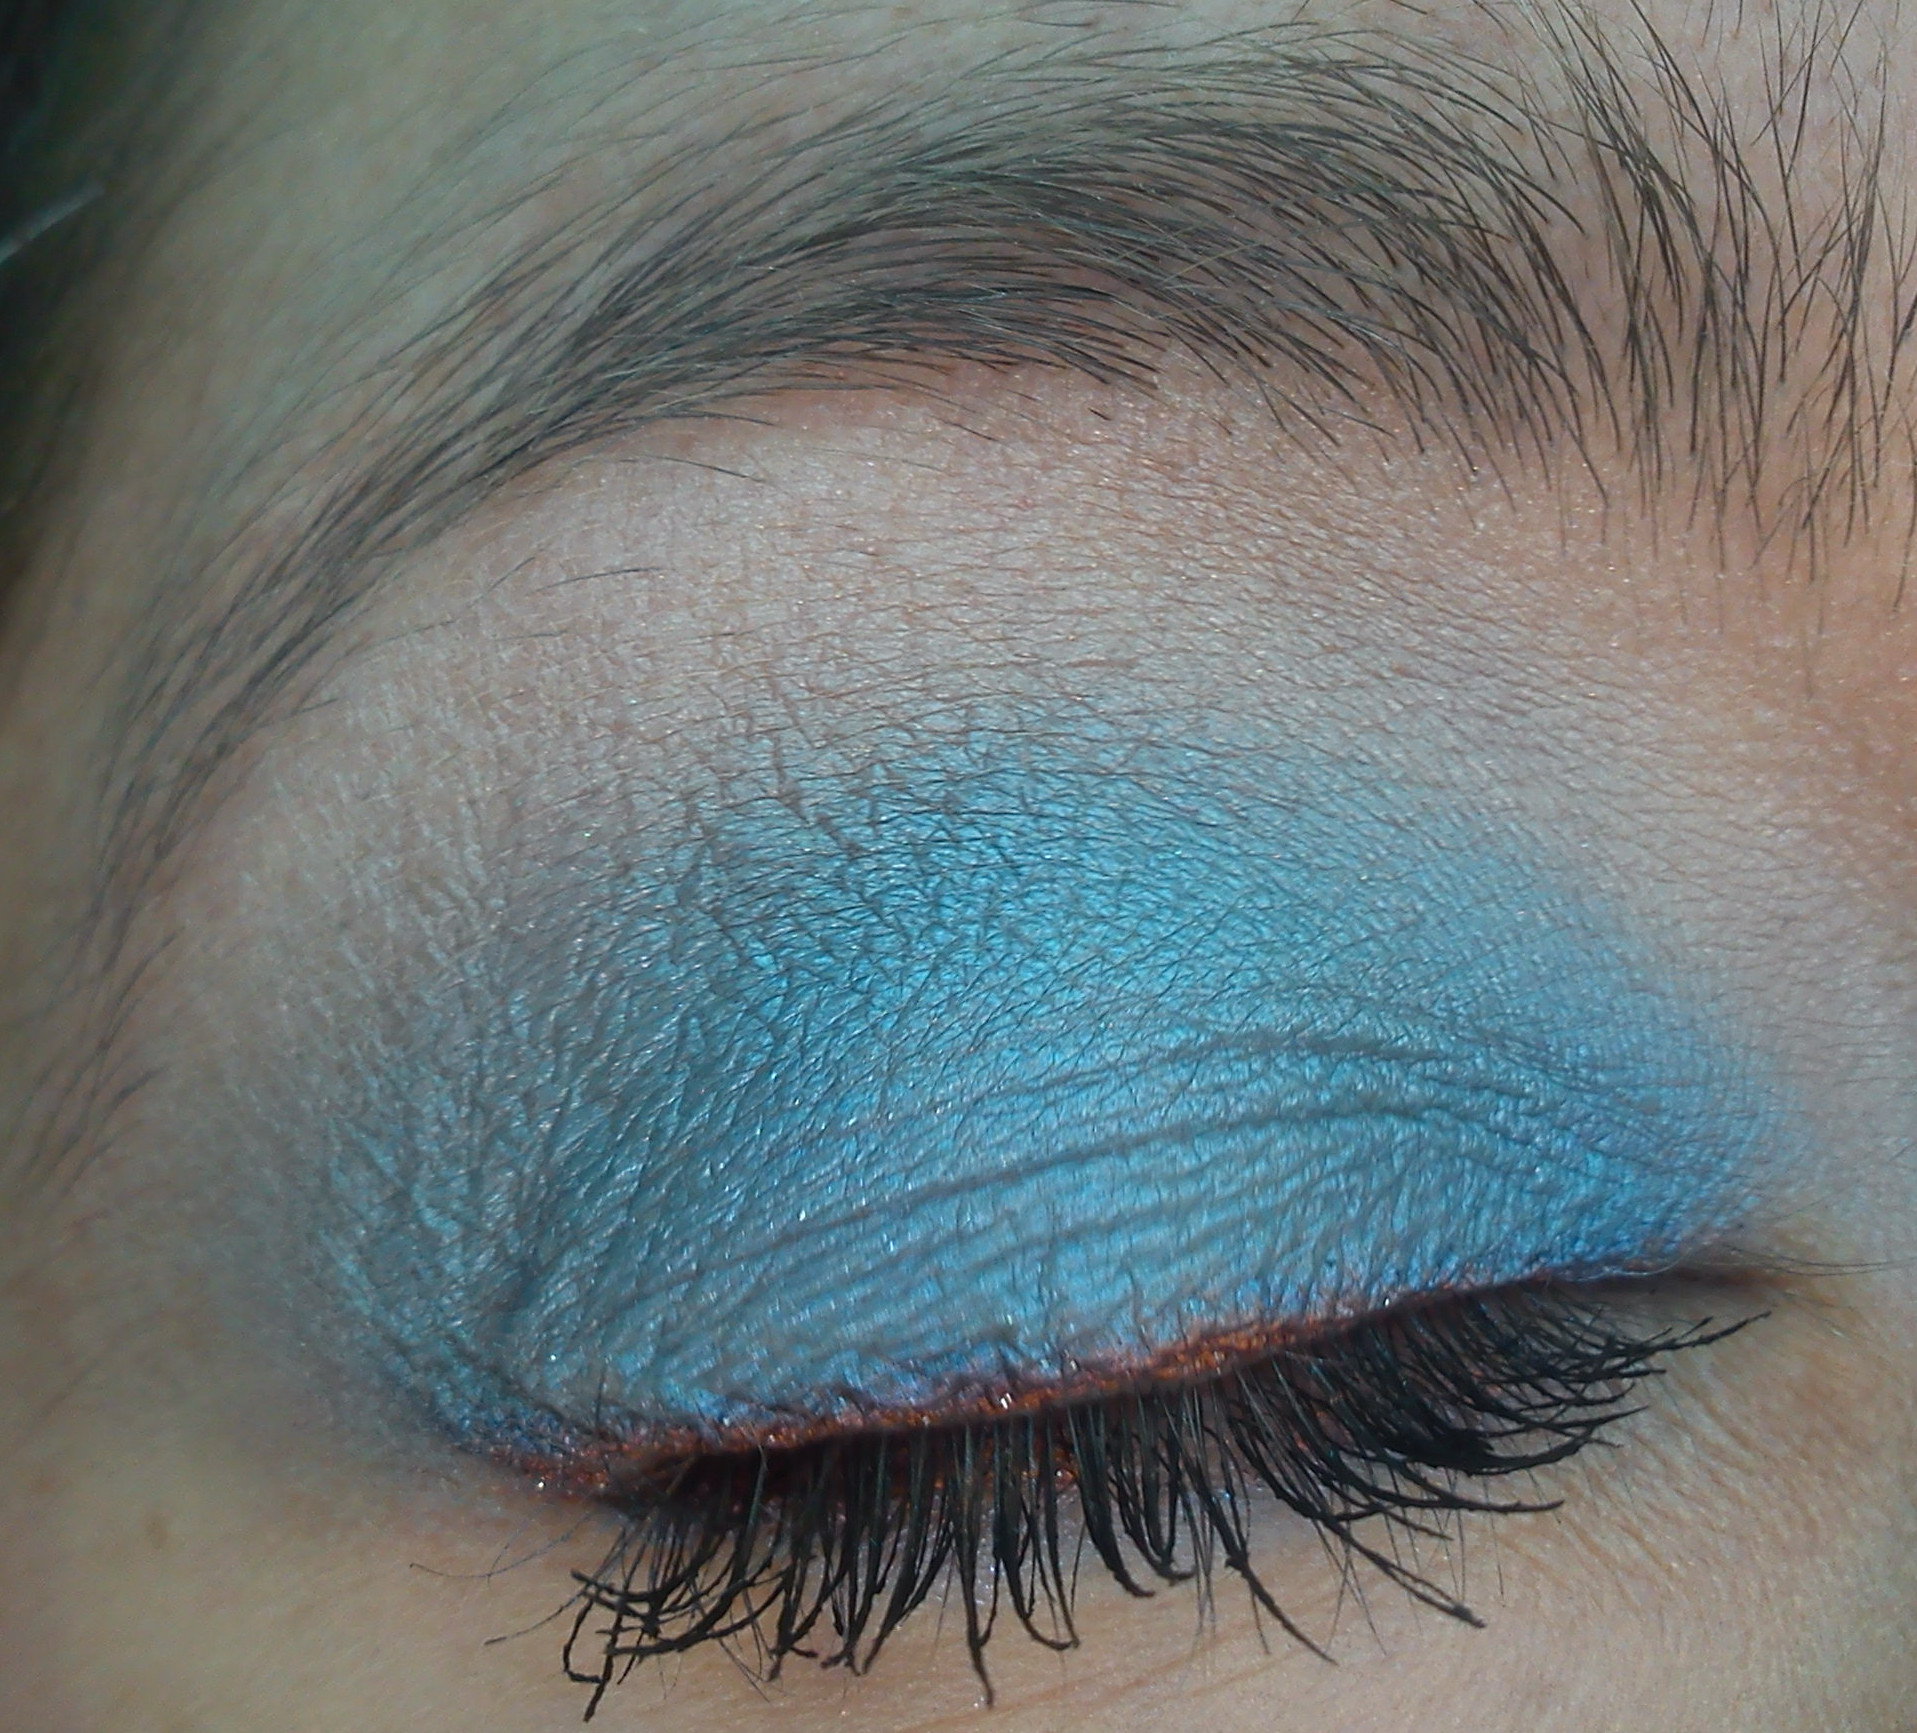
It is important to always use a base when applying eyeshadow. Prepping the eye with an eyeshadow base ensures that your eyeshadow stays in place all day and prevents creasing. It also helps eyeshadows apply more smoothly and come out truer to form.
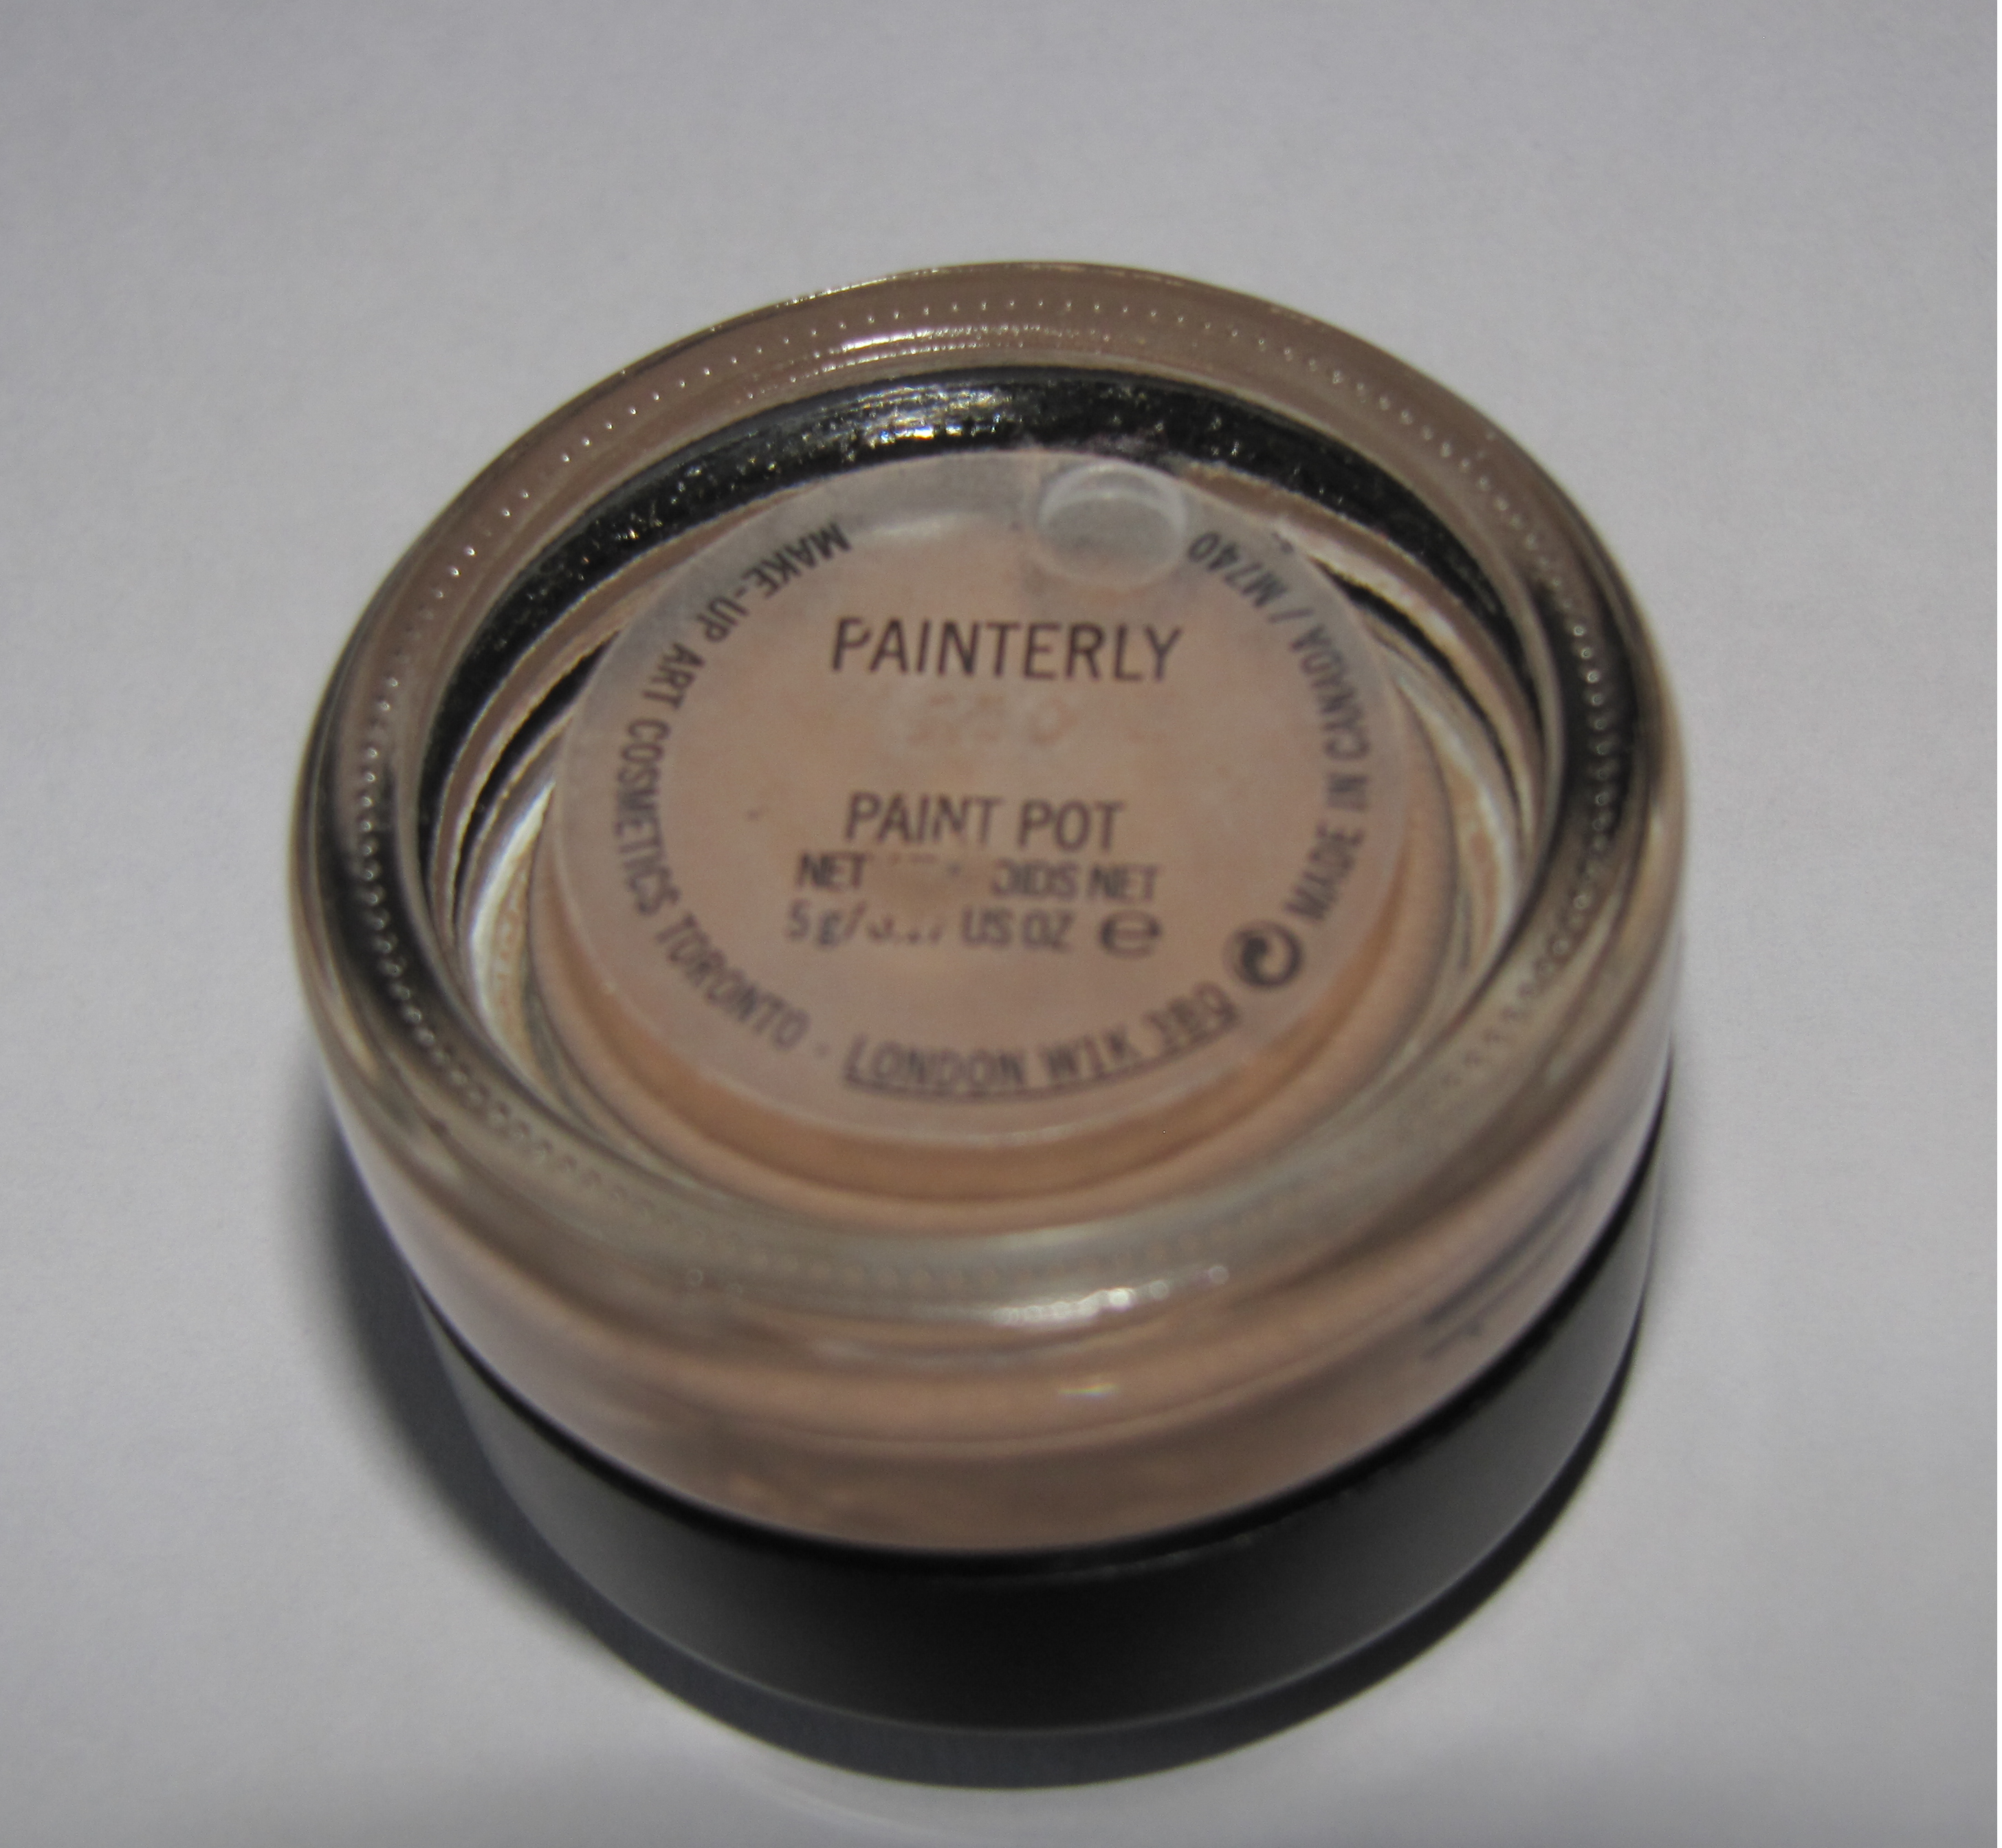
The following pictures shows how different shades of lipcolour can easily change up an existing look. Wearing neutral browns on the eye allows you to use different shades of lip colour, whether they are light, medium or dark.
I paired up the eyes with a bright red matte lipstick (Look 1: Loreal Julianne’s Red), a natural peachy-pink lipstick (Look 2: MAC Fanfare) and a rosey-pink lipstick (Look 3: MAC Speak Louder).
I was inspired by the cold, frosty day today to create a wintery look using white, blues and grey on the eyes. If you are nervous about wearing brightly coloured eyeshadows, this look shows how you can wear colour in a more classic and slightly more natural fashion. I used a pink blusher and pink-mauve lipstick to complement the cool tones on the eyes. Here’s how to re-create this look:
The following diagrams break the eye up into different parts to show the various places you can apply eyeshadow. It is really useful to know the different parts of the eye where you can place eyeshadow. You can create a multitude of different looks by using different eyeshadow placement combinations. You can keep eyeshadow very simple and apply only a lid and highlight colour. Alternatively, you can experiment with applying shades to various places to create different types of looks.
The two diagrams below (with coloured key table) show the various parts of the eye. The two photos at the end of this article show a made-up eye which has eyeshadow and eyeliner applied to the places indicated in the first two diagrams. You can use these diagrams in conjunction with the looks on this site to see exactly where to place your colours.
These looks show how experimenting with a different eyeshadow colour on the lid can easily change up an existing look. All looks use a bronze eyeliner on the upper/lower lashes, medium teal in the crease and the same application technique.
This is a variation on the Sapphire Bronze Glow and Seafoam Green Bronze Glow posts and shows how using a different base eyeshadow colour can easily change up an existing look. This look uses a medium purple on the eyelid and creates a jewel effect on the eyes.
This is a variation on the Sapphire Bronze Glow and Amethyst Bronze Glow posts and shows how using a different base eyeshadow colour can easily change up an existing look. This look uses a seafoam green, instead of a bright blue, on the eyelid and creates a softer, more subtle effect on the eyes.
This looks pairs a coppery-bronze eyeliner with a bright jewel blue eyeshadow for an unexpected contrast in colour. Blending the blue out with aqua and teal eyeshadows helps to create a more seamless look. If you would like to see variations on this look, check out the Seafoam Bronze Glow and Amethyst Bronze Glow posts. Here’s how to re-create this look:
This is a sultry look which uses colour but is still wearable, due to the addition of charcoal-grey eyeshadow in the crease. Using the eyeliner first and then applying eyeshadow over also helps to give a softer, more diffused effect. Here’s how to re-create this look:
This looks pairs a shimmery neutral champagne-pewter colour on the lid with a ‘pop’ of orange in the crease to add a little brightness and fun. Here’s how to re-create this look: