
I recently posted this look on my Instagram page (you can find me on @makeupbysairalee) and thought I would follow-up with a ‘how to’ post here.
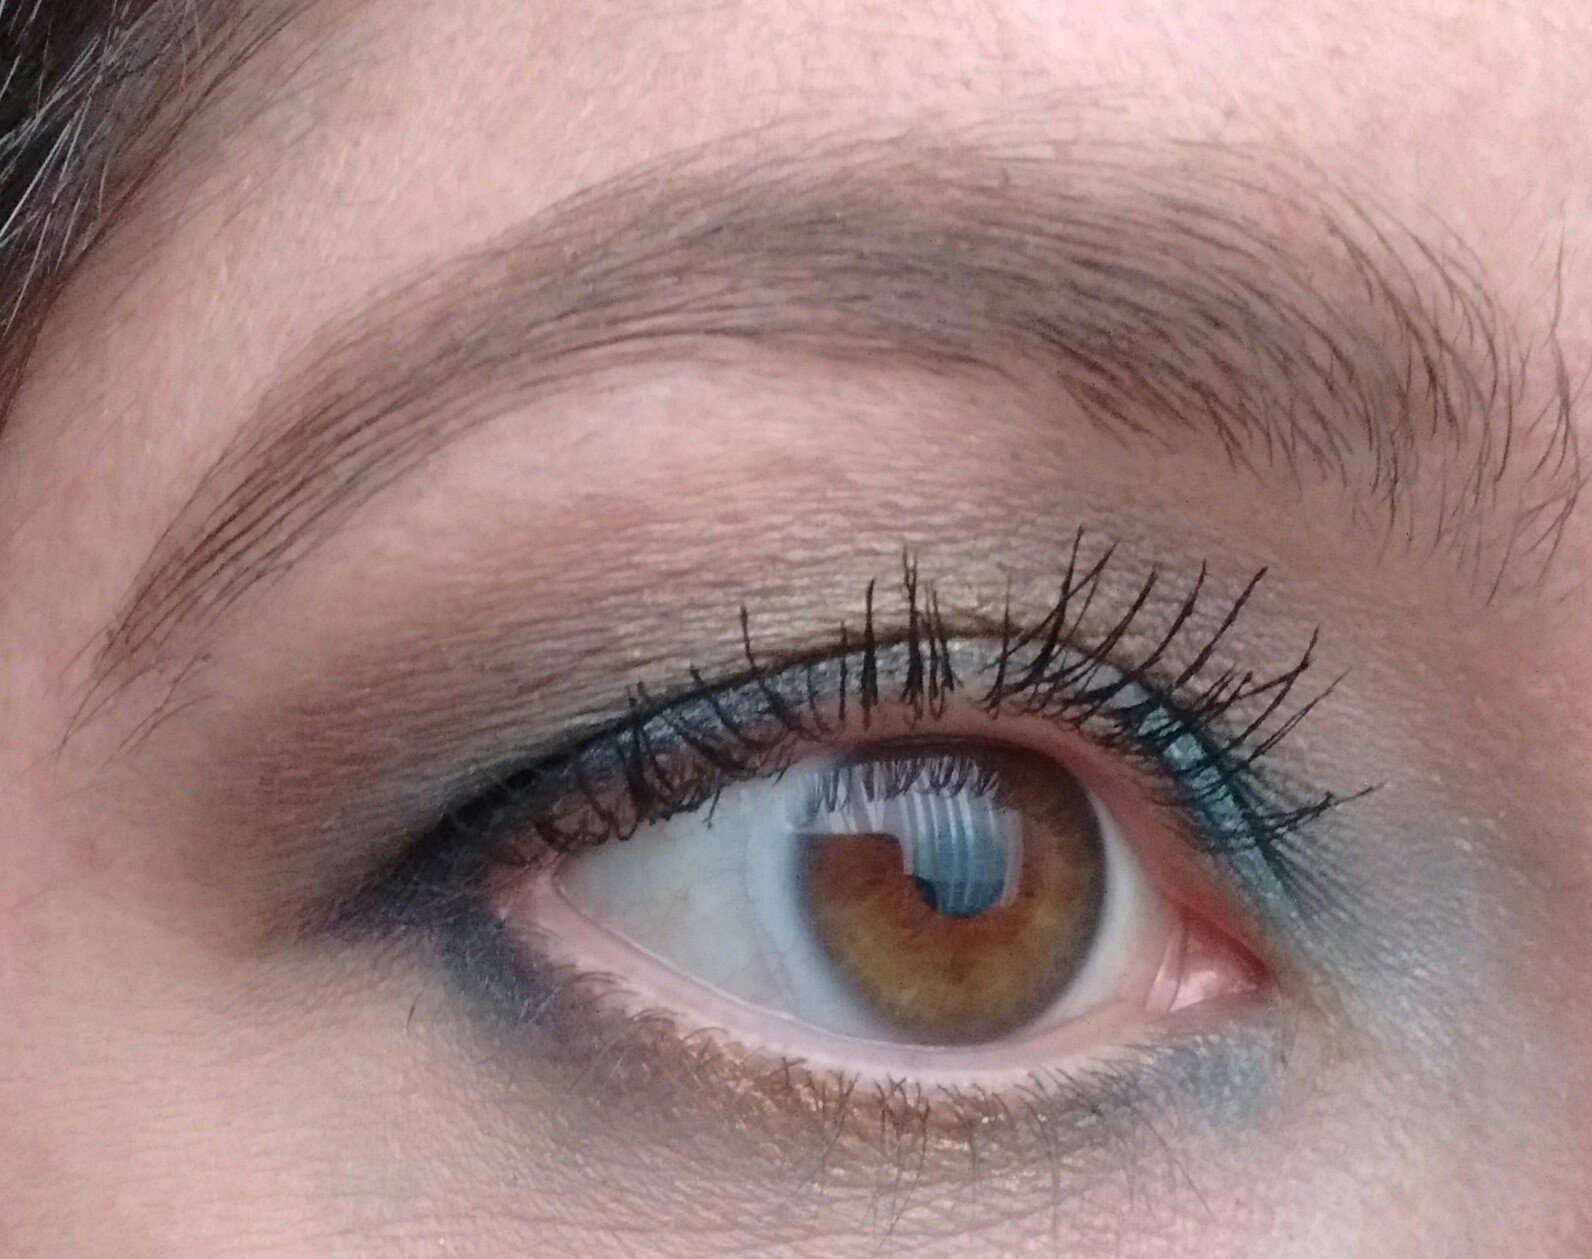
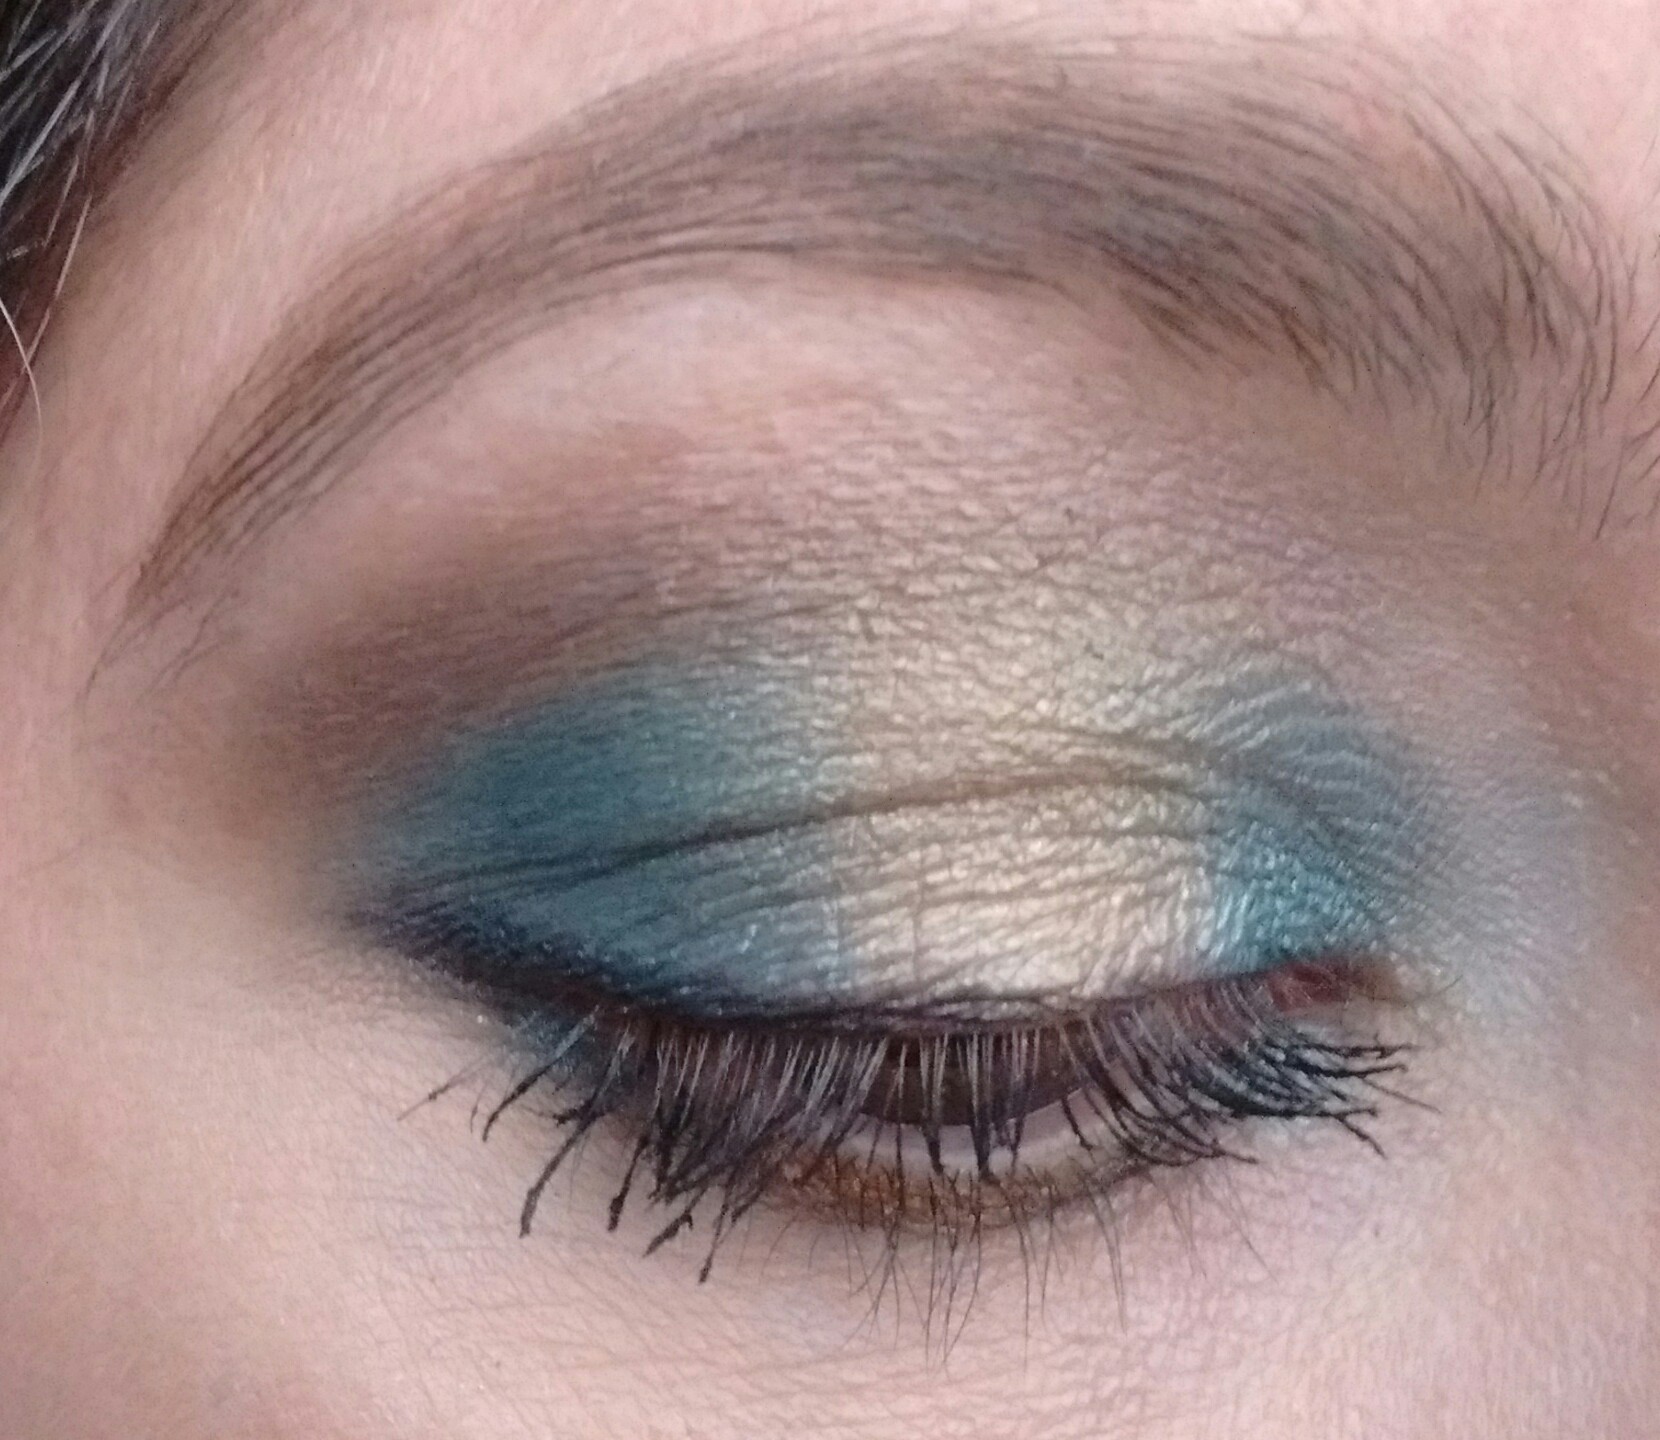
I purchased the Kat Von D Metal Matte Palette when it came out in the UK last year and have been really enjoying using it to create different types of looks. I really felt like doing something different and so came up with this teal and gold highlight effect combination. I really like how it turned out – it’s softly smokey with the eyes open and then you get a real flash of colour when the eyes open and close.
Tip: You can read more tips, tricks and techniques for creating a highlighted eyeshadow style here.
Click here to read my article ‘Parts of the Eye’ for help on where to place eyeshadow colours.
Products
Base: Too Faced Shadow Insurance Anti-Crease Eyeshadow Primer (clear)
Upper Lashline: Urban Decay 24/7 Pencil Liner in Zero (black)
Soften Upper Lashline: Kat Von D Jet eyeshadow (deep matte black)
Crease: Kat Von D Oak eyeshadow (deep matte chocolate brown)
Soften Crease: Kat Von D Suede eyeshadow (light matte fawn-brown)
Inner Lid and Outer Lid: Kat Von D Watt eyeshadow (deep metallic bluish-teal)
Middle of Lid: Kat Von D Flash eyeshadow (medium metallic warm gold)
Highlight: Kat Von D Bone eyeshadow (light matte cream)
Lower Lashline: Urban Decay 24/7 Pencil Liner in Zero (black)
Lower Lashline and Outer Lower Lashline: Kat Von D Watt eyeshadow (as above)
Middle Lower Lashline: Kat Von D Flash eyeshadow (as above)
Steps
1. Apply Too Faced Shadow Insurance all over the eyelid to prime the eye.
2. Apply a thin line of Zero (or any other black eyeliner) along the upper lashline. The line doesn’t have to be perfect, as we are going to smudge it out slightly in the next step.
3. Take a pencil brush (e.g. MAC 219) and use Jet to softly smudge out the black liner we applied in step 2.
4. Apply Oak eyeshadow in the crease of the eye with a crease/blender brush using a windshield wiper motion (e.g. MAC 217).
5. Take some of Suede eyeshadow on to a crease/blender brush (e.g. MAC 217). Using a windshield wiper motion, use Suede to soften the edges of Oak eyeshadow in the crease. You can also run it very lightly over Oak eyeshadow to lighten it up a bit more.
6. Pat Watt onto the inner and outer sections of the lid, using a flat shader brush (e.g. MAC 239). Keep the middle of the lid free of colour.
7. Pat Flash onto the middle of the lid, using a flat shader brush (e.g. MAC 239).
8. Using a crease/blender brush (e.g. MAC 217) or a pointed crease brush (e.g. MAC 226), sweep Bone on to the browbone to highlight. Take this down into the inner corner as well to brighten the eye.
9. Very lightly dot Zero (or any other black eyeliner) along the lower lashline. I dotted the liner, rather than drawing a line, as I wanted very subtle definition along the lower lashline.
10. Take a pencil brush (e.g. MAC 219) and apply Watt to the inner and lower lashline. Take the same brush and apply Flash to the middle of the lower lashline. This step mirrors the application of colours on the eyelid and helps to bring the whole look together.
11. Apply mascara to the top and bottom lashes.
Here is one more picture of the finished look: