
Robin Look

Robin Look
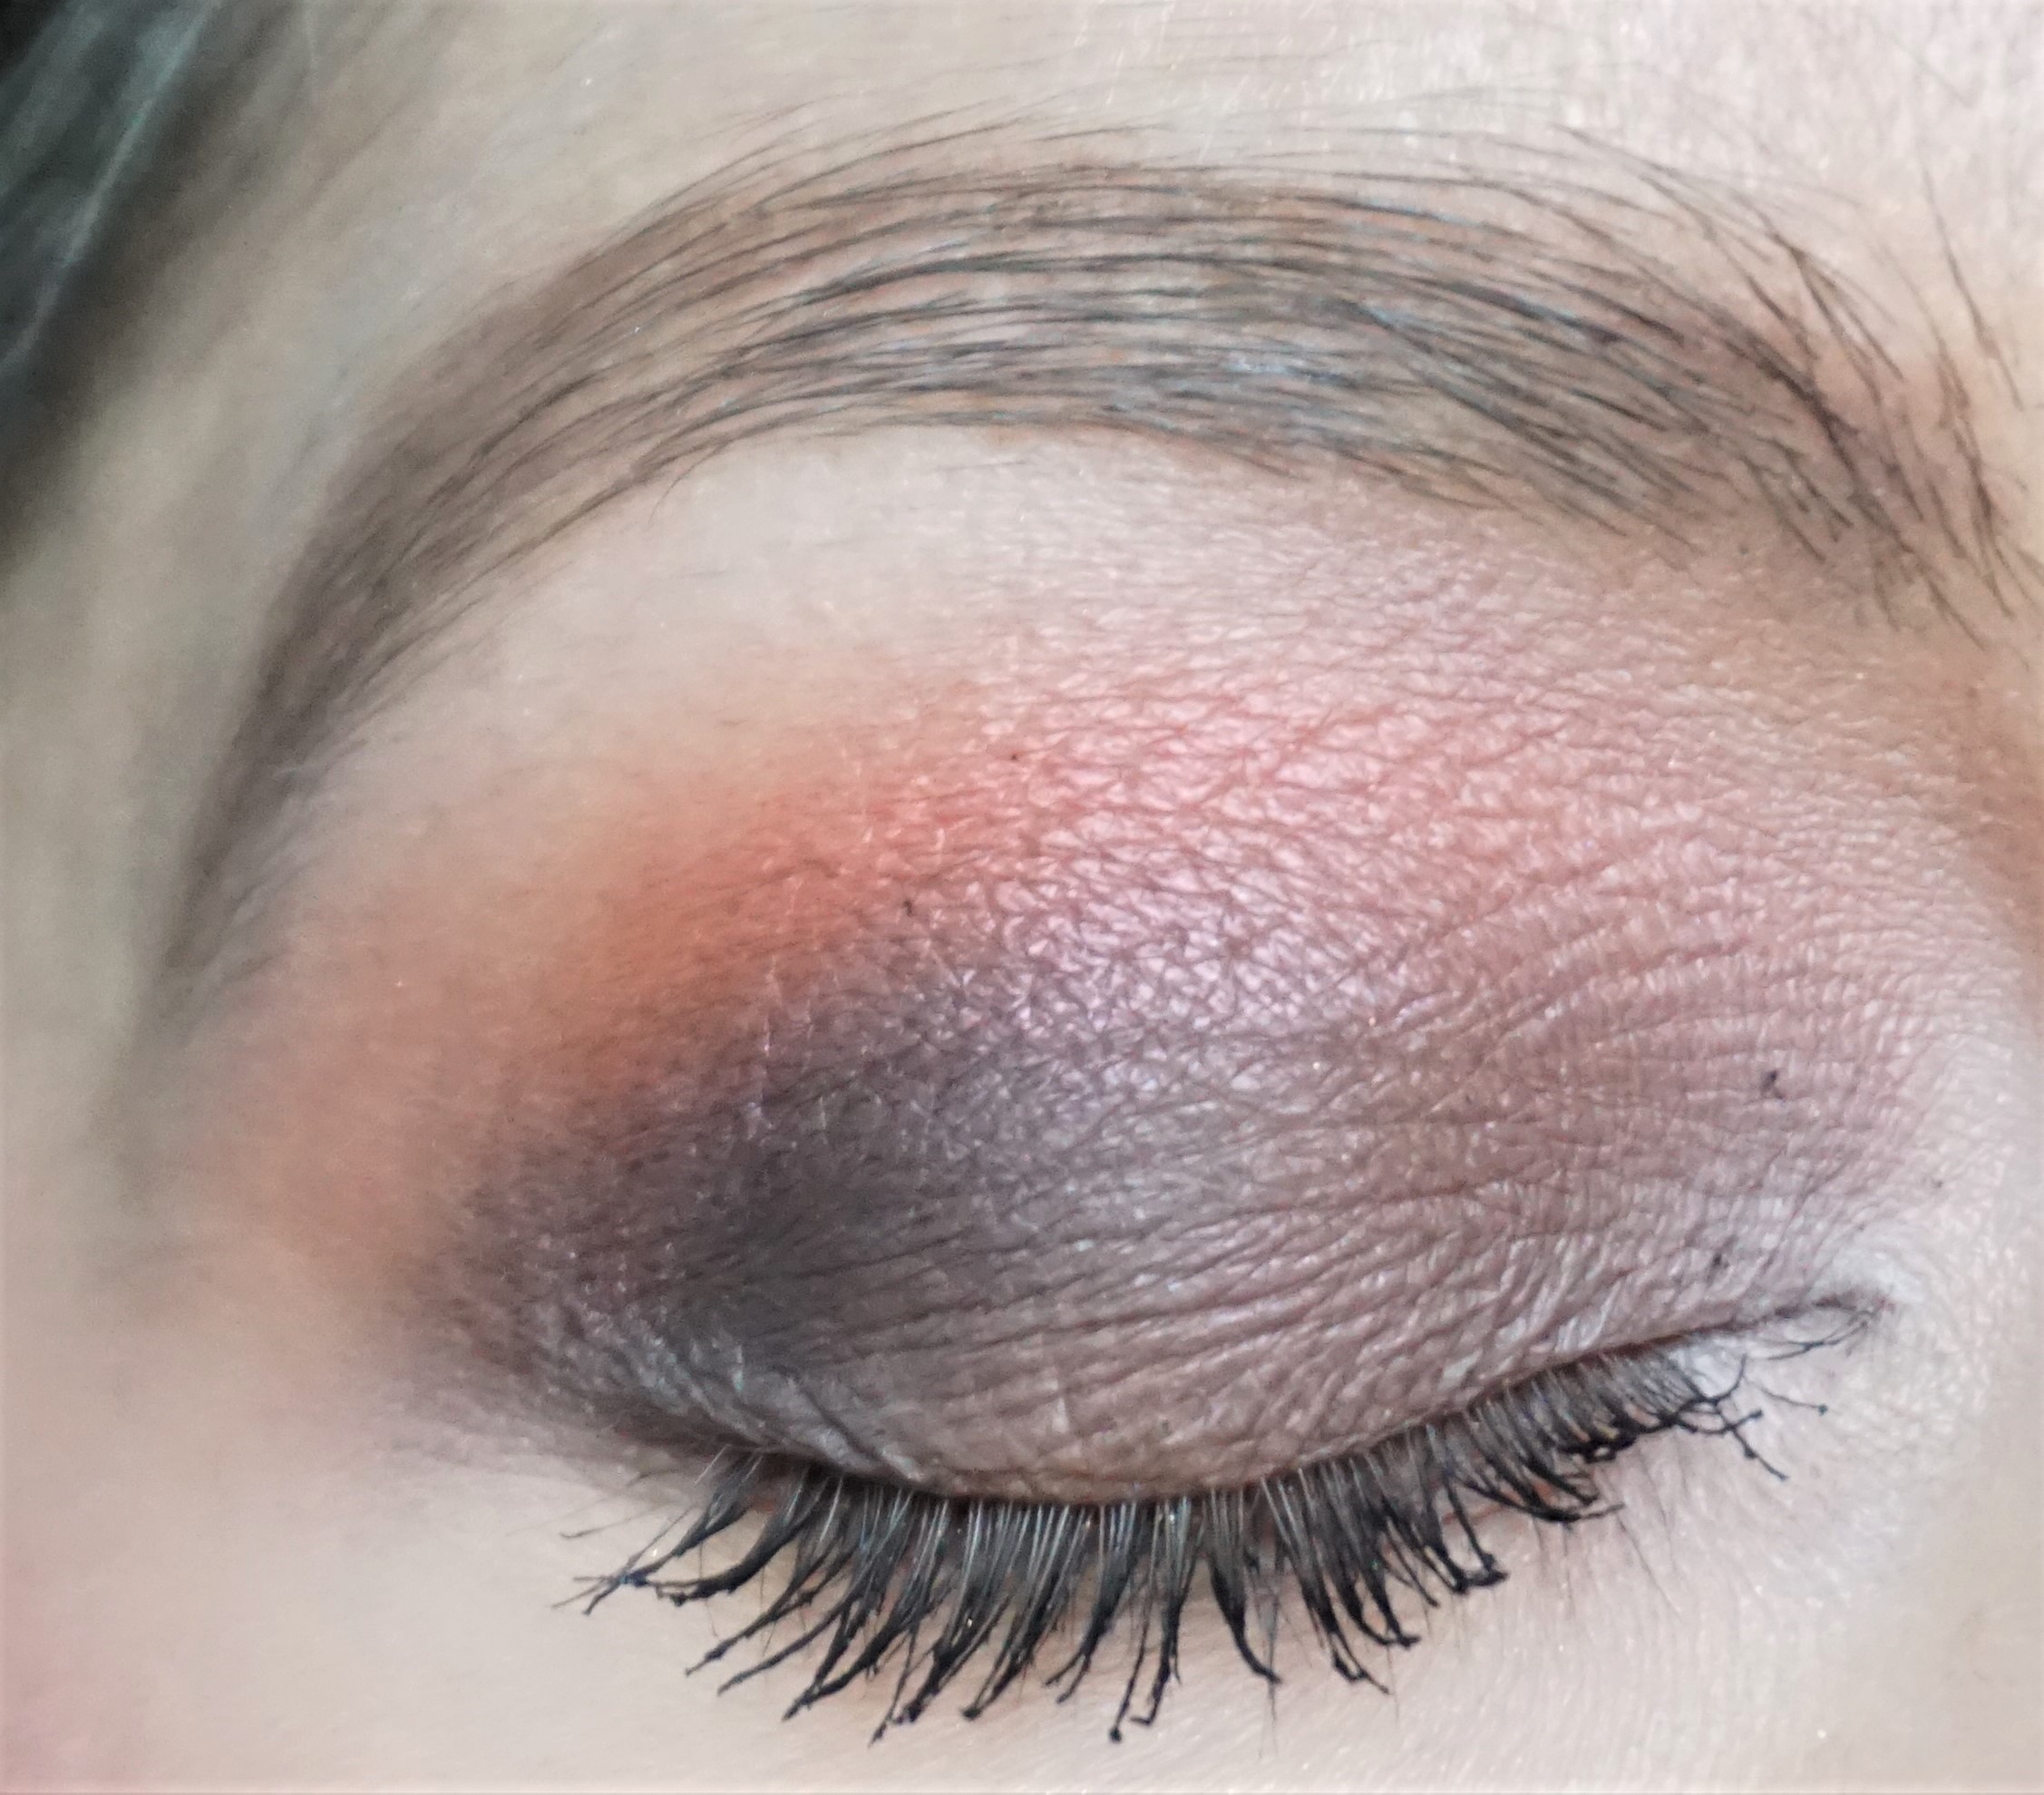
The third look in my Bird Series (you can read more about the series here) is based around the Robin. Robins have a really interesting mix of colours and tones – brown, deep burnished orange and white – and so I thought this would be a fun combination to try out. I used a slightly more red-based shade to tie in with the stereotype of Robins being ‘red-breasted’, even though they seem to be more orange-based in real life.
You can view full face shots, along with the cheek and lip colours I used, in this post.
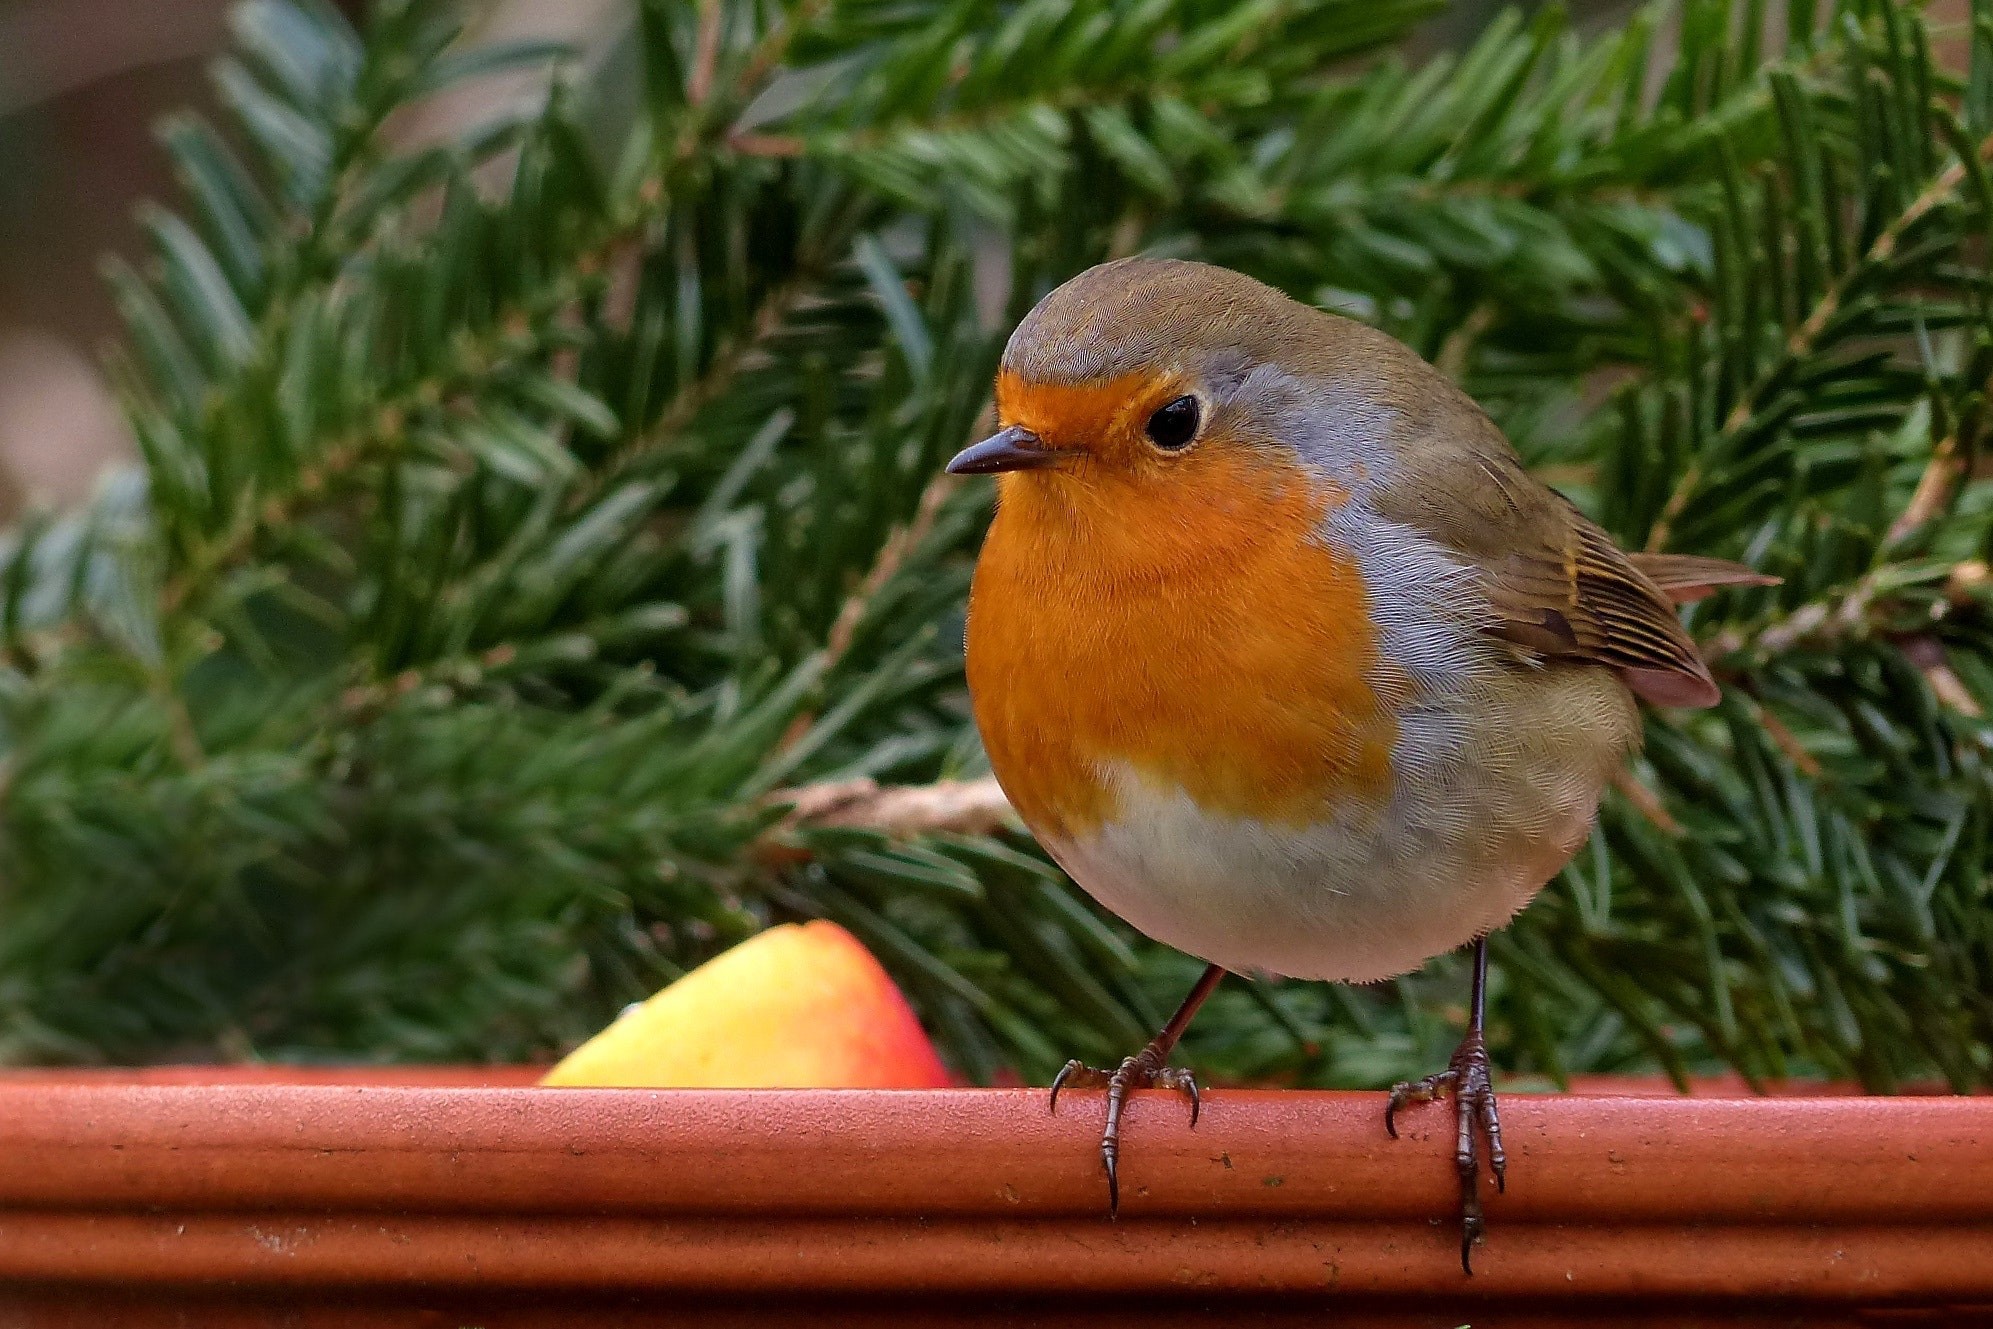
Robin Photo from Pexel (free photo site)
The Bird Series includes looks based around different types of birds and their colour schemes. You can read more about the series and view posts here.
Tip: I used the Kat Von D Saint and Sinner Palette for this eyeshadow combination. You can read more about the palette, see photos and view swatches here. You can also view other combinations I have created using this palette here.
Click here to read my article ‘Parts of the Eye’ for help on where to place eyeshadow colours.
Products
Base: MAC Painterly Paint Pot (light matte beige)
Crease: Kat Von D Martyr eyeshadow (medium matte warm brown)
Deepen Crease: Kat Von D Stigmata eyeshadow (medium metallic coppery pink-red)
Outer Lid: Kat Von D Crucifix eyeshadow (deep matte cool dark brown)
Lid: Kat Von D Revelation eyeshadow (deep satin brown with copper and gold sparkles)
Inner Corners: Kat Von D Baptism eyeshadow (light matte pink-toned beige)
Highlight: Kat Von D Amen eyeshadow (light matte beige)
Lower Lashline: Kat Von D Revelation eyeshadow (as above)
Inner Lower Lashline: Kat Von D Baptism eyeshadow (as above)
Black mascara (upper and lower lashes)
Steps
1. Apply Painterly Paint Pot all over the lid as a base. You can either use your fingers or a flat synthetic brush (e.g. MAC 242).
2. Sweep Martyr into the crease using a windshield wiper motion (e.g. MAC 217).
3. Take the same crease/blender brush (e.g. MAC 217) and use Stigmata to deepen the crease.
4. Take a flat shader brush and apply Crucifix to the outer part of the lid to add some extra depth to the eyes.
5. Take a flat shader brush (e.g. MAC 272, MAC 239) and Revelation on the lid.
6. Using a crease/blender brush (e.g. MAC 217) or a pointed crease brush (e.g. MAC 226), sweep Amen on to the browbone to highlight.
7. Take an angled eyeliner brush (e.g. MAC 266) and apply Revelation along the middle-outer lower lashline.
8. Take the same eyeliner brush (e.g. MAC 266) and apply Baptism to the inner lower lashline.
9. Apply plenty of black mascara to the top and bottom lashes.
Here’s another close-up of the eyes:

Robin Eye Look
Here are some full face shots of the look:

Robin Look (full face)

Robin Look (full face)
To complement the look: I used Kiko Baked Blush in 01 Marmoreal Biscuit on the cheeks (you can read more about this product, see swatches and view photos here) and Kiko Glow Fusion Powder Highlighter in 01 Champagne (you can read more about this product, see photos and view swatches here) to highlight my cheekbones. I applied a layer of Max Factor Colour Elixir Lipstick in 715 Ruby Tuesday to the lips and then blotted to soften the effect.
