
Anastasia Beverly Hills Riviera Palette Look
Anastasia Beverly Hills Riviera Palette Look
I really enjoyed watching the recent BBC Three series ‘Glow Up’ (you can read more about the series on the BBC site here) and it inspired me to try something different on my eyes. I thought it would be fun to play with contrasting colours and came up with this graphic, winged eyeshadow look using the Anastasia Beverly Hills Riviera Palette (you can see my post on this palette here). The eyes are very bold, so I chose to keep things very simple in terms of the cheek and lip colours I used (you can find out what shades I used and see a couple of full face shots below).
You can find more ideas for eyeshadow combinations using the Anastasia Beverly Hills Riviera Palette on the site here.
If you would like some look ideas using particular shades from the palette, or certain types of looks, let me know! I’m really enjoying playing about with it so stay tuned for more combination ideas!
Here’s how to re-create this look
Click here to read my article ‘Parts of the Eye’ for help on where to place eyeshadow colours.
Products
Base: Smashbox Photo Finish Lid Primer in White
Outer Lid and Wing: Anastasia Bahamas eyeshadow (bright matte hot pink)
Lid: Anastasia Seychelles eyeshadow (medium bright metallic aquamarine-teal)
Blend Between Outer Lid and Lid: Anastasia Coastline eyeshadow (medium matte peach-orange)
Blend Above Outer Lid: Anastasia Estate eyeshadow (light matte peach)
Highlight: Anastasia Sails eyeshadow (light matte white)
Lower Lashline: Anastasia Coastline eyeshadow (as above)
Upper Lashline: Maybelline Master Hyper Precise All Day Wear Liquid Eyeliner Pen in Black
Blusher: Kiko Baked Blush in Marmoreal Biscuit (you can read more about this product here).
Cheek Highlight: Kiko Glow Fusion Powder Highlighter in 01 Champagne (you can read more about this product here).
Lips: MAC Shanghai Spice Lipstick
Black mascara (upper and lower lashes)
Steps
1. Apply Smashbox Photo Finish Lid Primer in White all over the lid as a base. You can either use your fingers or a flat synthetic brush (e.g. MAC 242).
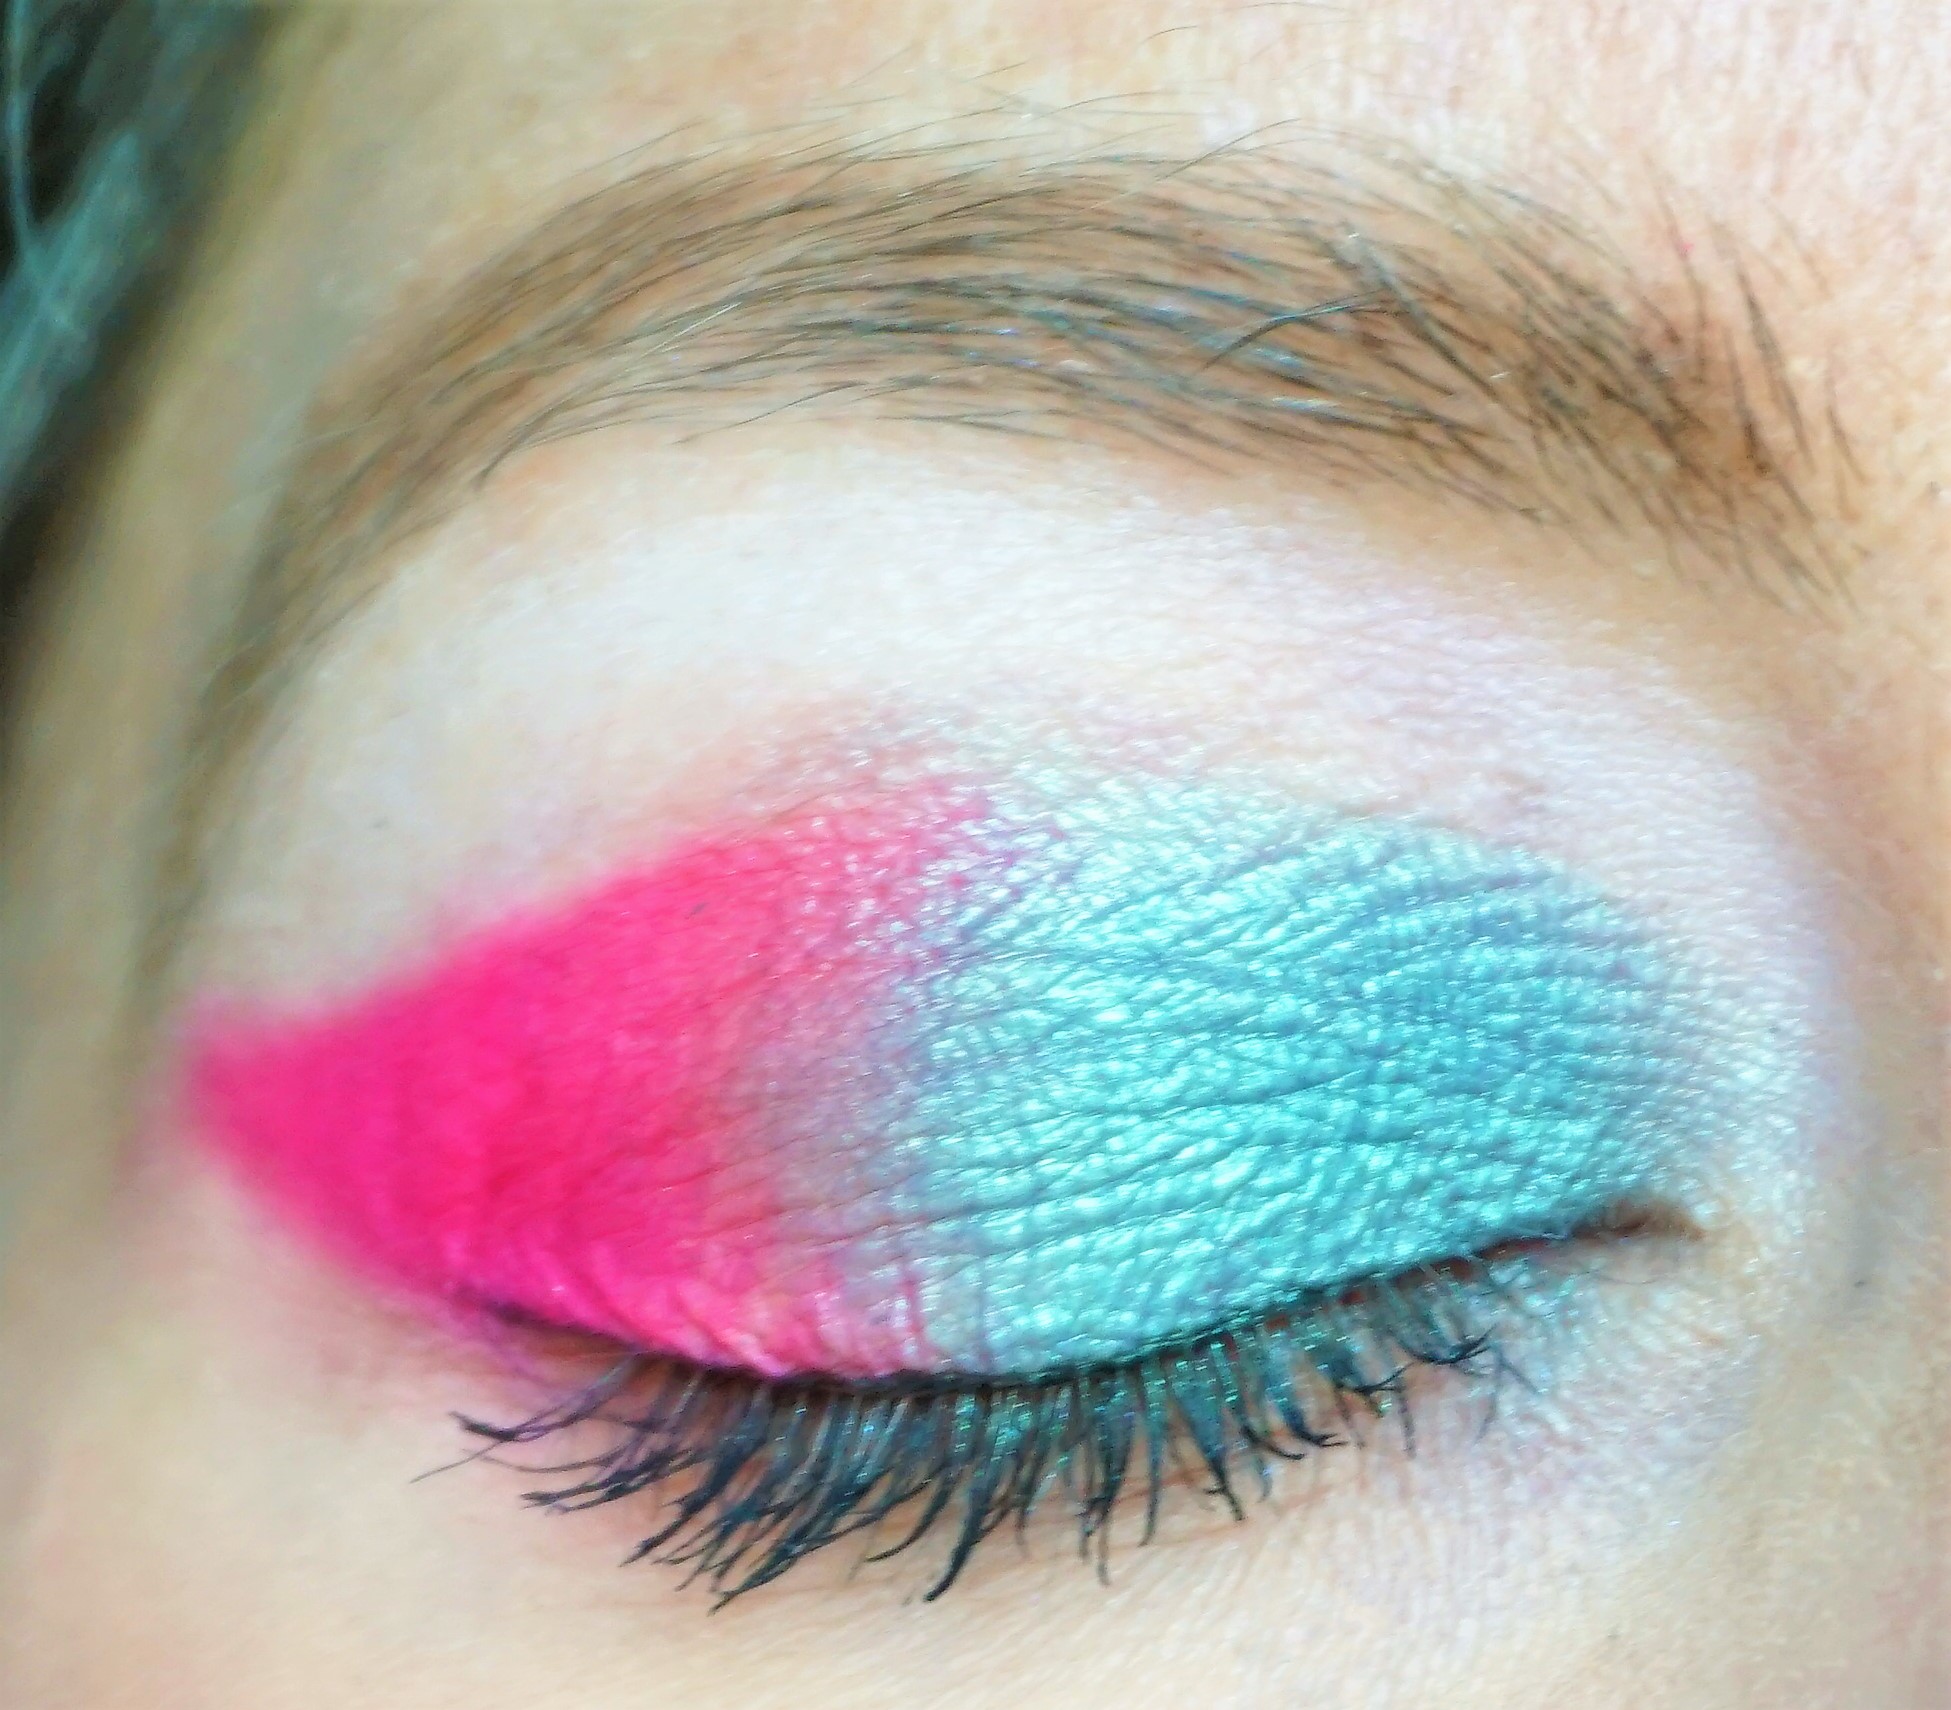
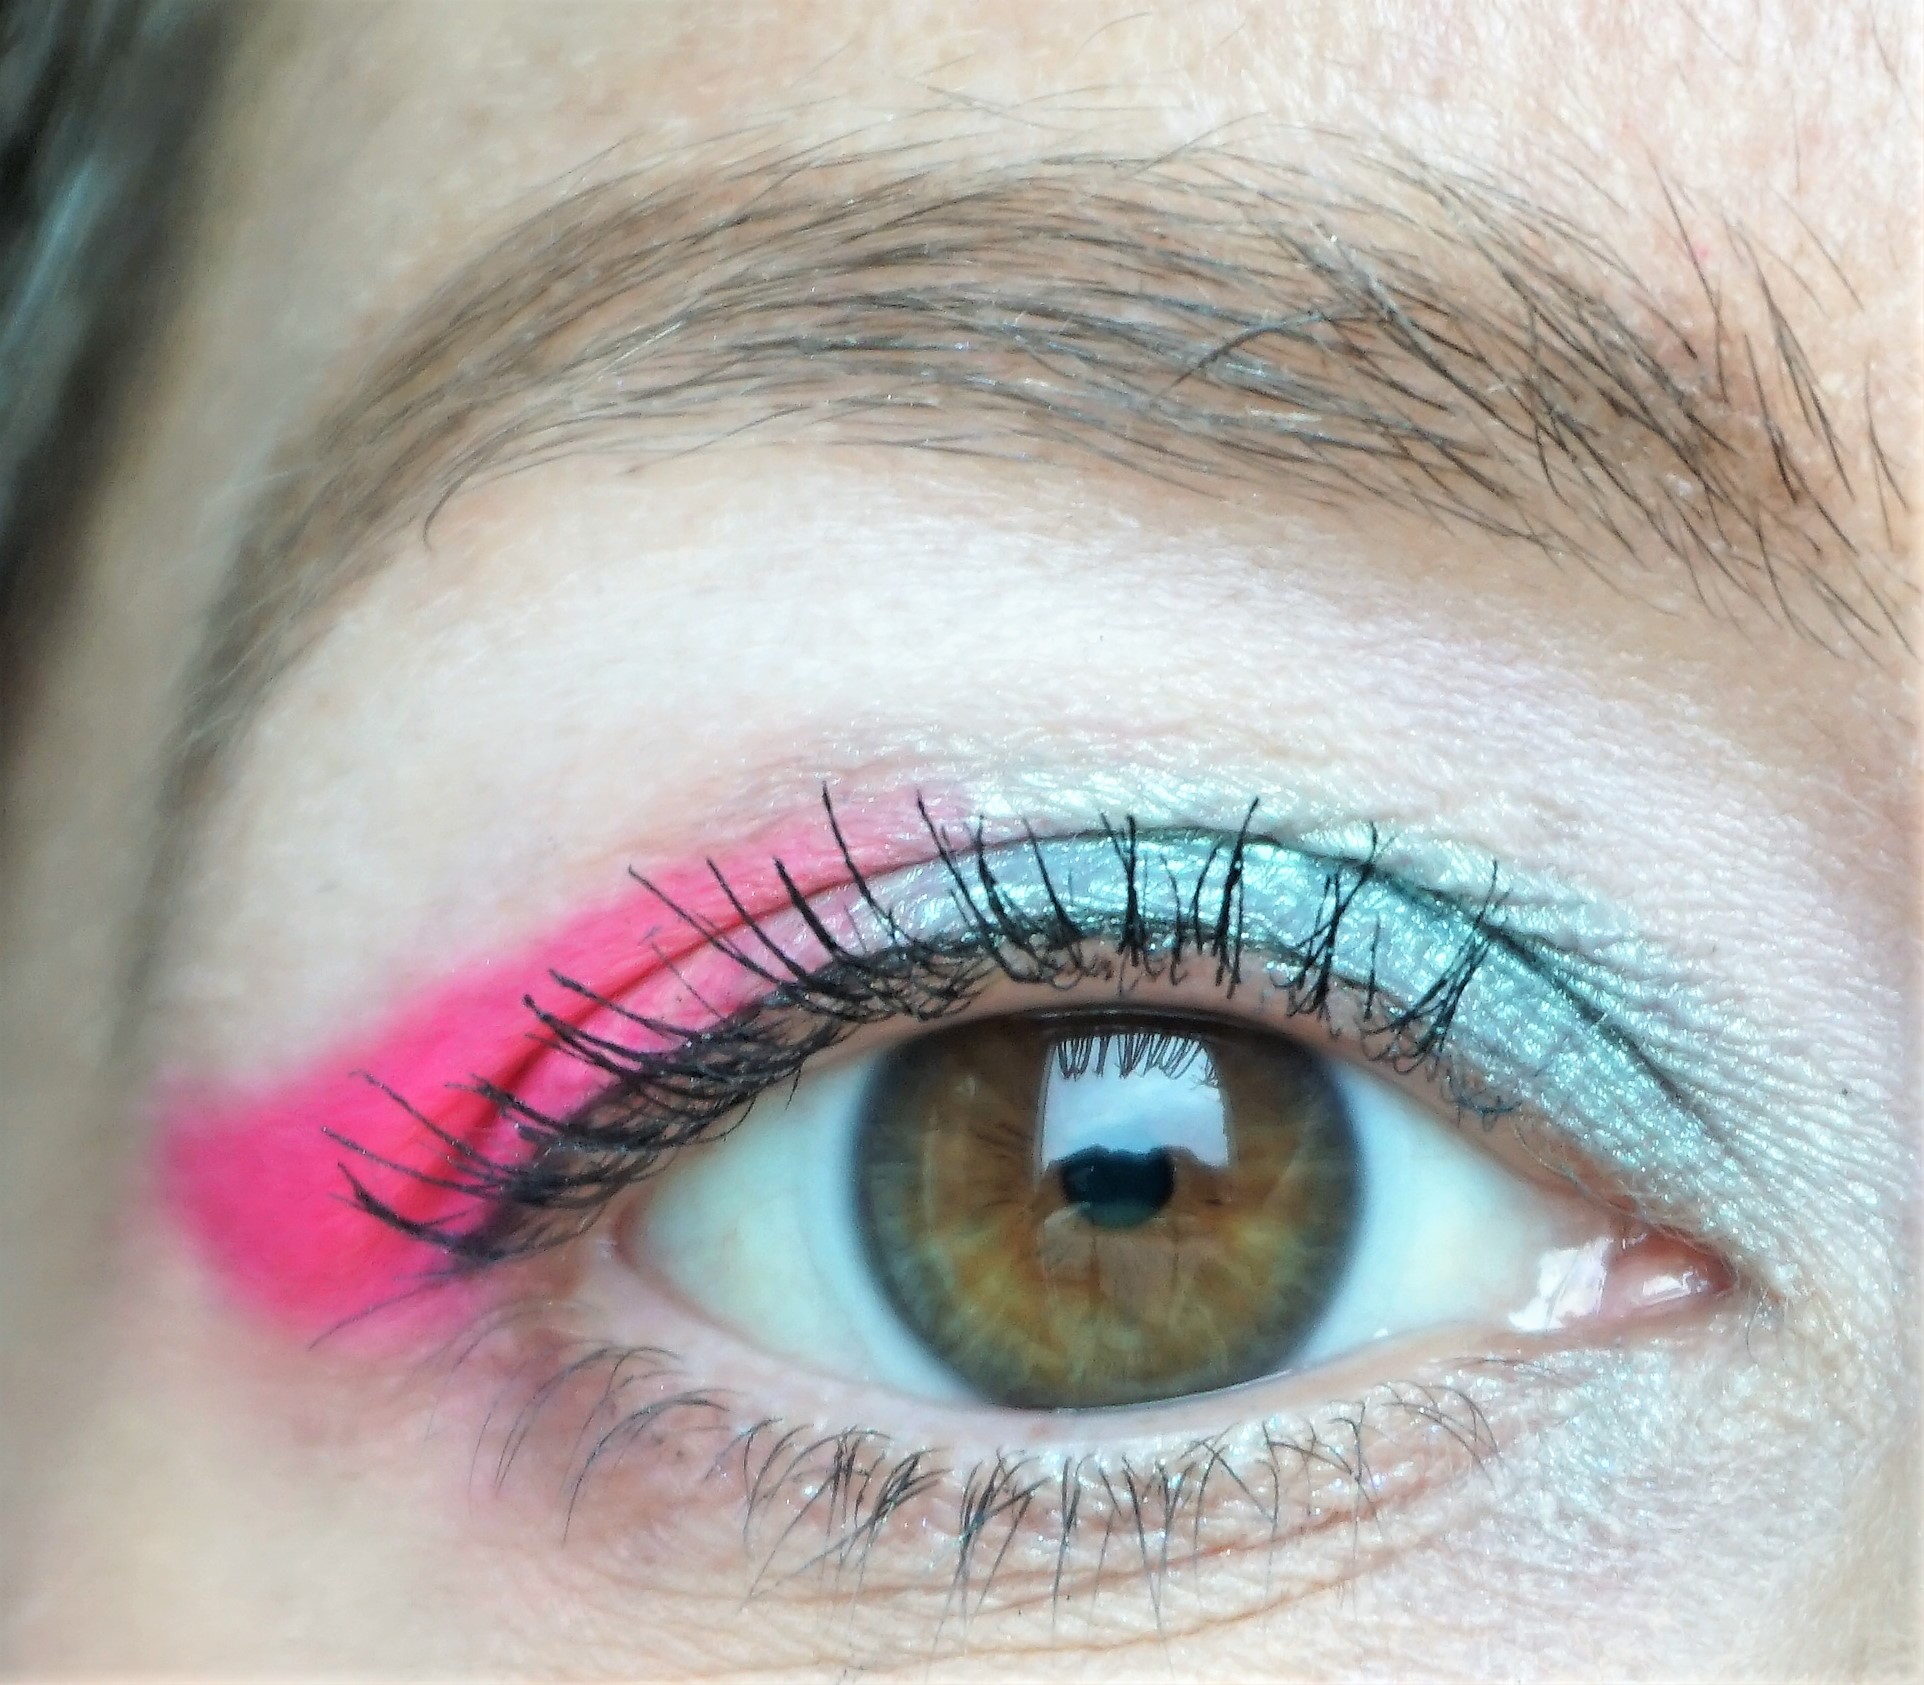
2. Take a pencil brush (e.g. MAC 219) and apply Bahamas to the outer part of the lid. Flick the eyeshadow out at the outer corners to create an elongated, winged effect. I used a pencil brush for this step to help create a very crisp, defined effect in the outer v. Don’t worry if the edges of the eyeshadow look very sharp; we are going for a defined look, rather than a blended effect on the eyes.
3. Take a flat shader brush (e.g. MAC 239) and pat Seychelles on to the eyelid. Try not to sweep Seychelles too high on the eyelid so that you retain elongated effect on the eyes. Overlap very slightly with the edges of Bahamas to help the two colours meld together.
4. Take a flat shader brush (e.g. MAC 239) and gently tap Coastline between the edges of where Bahamas and Seychelles meet. This step helps the hot pink and aquamarine-teal blend together a little bit more, without taking away from the contrasting effect.
5. Take a crease/blender brush (e.g. MAC 226, MAC 217) and use Estate to very gently blend out the edges of Bahamas and Seychelles in the crease.
6. Using a crease/blender brush (e.g. MAC 217) or a pointed crease brush (e.g. MAC 226), sweep Sails on to the browbone to highlight.
7. Take an angled eyeliner brush (e.g. MAC 266) and apply Coastline along the outer lower lashline. I used Coastline as I wanted to add some definition along the lower lashline to balance out the eye, whilst keeping the focus on the lid colours.
8. Take a black liquid eyeliner pen (like the Maybelline one above) and apply a thin line along the upper lashline. I used eyeliner in this look to help create an even crisper, defined effect on the eyes.
9. Apply black mascara to the top and bottom lashes.
10. Apply your chosen blusher, cheek highlight and lip colour to finish off the look. Kiko Marmoreal Biscuit (link above to post on this product) and Kiko Glow Fusion Powder Highlighter in 01 Champagne (link above to post on this product) tend to be my go-to products when I want some subtle colour and highlight on the cheeks. I used MAC Shanghai Spice Lipstick as the soft, peachy-nude tone gives gentle colour to the lips, without competing with the rest of the face.
Here are some full face photos of the finished look:

Anastasia Beverly Hills Riviera Palette Look (full face)

Anastasia Beverly Hills Riviera Palette Look (full face)
I hope you enjoyed this look! I’m really enjoying playing with the palette, so stay tuned for more combination ideas!

I love these two colors together .
Thanks so much, olive unicorn! I thought it would be fun to try out a different combination.
I tried out an orange and electric teal look today , its a bit rought but I hope to perfect it sometime.
That combination sounds beautiful! I like the idea of trying a bold teal and bold orange together. I am actually wearing a teal and green eyeshadow look today with the edges blended out using an orange eyeshadow. The orange is quite subtle but it adds some nice warmth to the look.
That sounds pretty cool . I may try again this week then . I’ll just try to blend out the orange more 🍊☺️