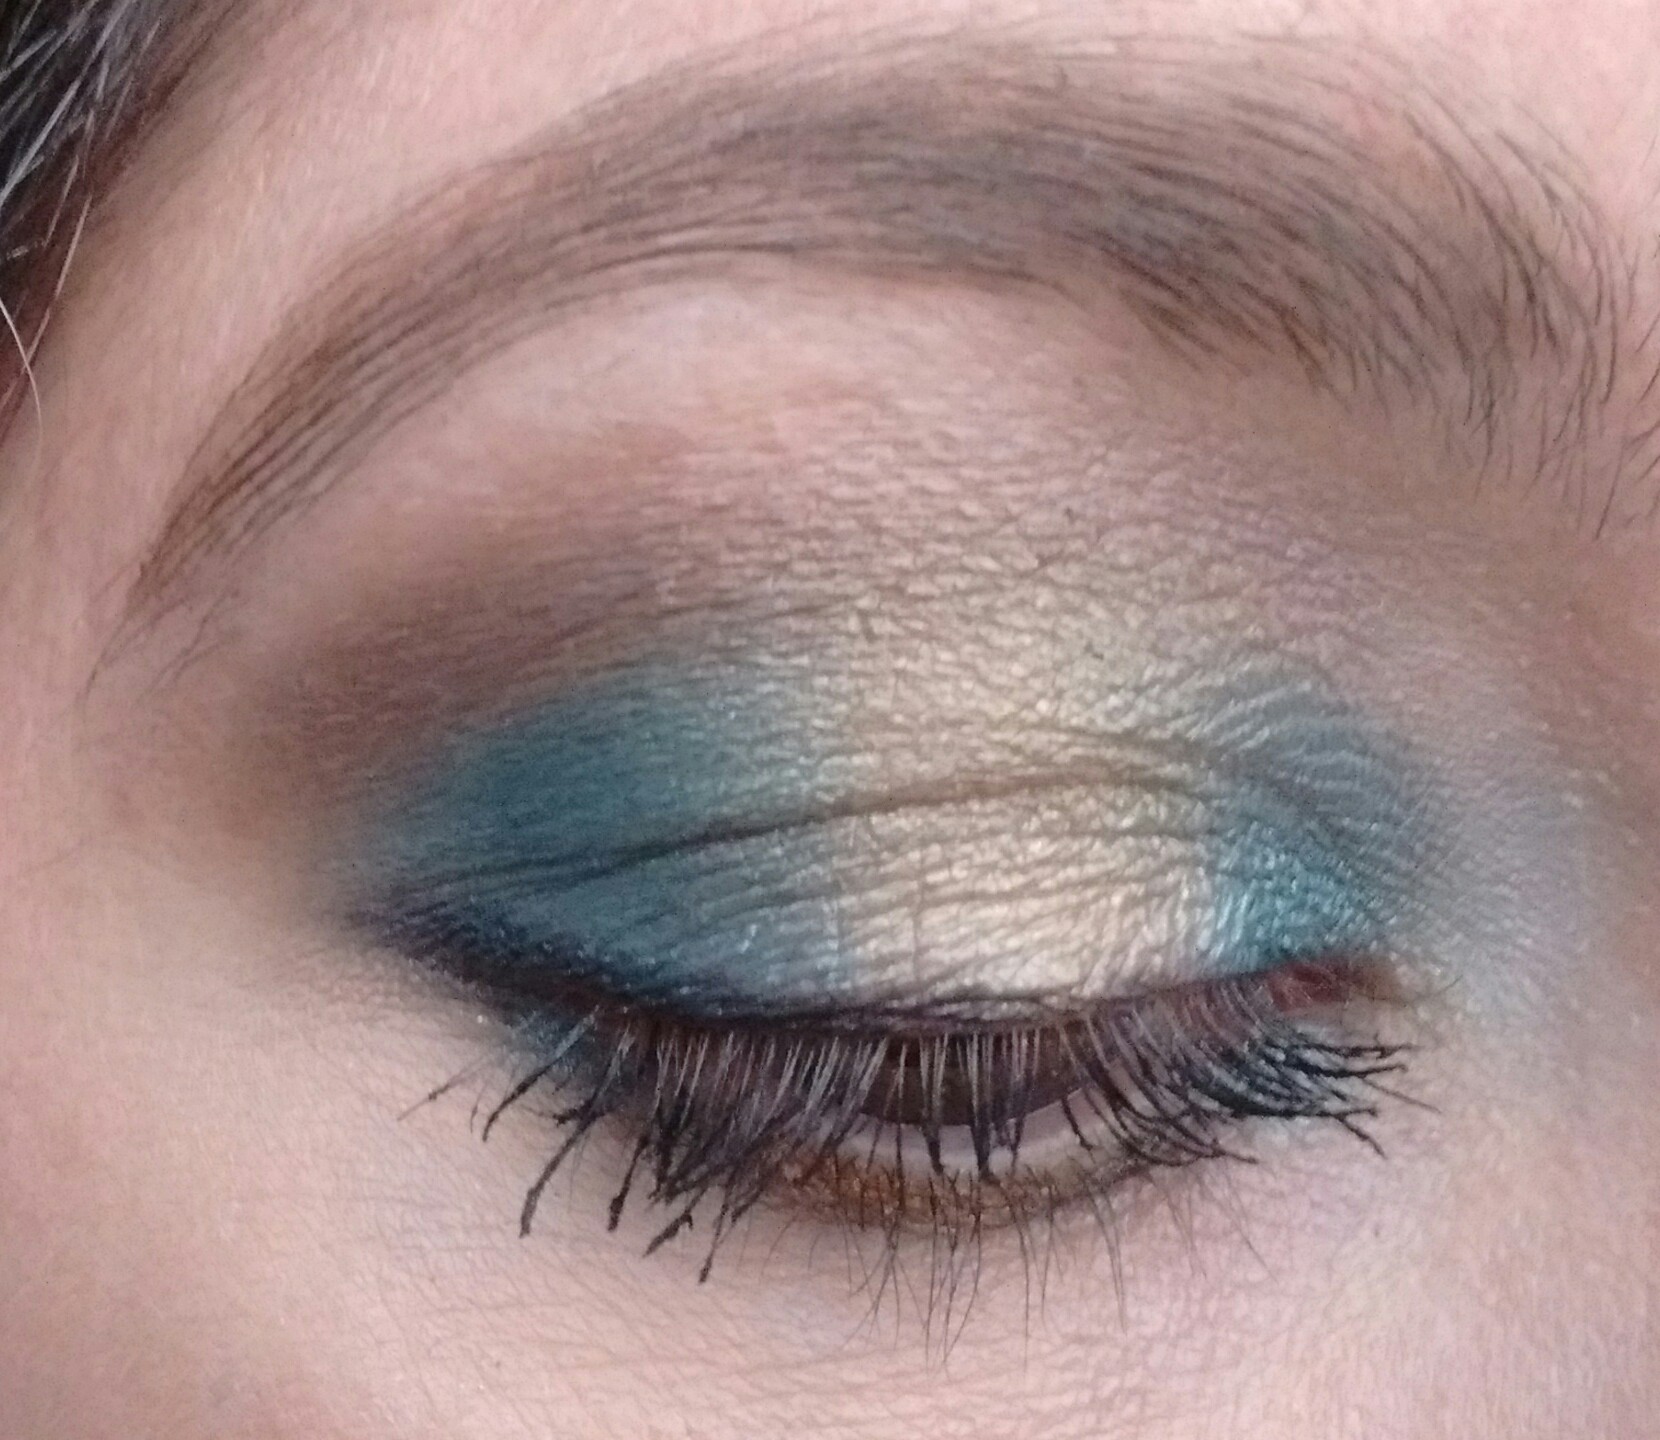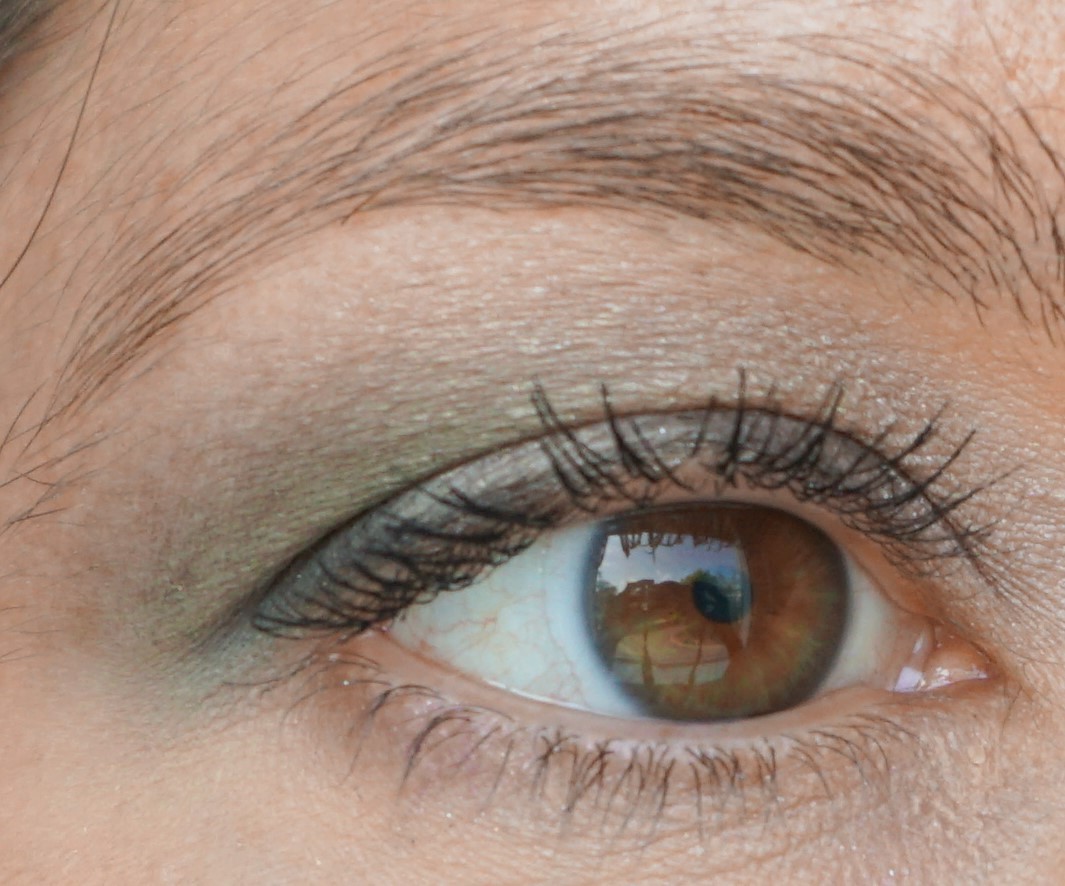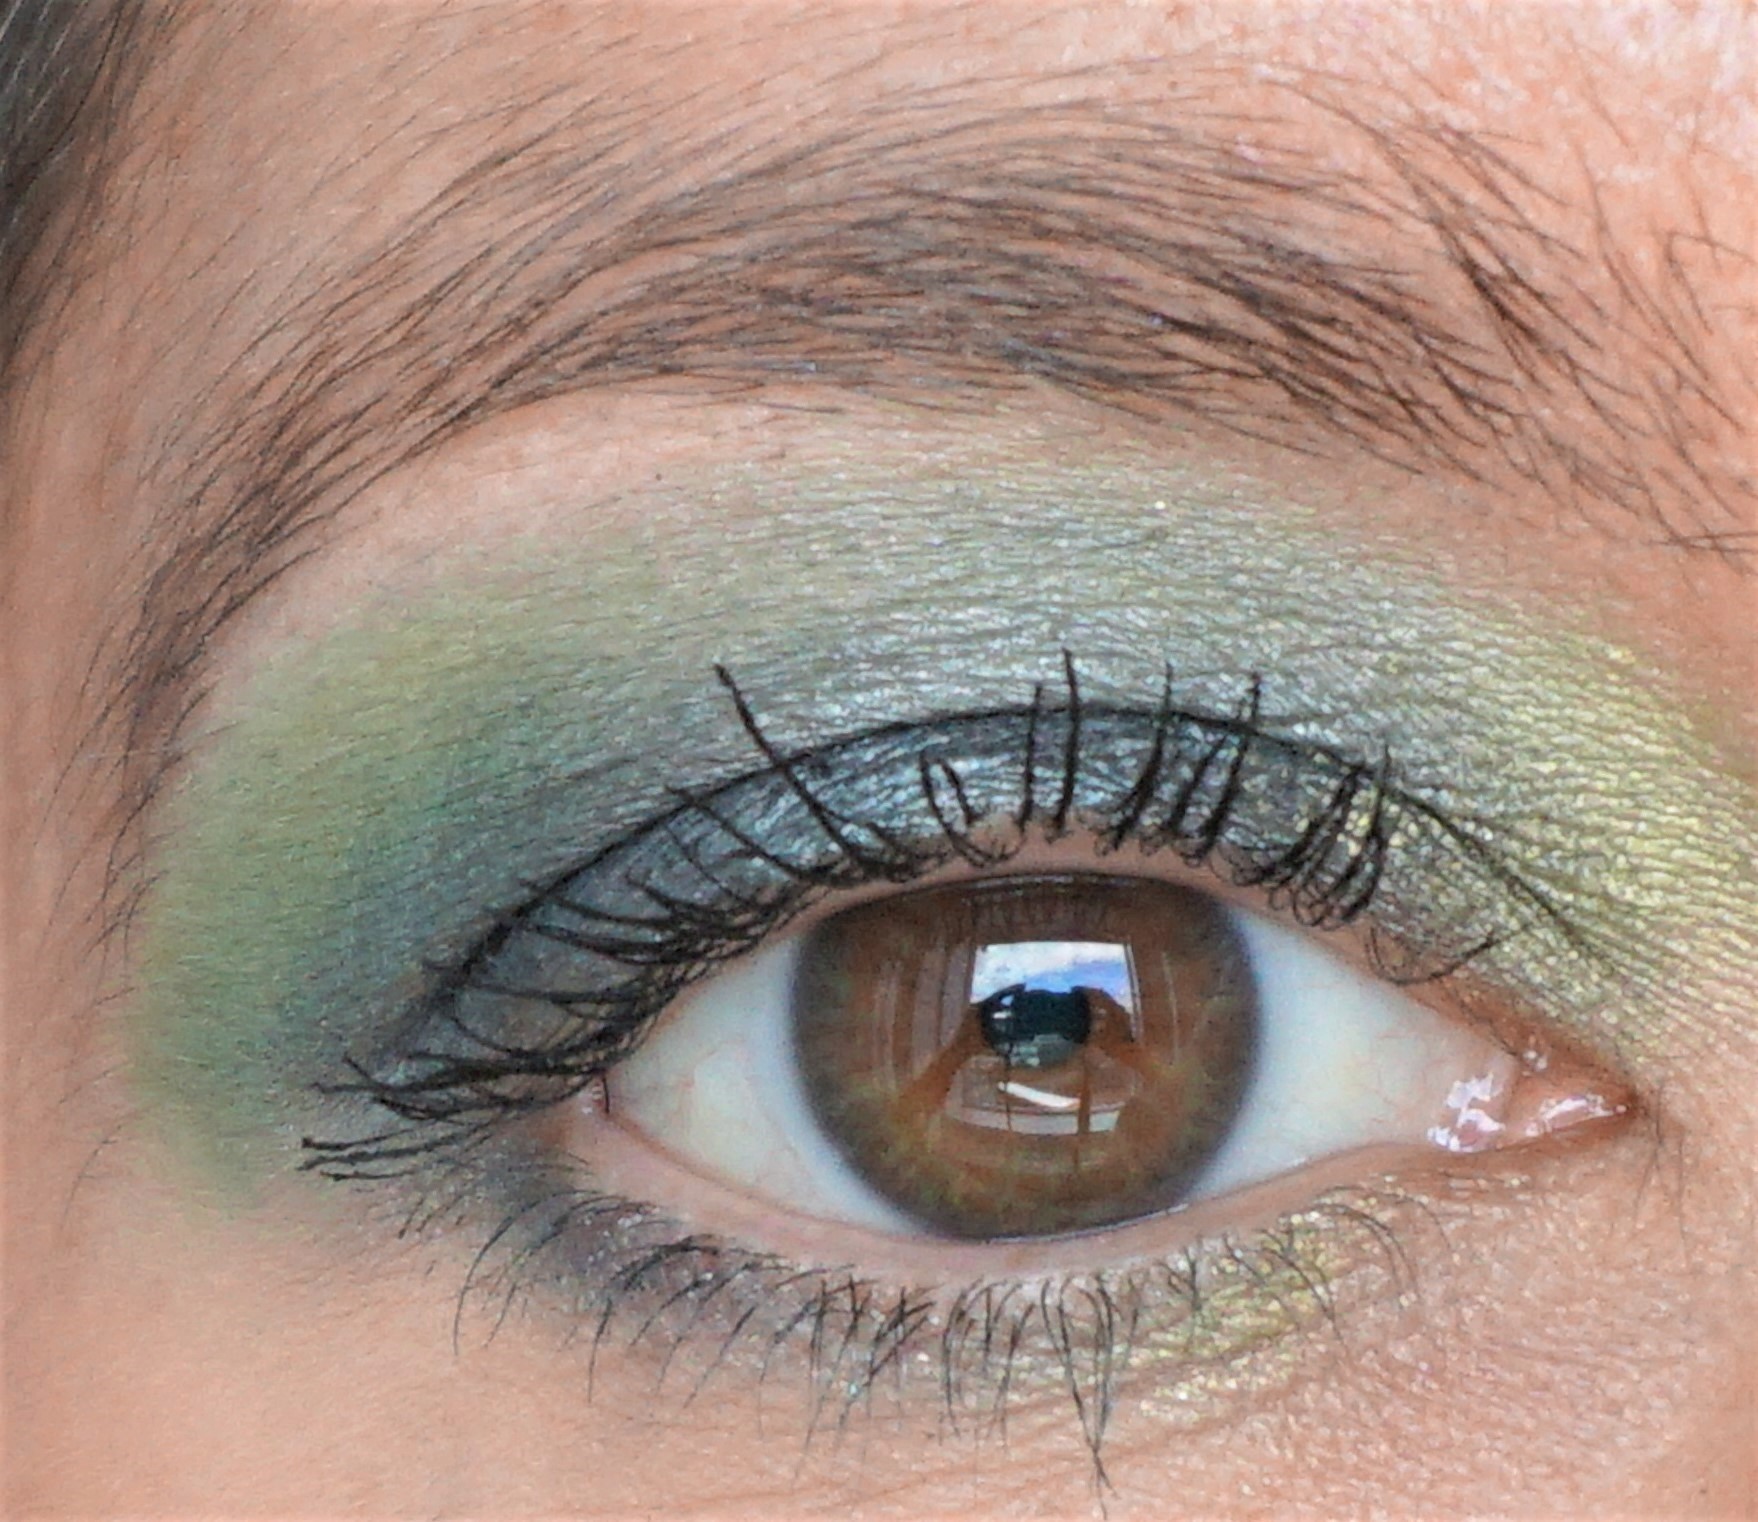

For this look, I used teal and green eyeshadows to create a fun, colourful spin on the traditional smokey eye. I really like how teal and green eyeshadows look together.
Tip: You could add a little lemon yellow eyeshadow in the very inner corners if you want to add even more colourful brightness to the eyes. Black or deep teal liner along the upper and lower lashline would also add some extra smokiness to the look.
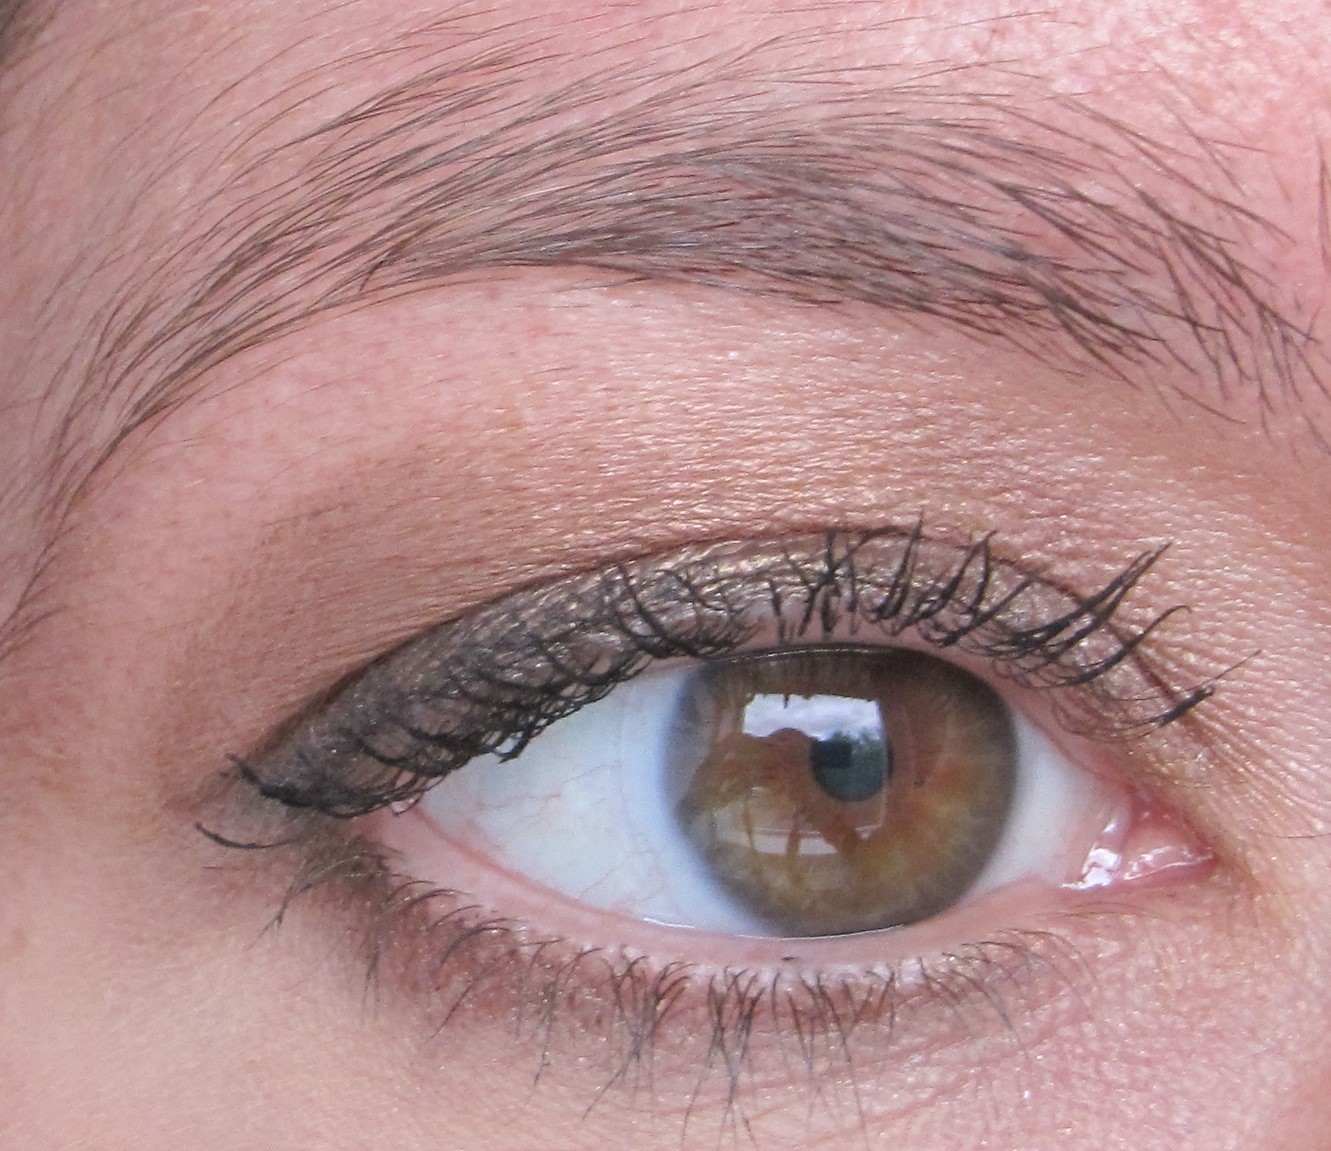
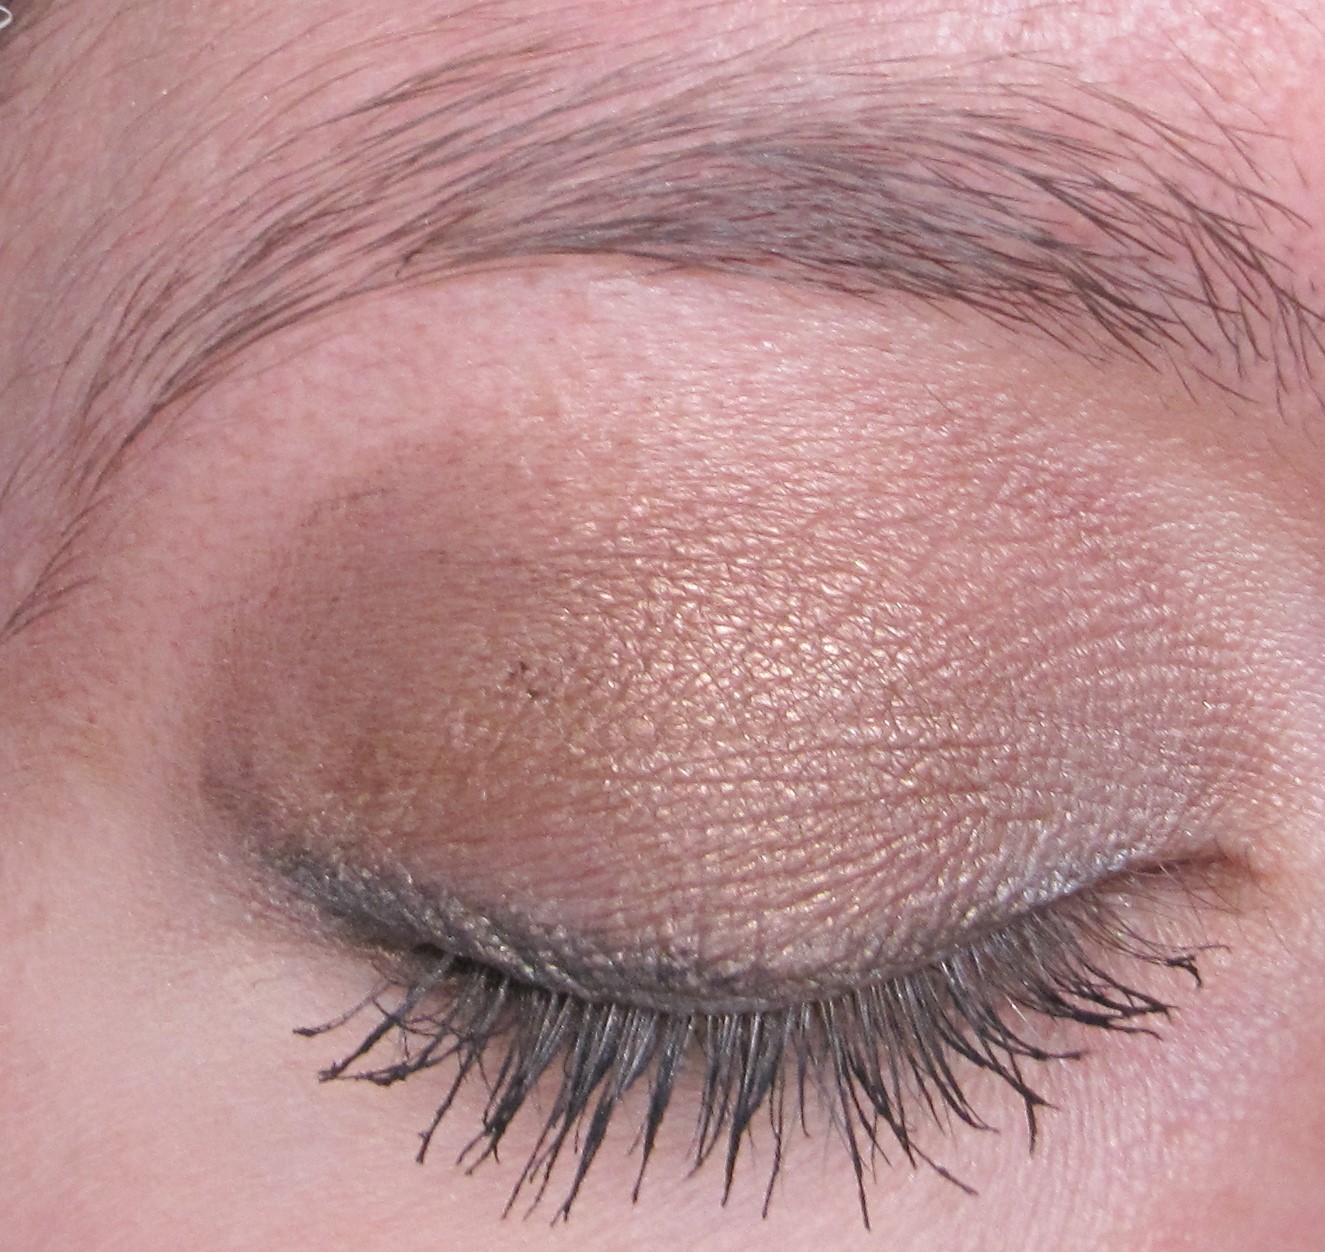
Here’s how to re-create this look: